How to Install WordPress with MAMP on Windows
How to Install WordPress with MAMP on Windows
MAMP is a “one-click solution for setting up your personal webserver”. If you don’t have hosting or a domain name sorted out, you can go ahead and build your WordPress website using this free bit of kit. I promote because it’s really simple to use!
This post will come in 5 parts.
1. A quick install of MAMP.
2. Creating a MySQL Database.
3. Installing WordPress.
4. Choosing a WordPress theme.
5. WordPress editing & adding content.
Installing MAMP
1. Download MAMP and run the installation exe.
Warning, a reboot is required at the end.
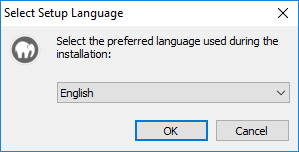
2. Choose language.
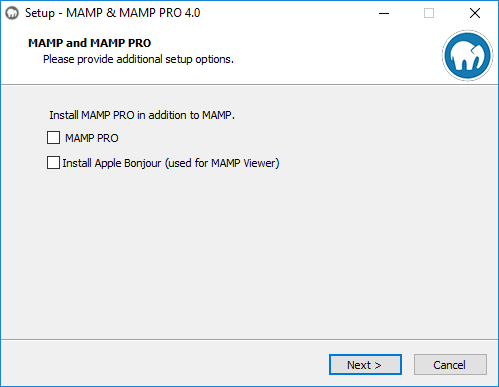
3. Untick those pre-selected check boxes.
MAMP PRO is for the web devs & MAMP Viewer is for alternative platform (iOS) viewing of your website.
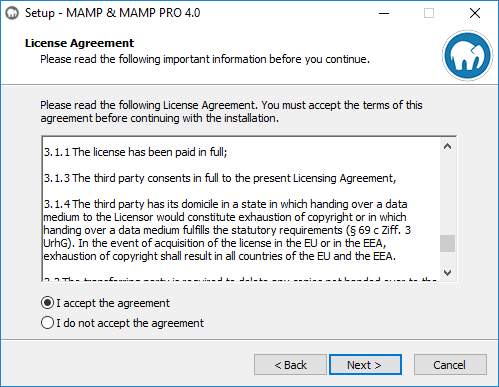
4. Don’t not accept the license agreement.
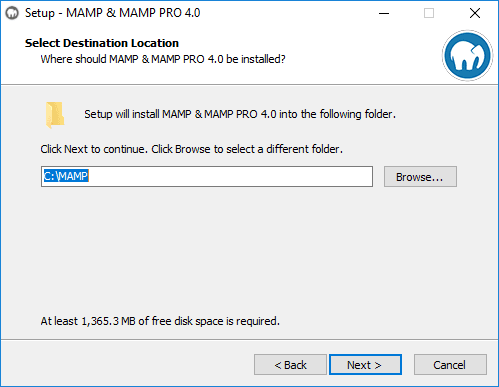
5. Chose a directory.
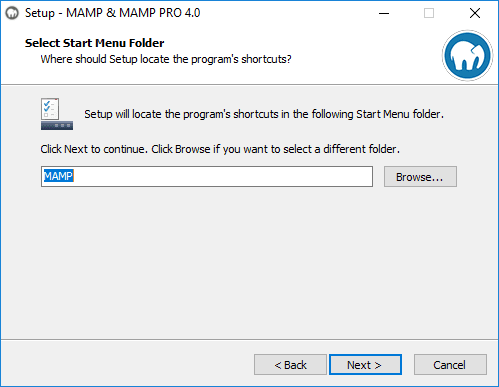
6. Select the Start Menu folder name.
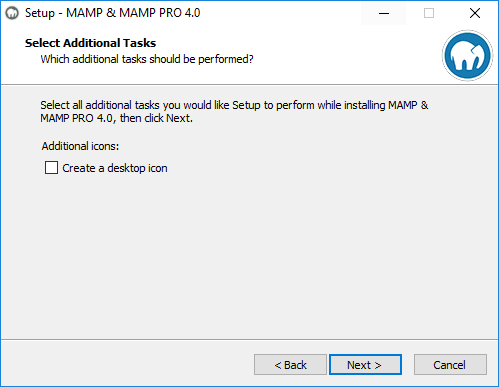
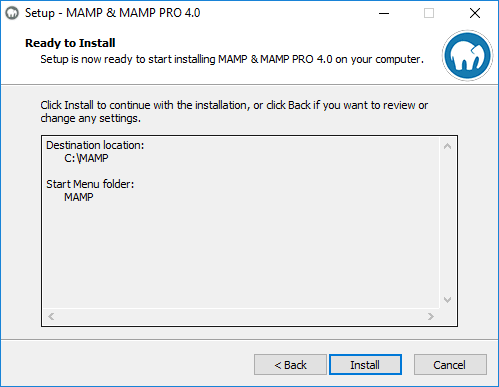
7. Next, next & done.
8. Reboot & launch MAMP.
Your firewall may alert to allow MySQL & Apache communications.
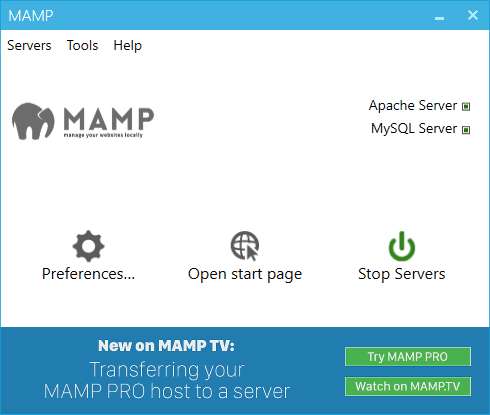
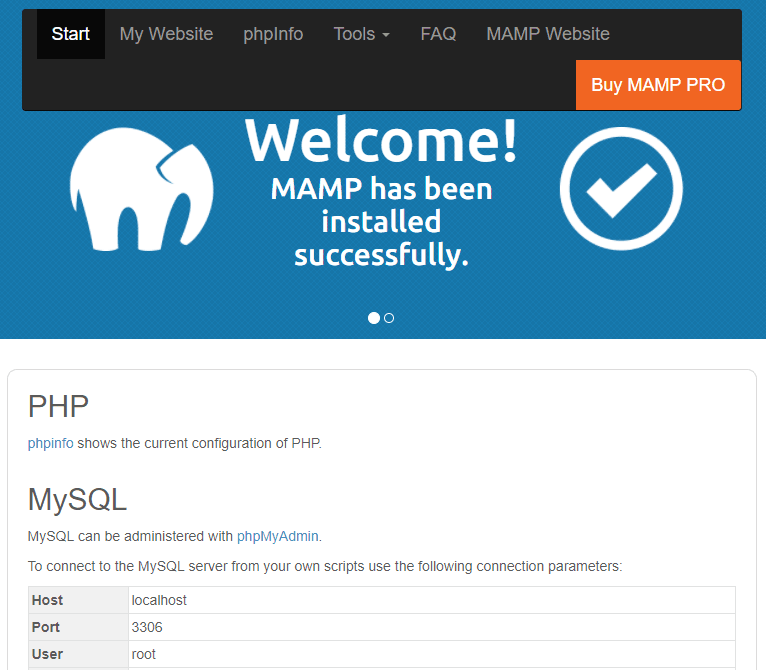
9. Click ‘Open start page’.

Look here for further documentation on configuring MAMP. For now, just having it running as default is good.
Creating a MySQL Database
Following on from the MAMP installation, let’s first look at the MySQL side.
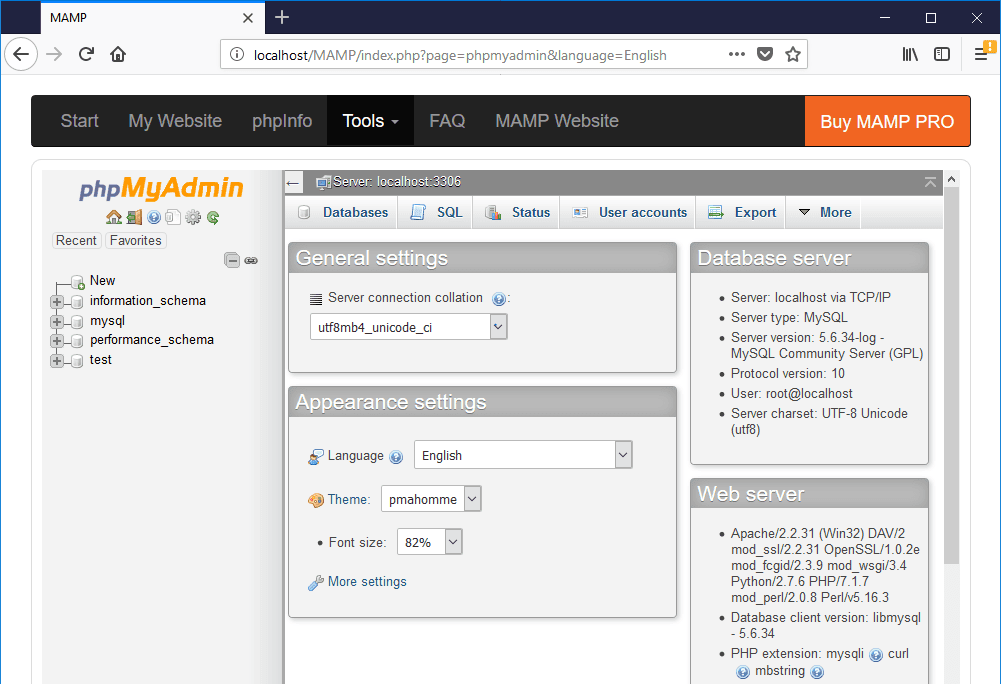
1. Click the phpMyAdmin link as shown at http://localhost/MAMP/
2. Have a poke around, get to know phpMyAdmin a little bit.
3. Click on the SQL tab and have a go at some queries.
The syntax surprise was comments being ‘#’ not ‘—‘.
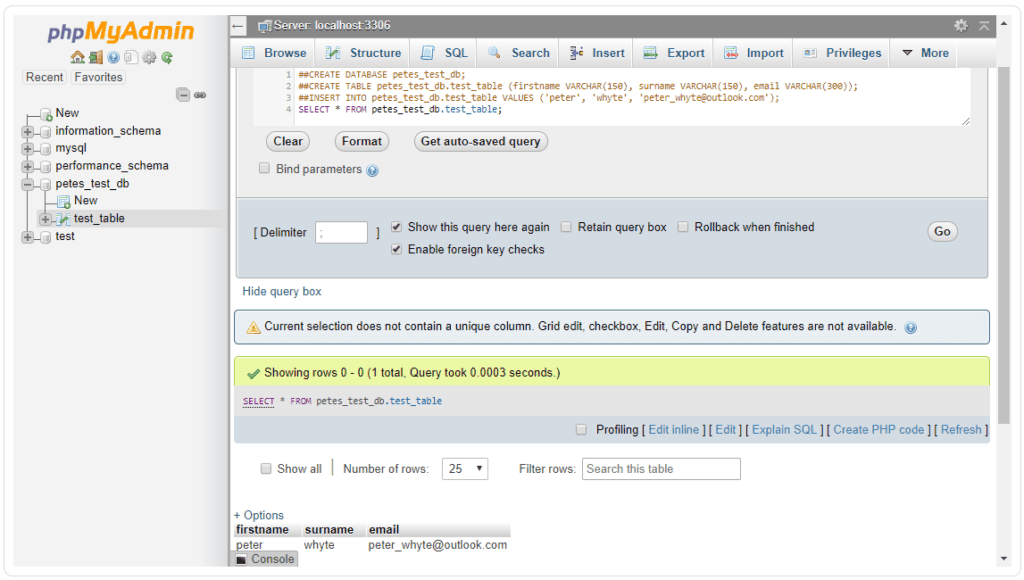
4. Drop any test databases and create a new database for your local website.
I’ve uncommented the code below however keep in mind all commands will have to be run individually. Highlighting a set of SQL won’t work, so use comments. Also, try not to hit f5 😉
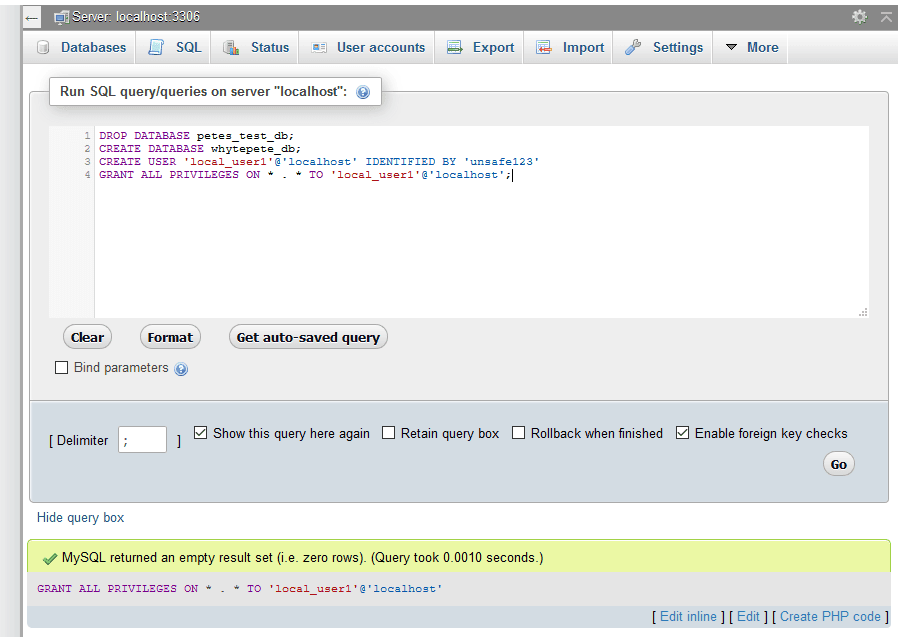
Keep a note of all this information (database name / username / password).
Installing WordPress
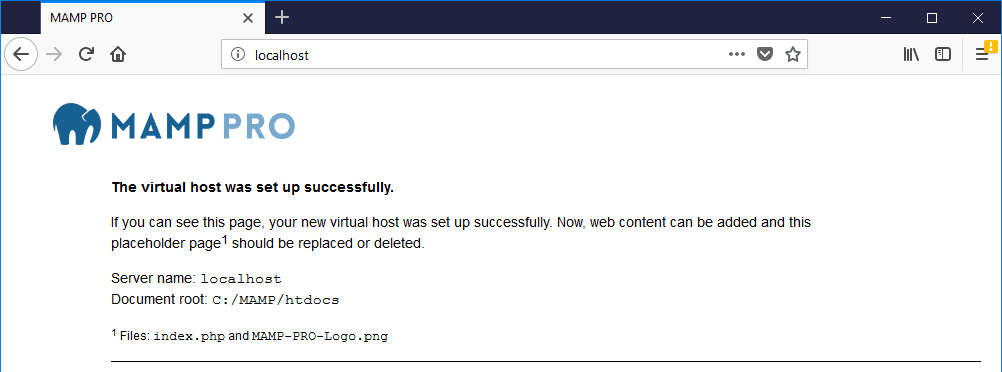
1. Navigate to localhost in your browser.
We now need to dump a WordPress install into that Document root directory.
2. Download WordPress.
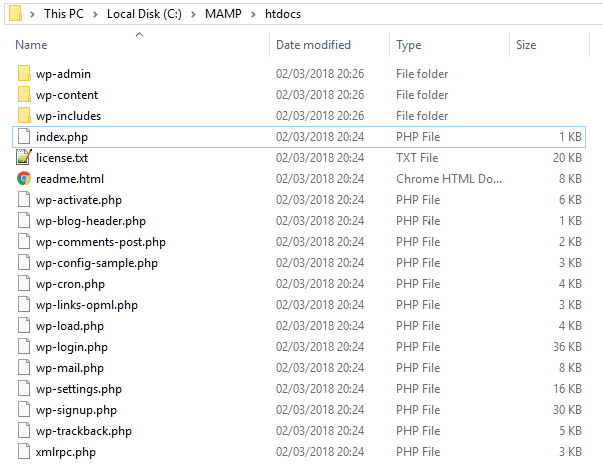
3. Extract the contents of the WordPress zip into the following directory:
Over-writing existing files will work.
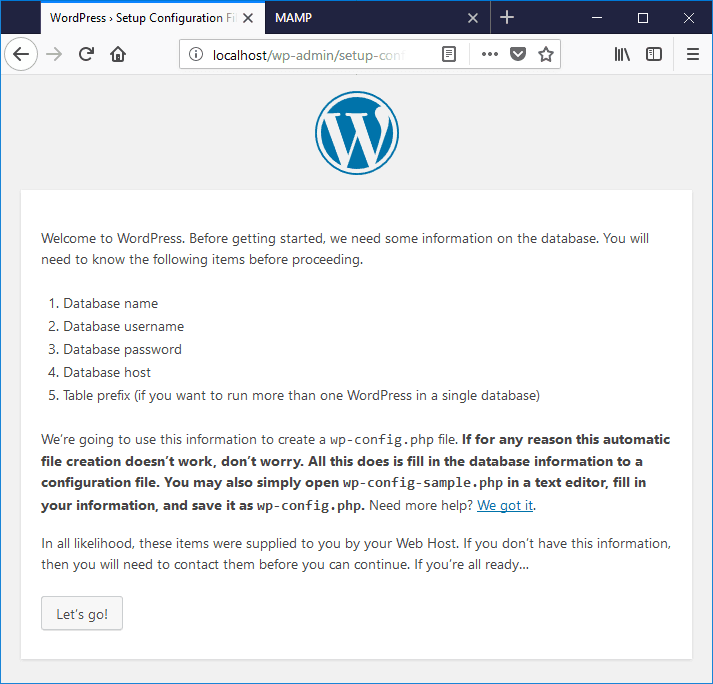
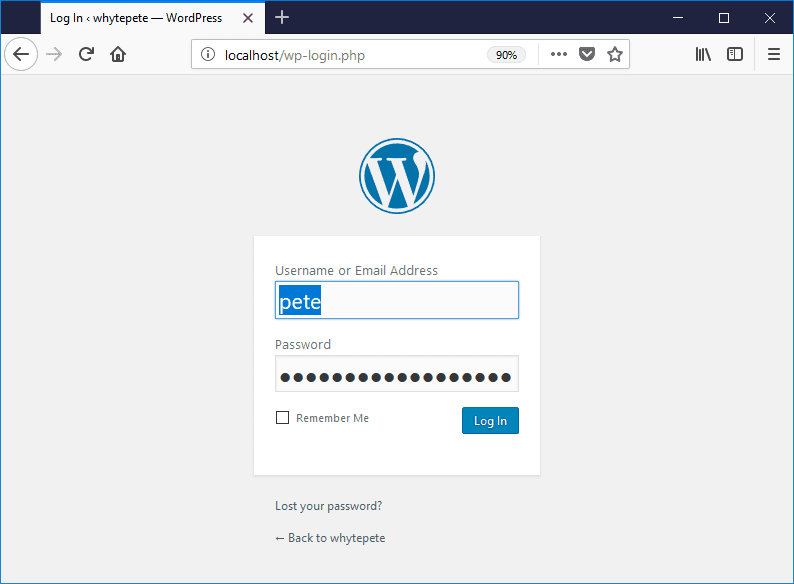
4. Navigate to ‘localhost’ in your browser. The WordPress Configuration page should show.
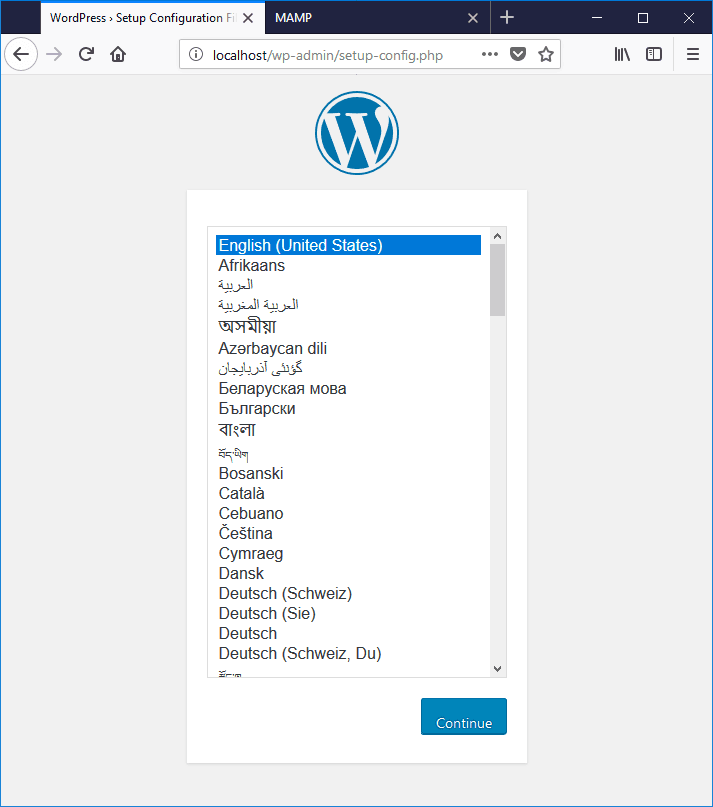
5. We need the database info before continuing.
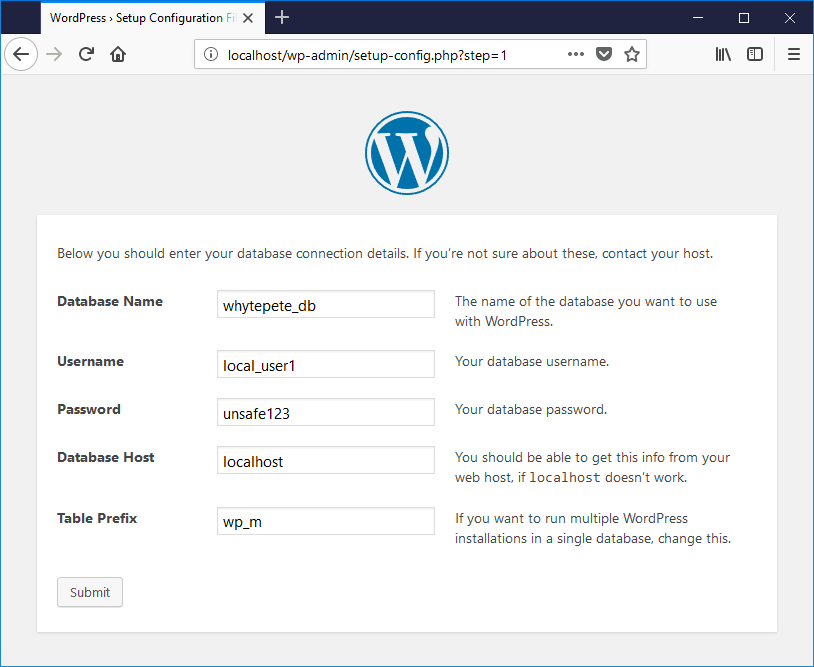
6. Enter database info.
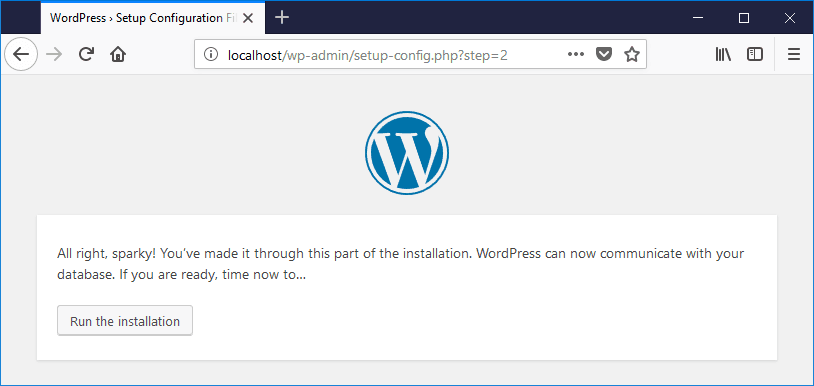
7. Crack on with the install.
8. The famous five-minute WordPress installation process eh?
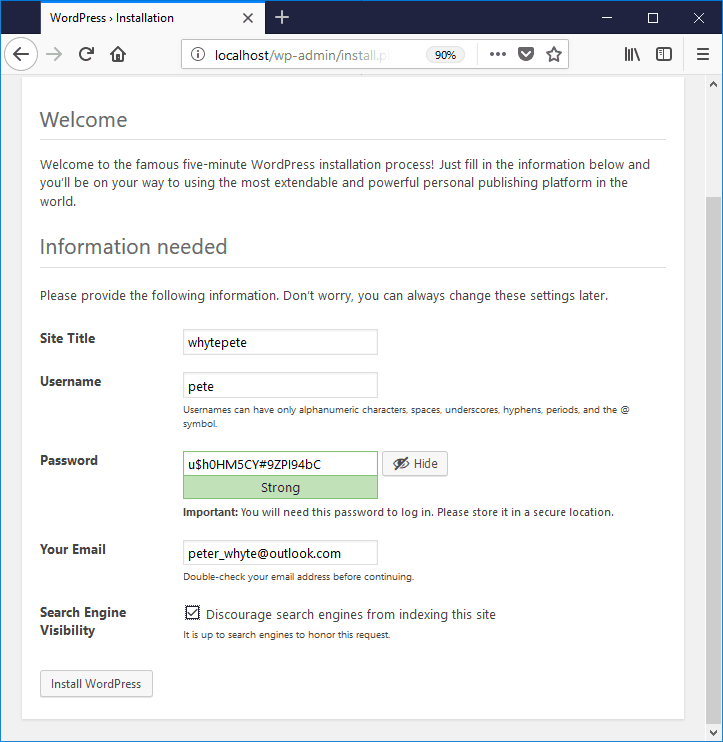
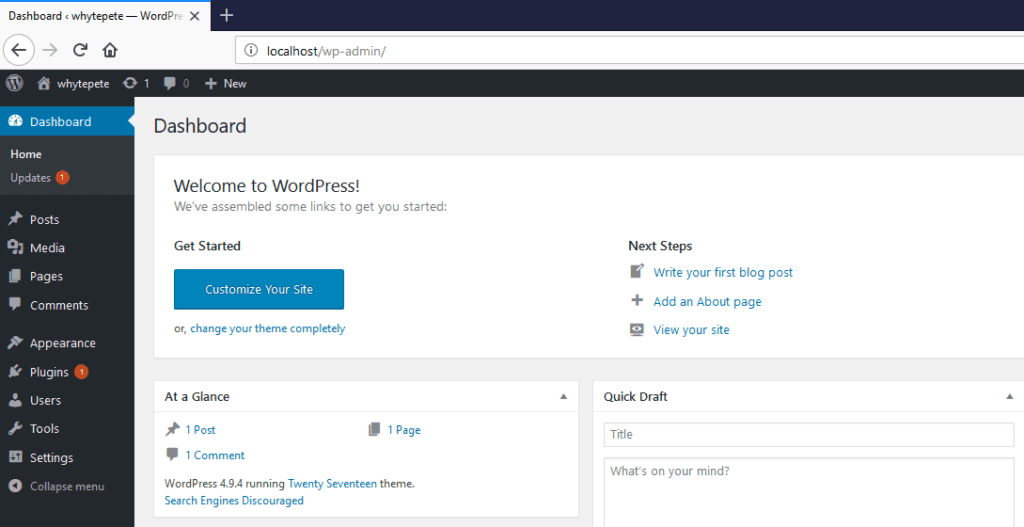
9. Now login and say hello to the WordPress dashboard!
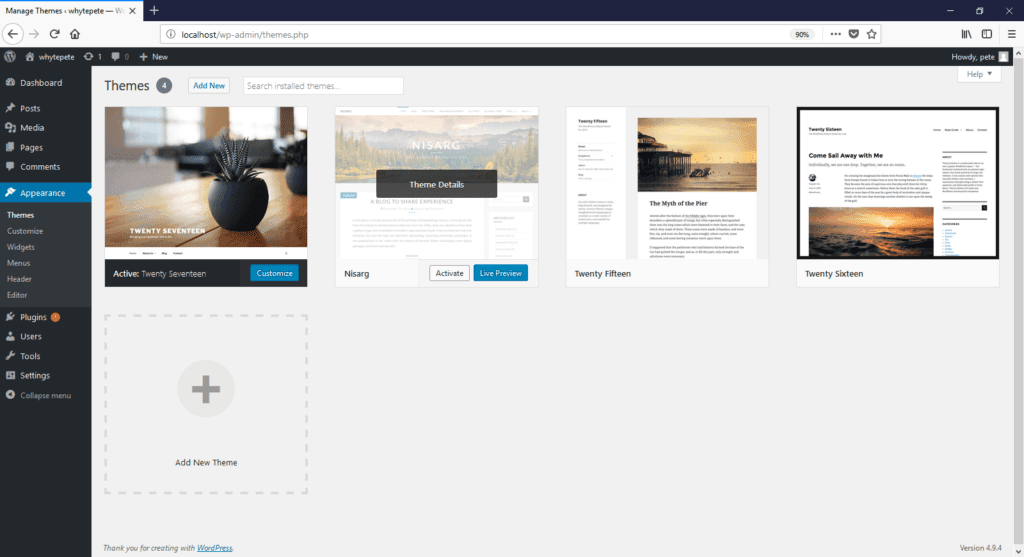
Finding a WordPress Theme
WordPress release their own theme every year, so if you followed the above you’ll have the Twenty Seventeen theme or future equivalent installed, including a few previous versions. These are great themes to get you started out and familiar with WordPress, although you’ll likely want another theme sooner or later.
If you’re wondering where we can get a good WordPress theme, I’ve used the following:
– WordPress have their own selection of free themes, including the popular yearly edition (Twenty Seventeen / Twenty Sixteen / etc).
– ThemeForest, I’ve purchased from them before and all positive really. Support can be in the form of a comments section on the ThemeForest webpage or the sellers own support system if they have one.
There’s MANY to choose. Googling ‘WordPress Themes’ will absolutely lead you to a theme, but I usually just want to know the good ones! I posted my first question to Quora to find out more!
Have a proper browse and download the theme files when you have decided. You may make some bad decisions along the way like I did! It’s not always easy getting your vision moulded into a theme. Watch out for things like flexibility with plugins or when the theme last had an update. For further reading, this post helped me – 10 Things to Consider when Picking WordPress Themes and Plugins.
To install a new theme, it’s as simple as downloading the theme, extract and dump the contents into your MAMP folder.
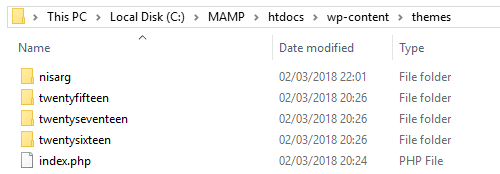
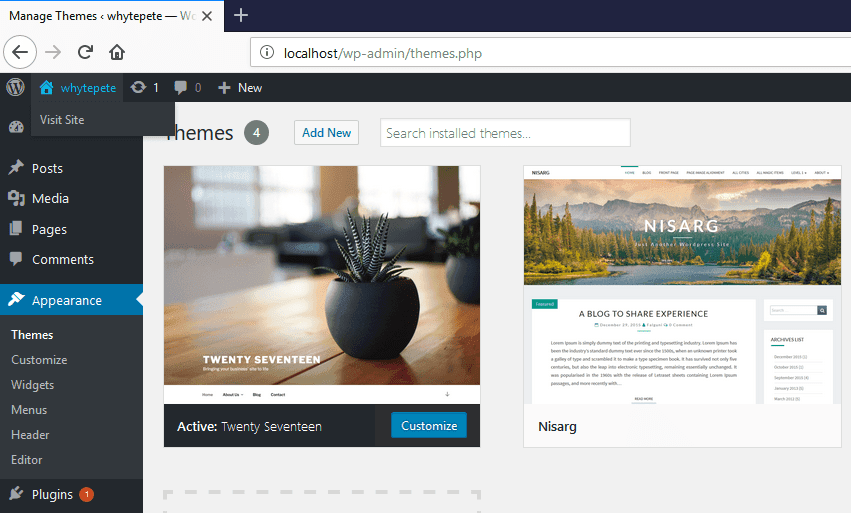
Navigate to Appearance > Themes on your WordPress menu and you’ll see the new theme.
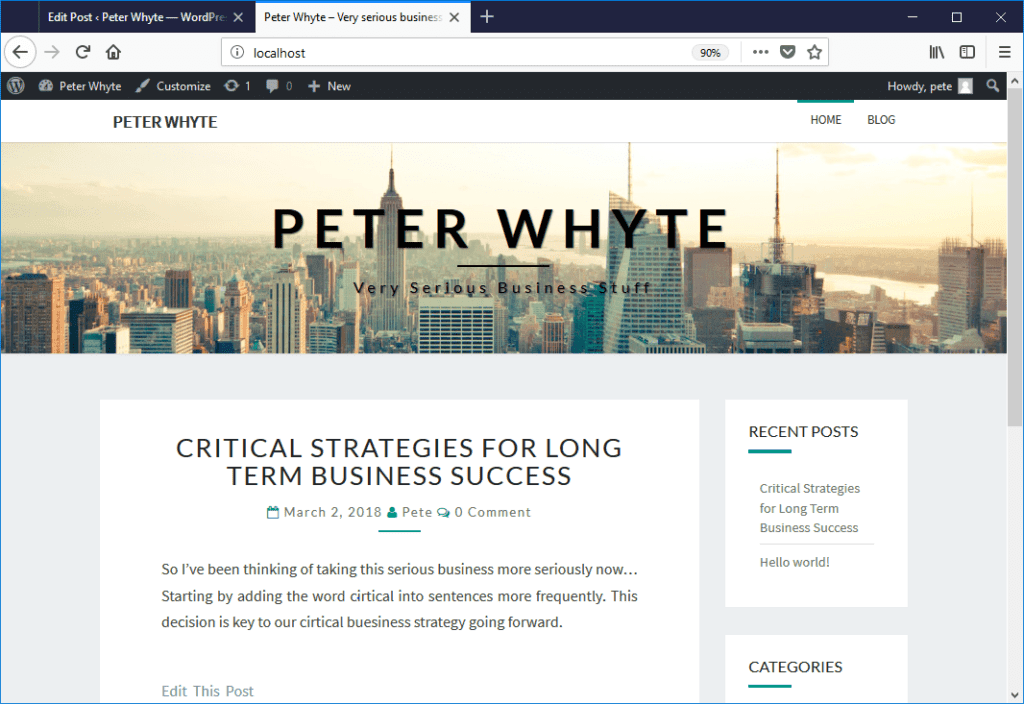
Editing your WordPress Theme
1. Activate your chosen theme.
2. The first thing I’d then do is jump to Appearance > Customize and have a play around.
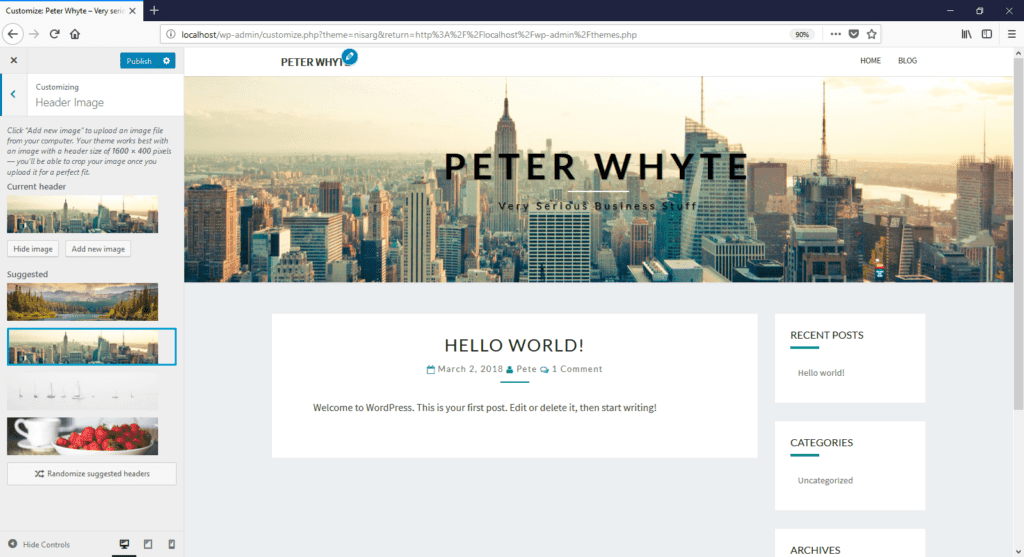
3. Publish once done & then head into Posts on the WordPress menu.
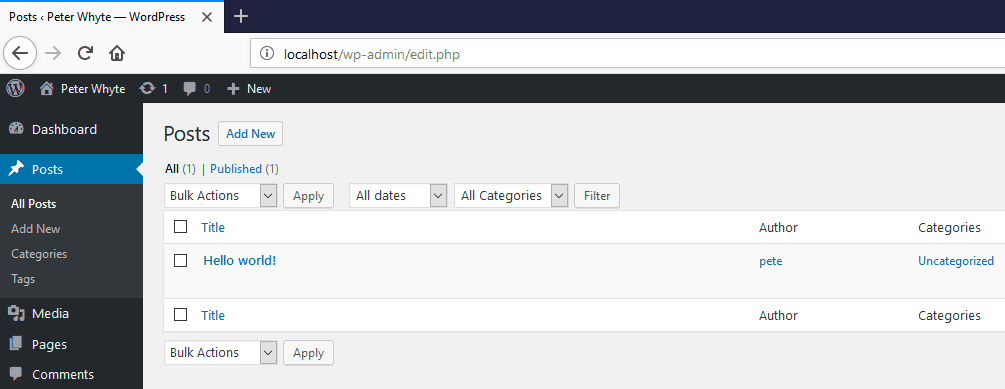
4. Add a new post and write about that thing you love so much.
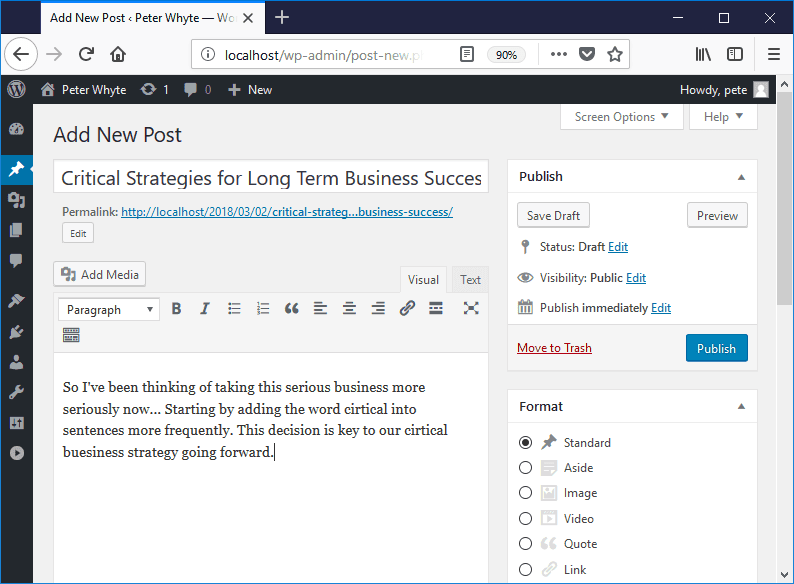
5. Publish the post and have a look.
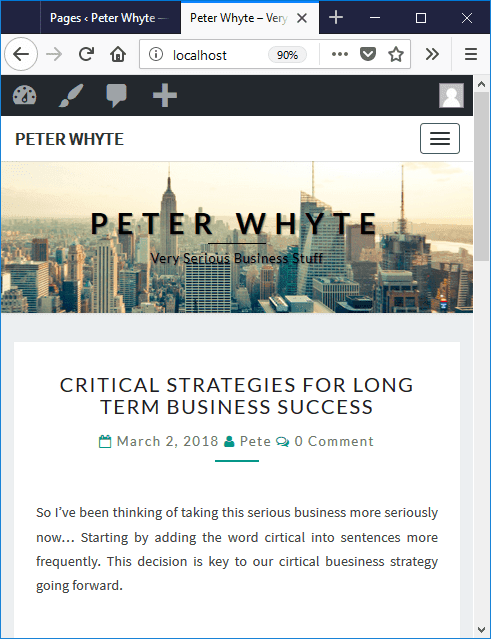
Last note. A lot of themes you’ll find to be responsive, which means when you reduce the size of your browser window your website will respond appropriately. This effectively simulates mobile browsing.
You could be up and running in no time and the beauty of all this is… it’s all free software for those who want to get started. You don’t need to pay a thing until you’re all trained up! Even when it does come to paying for your domain name and hosting, the minimum cost is around £15 which is not a bad investment.
2 Comments
[…] is a follow-on post from Configuring MAMP (with WordPress) and is a guide on how to download your website and have it run locally on your laptop or PC. This […]
[…] is a follow-on post from Configuring MAMP (with WordPress) and is a guide on how to download your website and have it run locally on your laptop or PC. This […]