
Installing SQL Server 2017
Installing SQL Server 2017
Installing SQL is a straight-forward task… but it’s important that things are in-place from the get-go to prevent having to make changes on a live system. There are a few best practises that can be defined within the installation wizard and many to be applied post install.
This is a basic guide on installing SQL Server 2017. Before you get started, have a look at the Microsoft documentation, Planning a SQL Server Installation and Install SQL Server 2016.
The software used; SQL Server 2017 Developer and SSMS 17, can be downloaded for free for your test environment.
How to Install SQL Server 2017
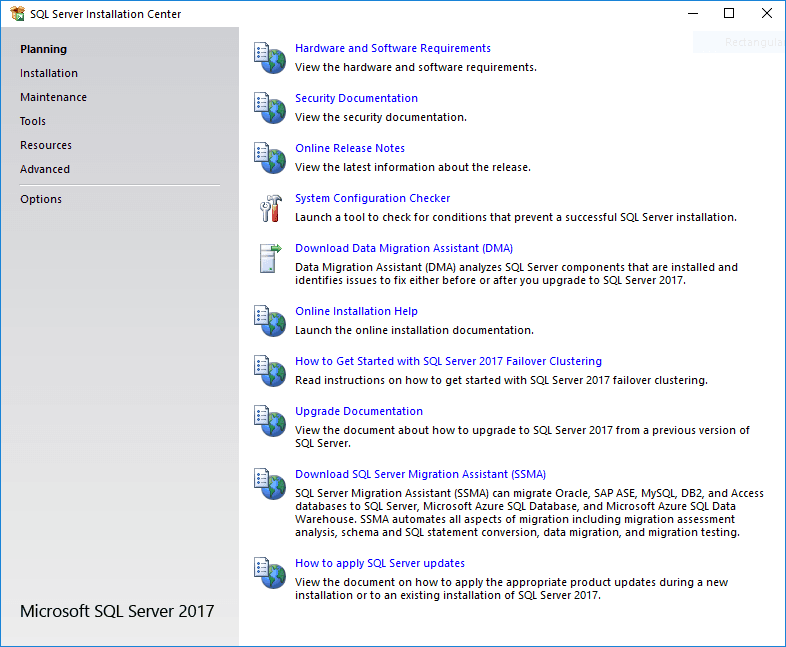
1. Open Setup.exe within the SQL Server installation files or run your ISO.
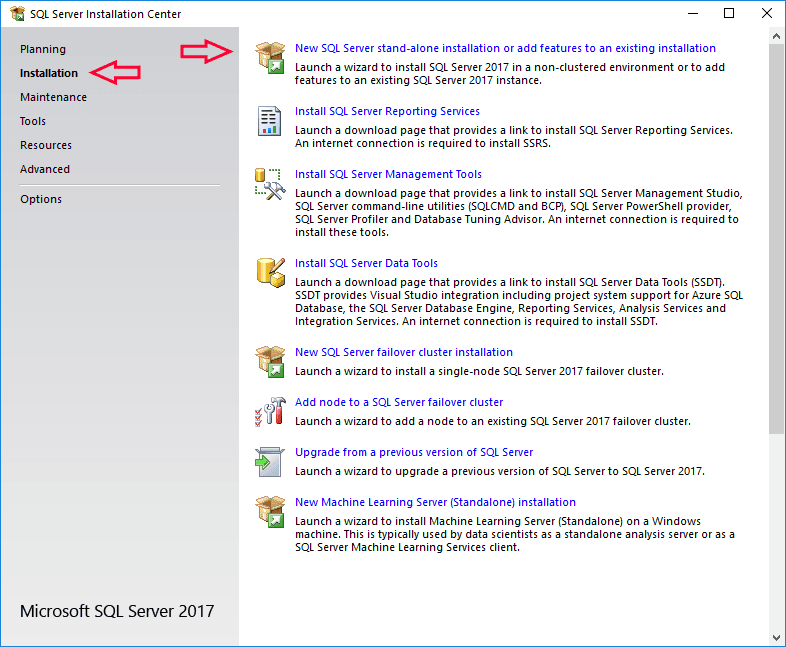
2. Click on Installation at the left hand side, and then select the top option.
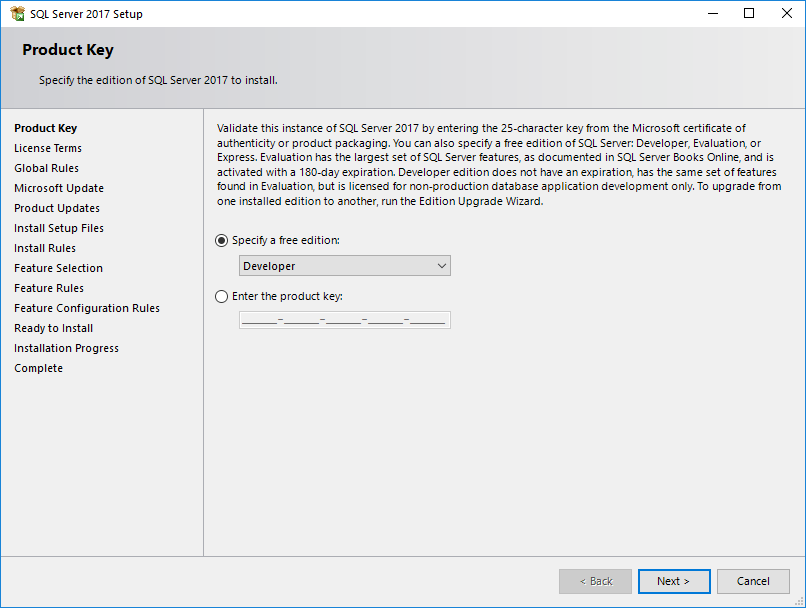
3. The Edition should be pre-selected as determined by your installation media – click to continue.
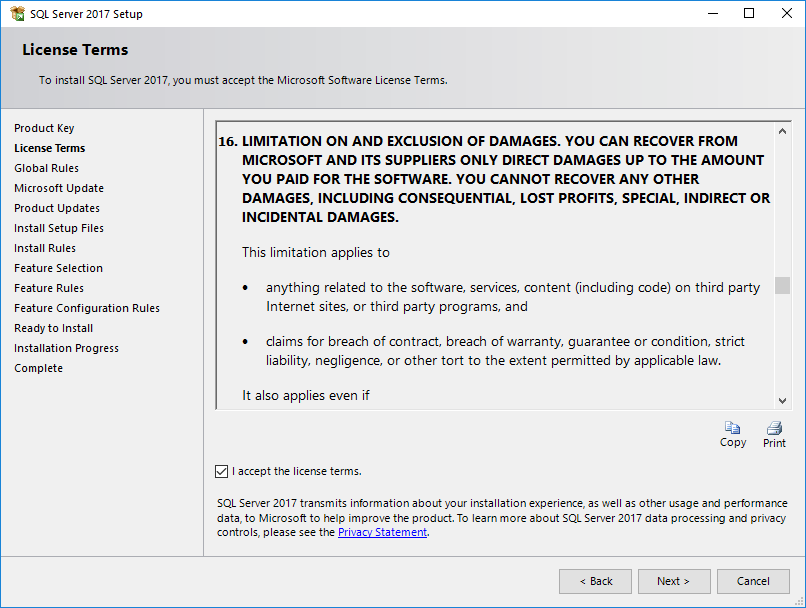
4. Accept but don’t read the license terms.
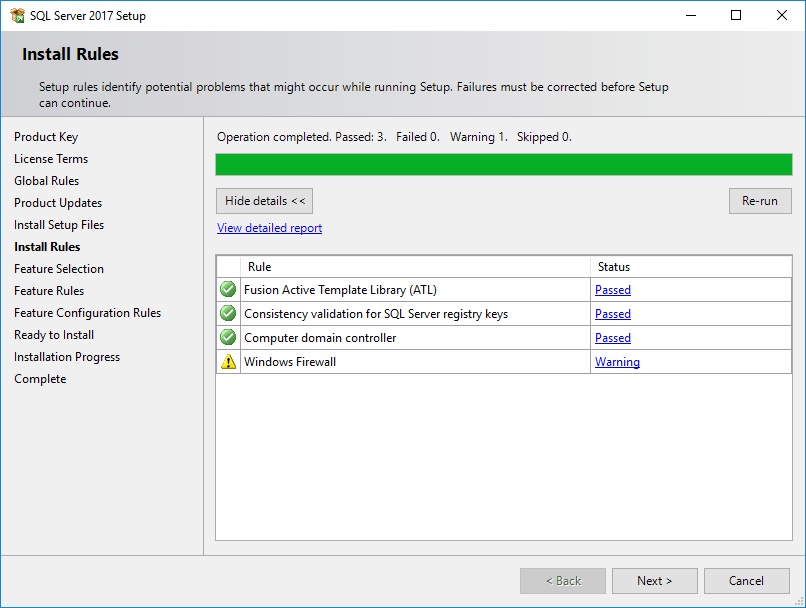
5. Ignore the Firewall warning and continue.
You may have already needed to reboot before getting this far.
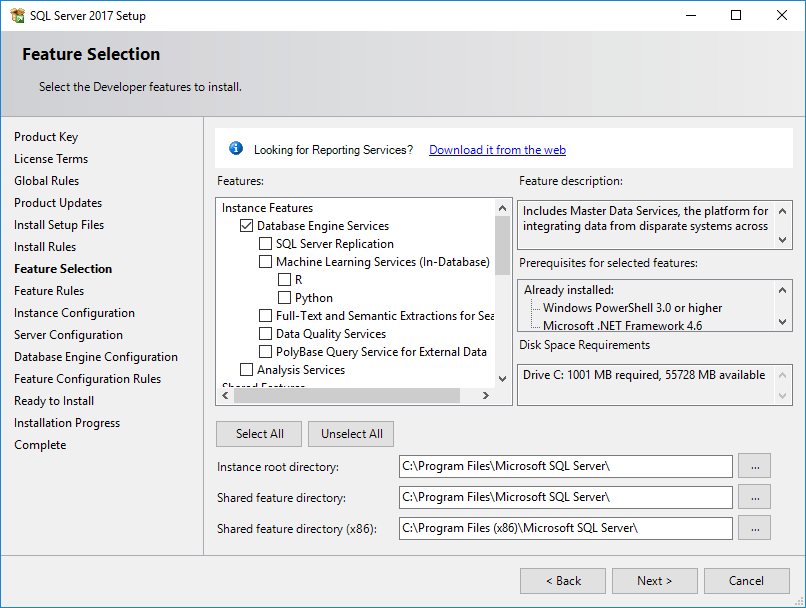
6. Select required Features and continue.
When selecting which features to install, a general rule to go by is, if you don’t know what it is then don’t install it. Maybe you’re thinking you’ll use a feature such as SSRS down the line – it’s dead easy to add stuff on so there’s no need to until decisions have been made. Plus, you might want to have as little load on the SQL box due to it having a license per core model.
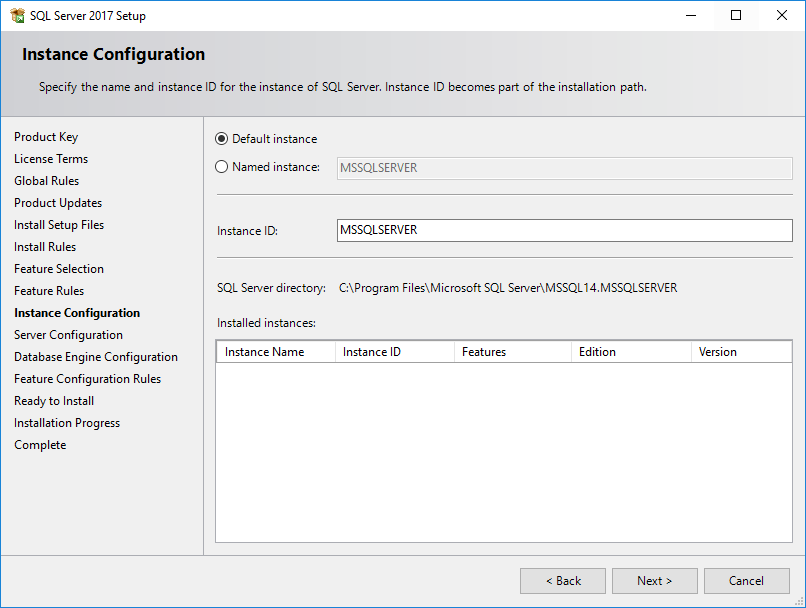
7. Select Instance Type and continue.
If working with multiple instances per server, go for named instances. If one server per instance, the default MSSQLSERVER should be suitable.
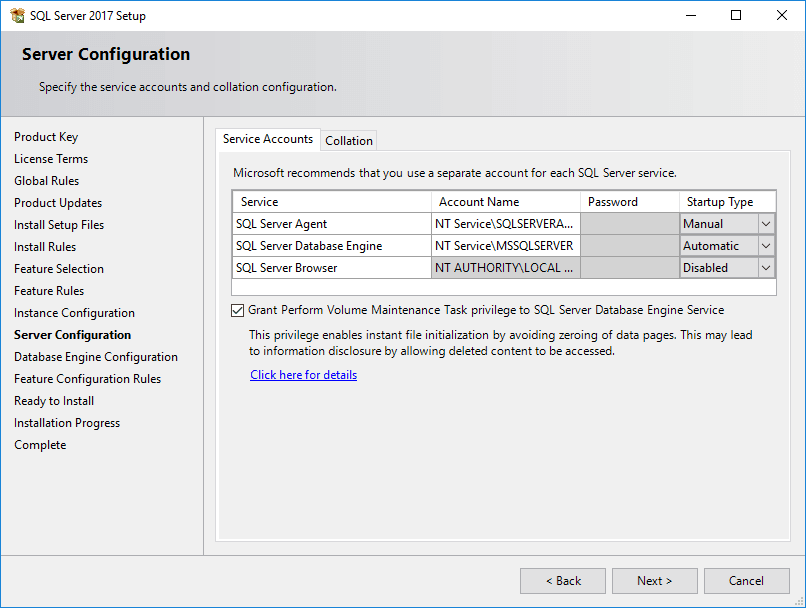
8. Specify Service Accounts and continue.
If your SQL Server will be authenticating to other network locations (e.g. backups to a file server), then it’s best to have a domain service accounts created and insert them in here.
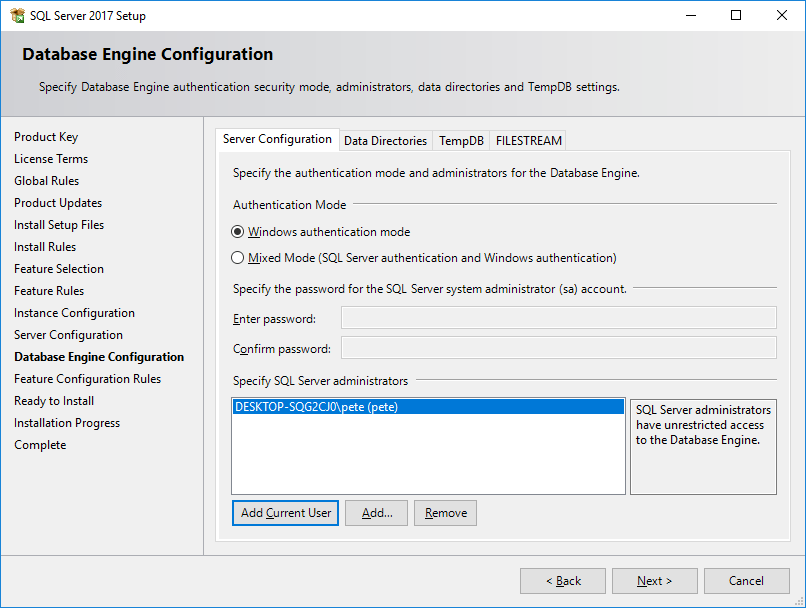
9. Choose your method of Authentication, entering the password for the ‘sa’ account if using mixed mode.
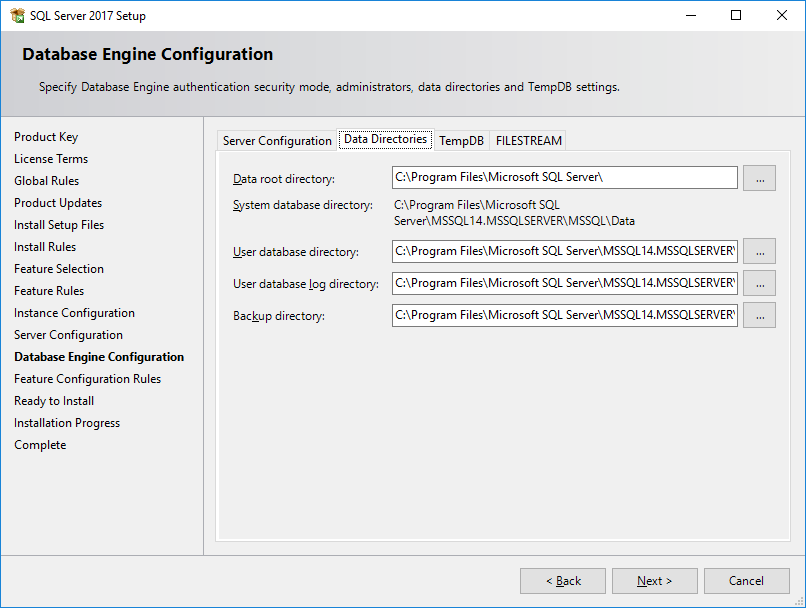
10. Choose Root Directories within the Data Directories tab.
The root directory should fit well on the C:\ drive, as long as your user database directories are set to use separate drives. To ensure optimal performance & for added reliability, store your data, log and tempdb files on separate drives.
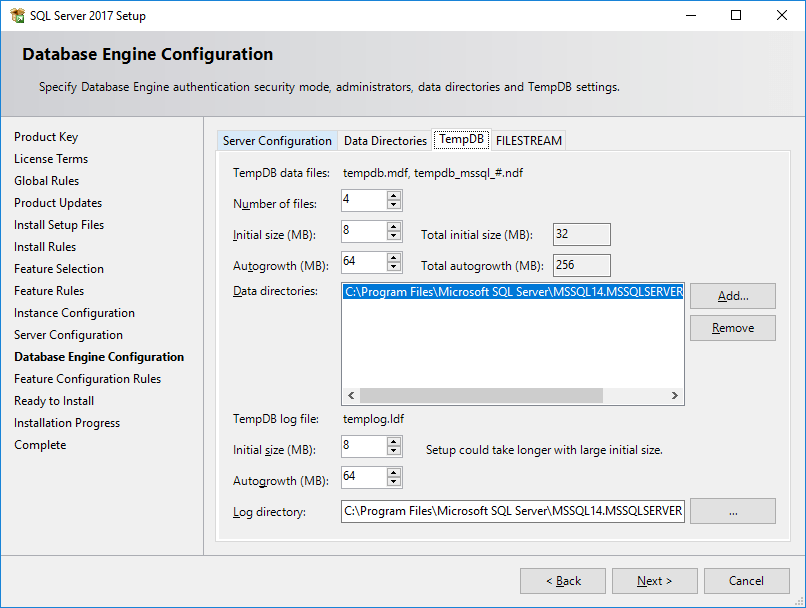
11. Configure TempDB within the TempDB tab.
In SQL Server 2016 on-wards you can specify the number of TempDB files to use within the installation wizard. This number should be automatically populated which is driven by the number of CPU cores you have on the machine. There’s a fair amount of reading to be done over how to manage TempDB, but I’m going to leave it at that for now.
The FILESTREAM tab is for storing files in SQL – not something required in a standard SQL install.
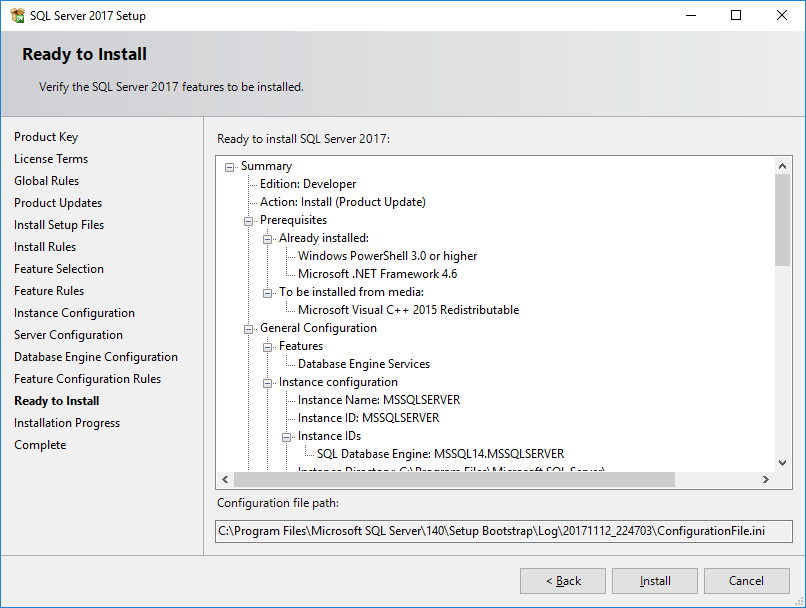
12. Ready to install.
The SQL Server installation wizard has created a ConfigurationFile.ini, which is used for unattended installs. Feel free to have a look or save it for documentation purposes.
13. We’re done!
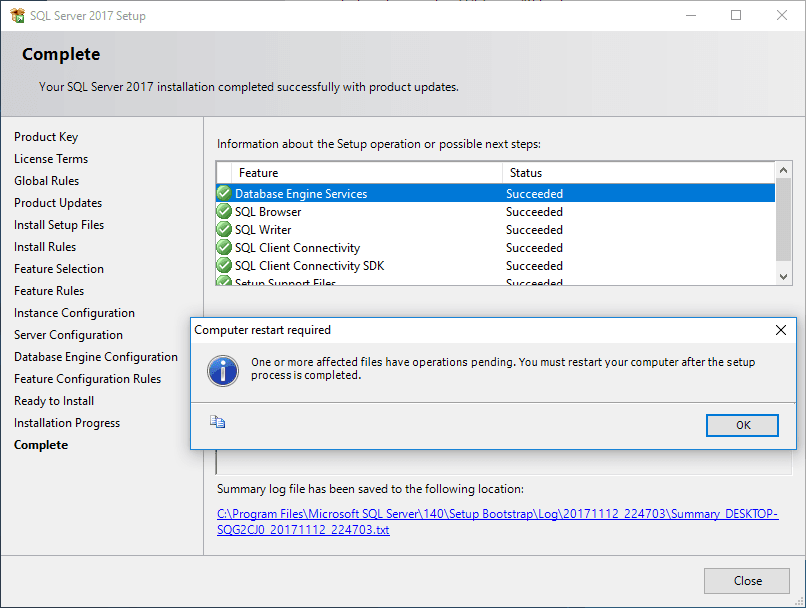
Now what?
Your SQL Server services should be running and it’s waiting on you create your databases. As from SQL Server 2016, SSMS was no longer included within the installation media, so this’ll need to be downloaded and installed too.

2 Comments
[…] Install SQL Server (separate post).# Install PostgreSQL (separate post).# Test Connectivity to Remote Server (previous […]
[…] above was setup similar to what’s included in some of my previous posts:# Install SQL Server on Windows.# Install MySQL on Windows.# Test Connectivity to Remote […]