-

SQL Server Script: Get Database Growth Events
In SQL Server, database growth events occur when the database files automatically expand to accommodate more data. These events are essential to monitor because frequent auto-growth can impact performance, causing fragmentation and increased disk I/O during expansions. Proper configuration of file growth settings is crucial to maintaining optimal performance.
Some DBAs opt for custom SQL Agent jobs to manage file growth in a controlled manner and avoid performance issues during peak times. Enabling Instant File Initialization for data files (but not for log files) can also speed up growth by bypassing the zeroing process, reducing delays during file expansion.
Another critical aspect is monitoring Virtual Log Files (VLFs), as poor log file growth management can lead to performance degradation, especially during backups and recovery processes.
The SQL Script Below:
This script helps you track the most recent database growth events, allowing you to identify which database has recently grown and potentially caused disk space issues. It’s useful for troubleshooting, but ideally, you’d set up ongoing monitoring for proactive management.
SQL Script to Show Database Growth Events
The following script retrieves recent growth events in your SQL Server since the last restart:
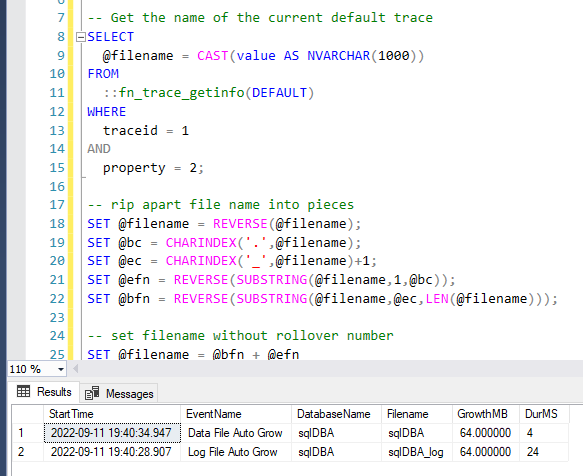
If you have many growth events, exporting the results to Excel for filtering can help. Alternatively, you could save the results to a table and aggregate the total growth per database. For regular monitoring, consider setting up more structured tracking rather than relying on ad-hoc queries.
Tracking SQL Server growth events allows you to quickly identify when database files expand, which can help prevent disk space issues. However, setting up ongoing monitoring and alerting is recommended for long-term performance and disk management.
For more information on SQL Server database growth events check out my previous blog post: Database Growth Events in SQL Sever, this post shows how to change your growth event settings for a database too.
-

Understanding Implicit vs. Explicit Data Conversion in SQL Server
This post is here to help you understand implicit vs explicit data conversions in SQL Server.
What is Data Conversion?
Data conversion involves transforming data from one type to another. SQL Server facilitates this through two primary methods:
Implicit Conversion
> Occurs automatically when SQL Server can safely convert one data type to another without the risk of data loss or errors.
> Example: Converting anINTto aFLOAThappens seamlessly.Explicit Conversion
> Requires manual intervention using functions likeCASTorCONVERT.
> Example: Converting aVARCHARto aDATETIMEdemands explicit instructions, especially when formats are non-standard.SQL Server Data Type Conversion Chart
SQL Server provides a detailed conversion chart that outlines compatible data types and the direction of conversion:

For the most accurate and updated version, refer to the official SQL Server Data Type Conversion Documentation.
Interpreting the Conversion Chart
> Converting anINTto aFLOATis implicit and happens automatically without errors.
> Converting aVARCHARto aDATETIMErequires explicit conversion, as mismatched formats may cause errors.Examples of Explicit Conversions
Explicit conversions offer greater control over data type transformations, ensuring precision and avoiding errors. Here are practical examples:
Valid Explicit Conversion:
Converting aVARCHARcontaining a valid date to aDATETIME:DECLARE @dateString VARCHAR(10) = '2025-01-25'; SELECT CAST(@dateString AS DATETIME) AS ConvertedDate; SELECT CONVERT(DATETIME, @dateString, 120) AS ConvertedDateWithStyle;
In the above example:
>CASTconverts theVARCHARtoDATETIMEdirectly.
>CONVERToffers additional formatting options using style codes (e.g.,120foryyyy-mm-dd).Explicit Conversion with Errors
When theVARCHARdoes not represent a recognizable date format, conversion fails:DECLARE @invalidDate VARCHAR(10) = 'invalid'; SELECT CAST(@invalidDate AS DATETIME); -- Results in an error /* Msg 241, Level 16, State 1, Line 3 Conversion failed when converting date and/or time from character string. */
Best Practices for Data Conversion
Validate Input:
Ensure input data is clean and adheres to expected formats before conversion.Use Explicit Conversion for Clarity:
Even when implicit conversion is possible, explicit conversion improves code readability and reduces ambiguity.Handle Errors Gracefully:
UseTRY_CONVERTorTRY_CASTto avoid runtime errors in case of invalid data:DECLARE @invalidDate VARCHAR(10) = 'invalid'; SELECT TRY_CAST(@invalidDate AS DATETIME) AS SafeConversion;
This approach returns
NULLinstead of throwing an error.Hope this random post was useful!
-
Show Line Numbers in SQL Server Management Studio (SSMS)
This is a quick tip on how to show line numbers in SQL Server Management Studio (SSMS) query windows.
Enabling line numbers can be useful, especially when you get an error message that points to a specific line in your code. While not strictly necessary, some developers prefer to keep this feature enabled as a standard practice.
How to Enable Line Numbers in SSMS
To enable line numbers in SSMS:
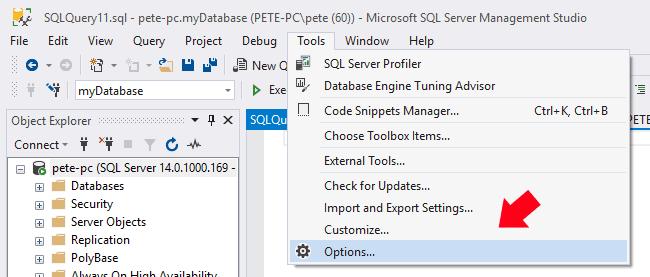
1. Click Tools in the top menu and select Options.
2. Navigate to Text Editor > Transact-SQL > General.
3. Check the box for Line numbers and click OK.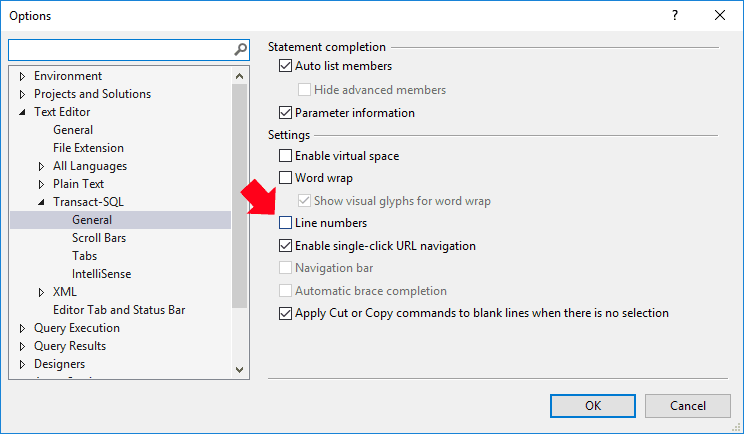
Now, your query window will display line numbers alongside your code.
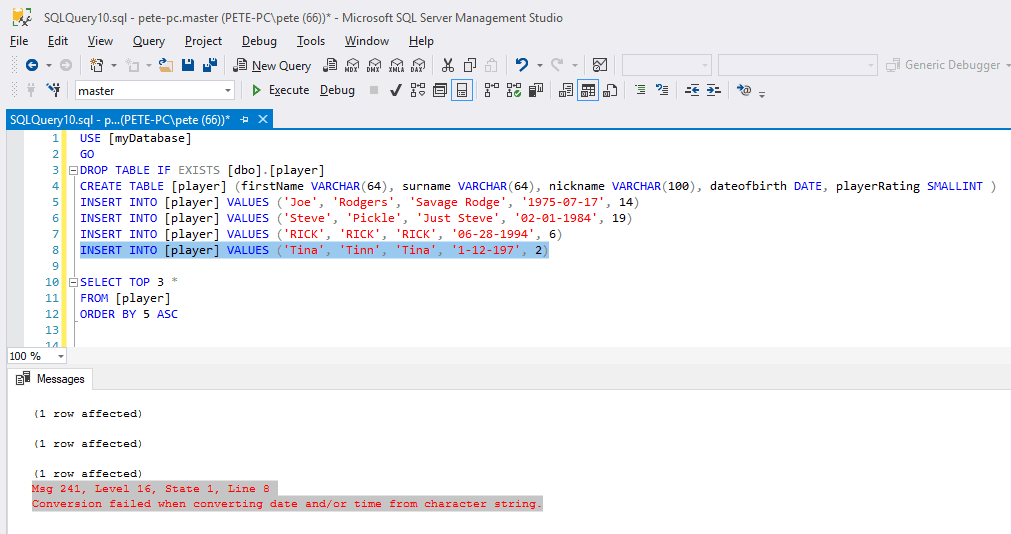
Demo: Spotting Errors with Line Numbers
In this example, I’ve created a test table and introduced an intentional error. The issue is a misformatted
dateofbirthcolumn in the 4th insert statement, which produces the following error:Conversion failed when converting data and/or time from character string
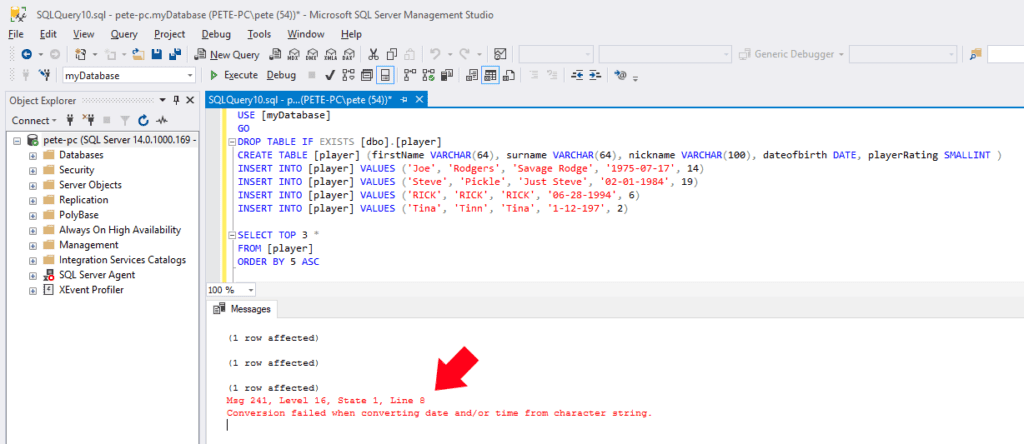
Manually counting the lines shows that the error is on the 4th insert, at line 8.
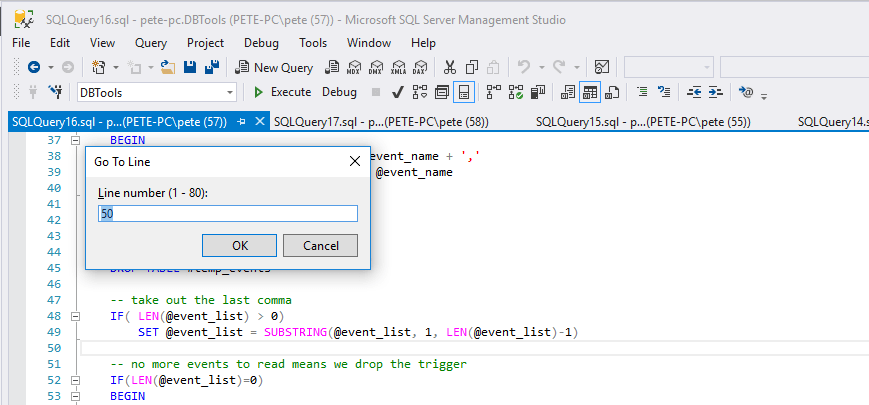
Even without line numbers, you can double-click an error in the Messages pane to jump directly to the problem line. Alternatively, use Ctrl+G to go to a specific line:
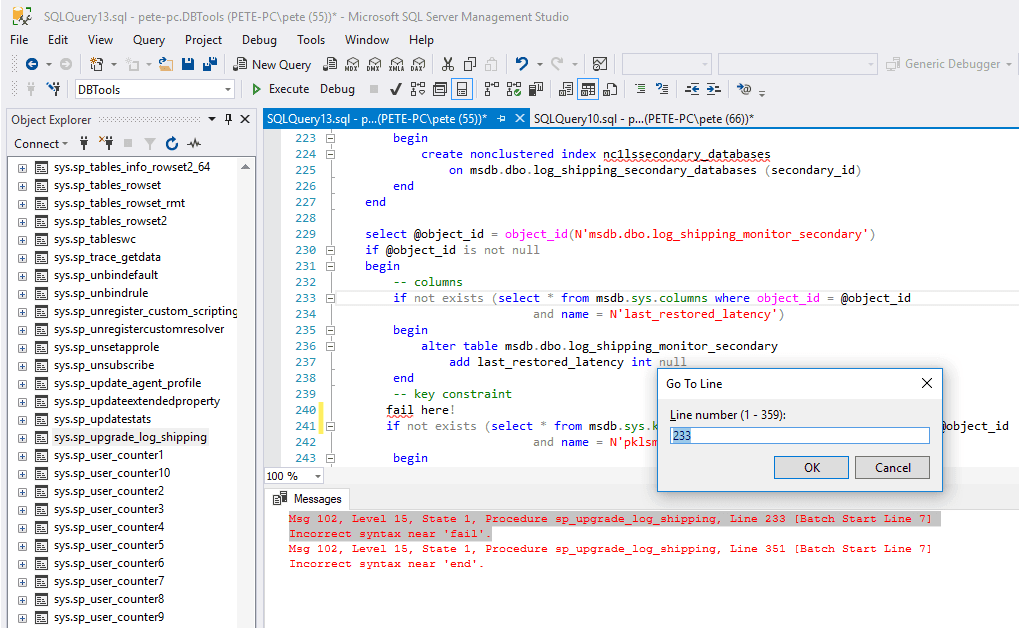
While line numbers help identify problem areas, error messages aren’t always exact. In some cases, the referenced line might point close to, but not exactly at, the issue. Still, enabling line numbers simplifies debugging and improves readability, especially if reviewing code with others.
`
-
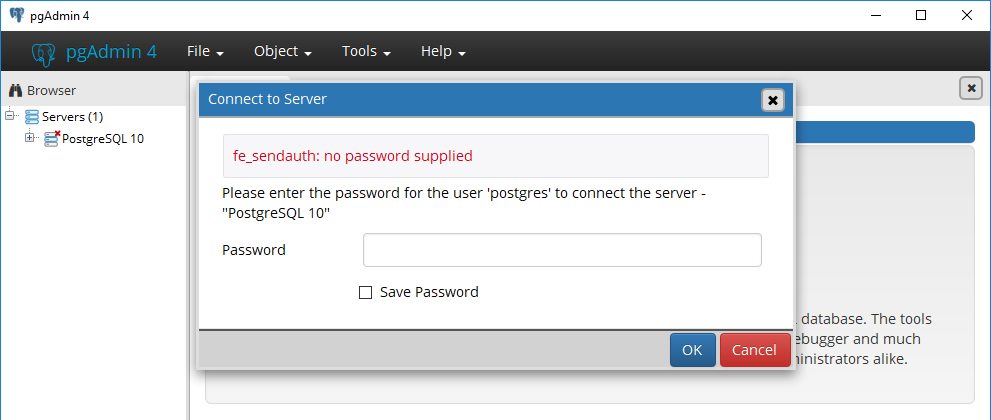
Reset Default PostgreSQL User Password
A common scenario working with Postgres is when you have forgotten your default Postgres user password. This is the password you will have entered during your Postgres installation.
This is a guide on how to reset the default Postgres user password. This should hopefully help you resolve this issue on your test Postgres environment.
Resetting the local default postgres user password includes the following steps:
– Open the Postgres pg_hba config file.
– Amend the authentication method to allow local connectivity.
– Update Postgres User password.
– Revert the change in pg_hba.config file once verified.How to Reset Postgres User Password
1. Open your pg_hba.conf file which can be found in your data directory.
Default Path: C:\Program Files\PostgreSQL\10\Data2. Change the method within the pg_hba.conf file as highlighted below, from
md5totrust.
3. Restart the postgresql service.
4. Open psql in your terminal, connect and execute the
ALTER USERSQL Statement as shown below.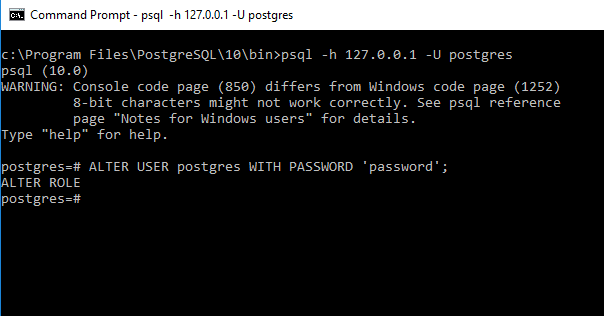
5. Now open pgAdmin, you should be able to log back in with the ‘postgres’ user.
-

How To Install PostgreSQL on Windows
PostgreSQL is a free open-source RDMS that is widely used and forked. Other than PostgreSQL itself, Redshift is the only other forked database I’ve ever touched.
This blog post is a very simple wizard run-through of installing PostgreSQL and Stack Builder on Windows for testing.
# Install PostgreSQL on Windows
# Install Stack Builder on Windows
Install PostgreSQL on Windows
PostgreSQL official downloads can be found here. Also see this link (chapter 16) for installing this on a Linux system.
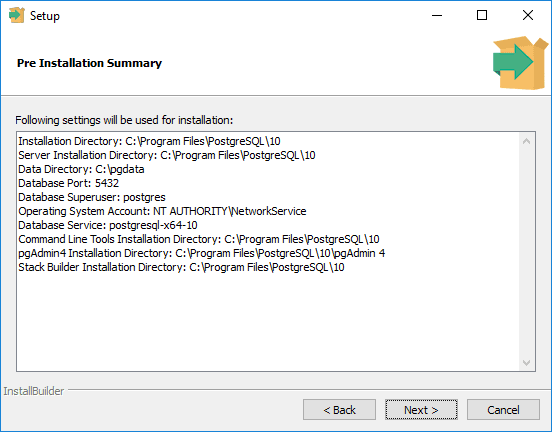
1. Run set-up exe file.
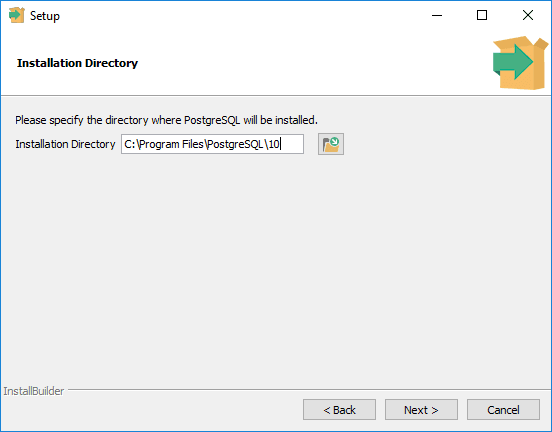
2. Specify installation directory.
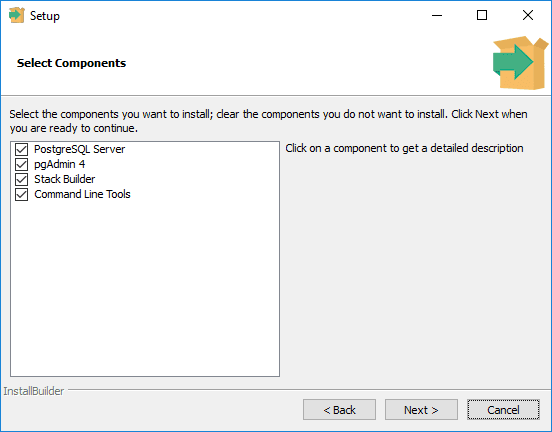
3. Select features.
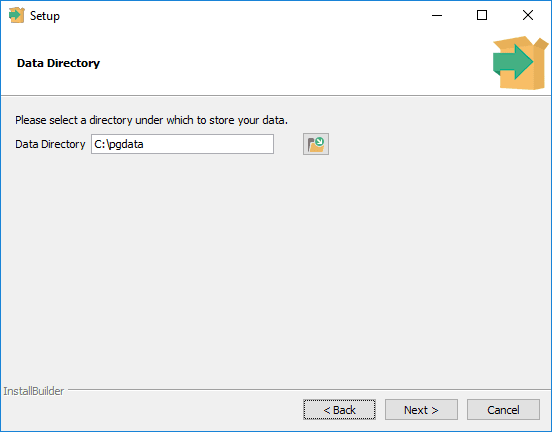
4. Specify data directory.
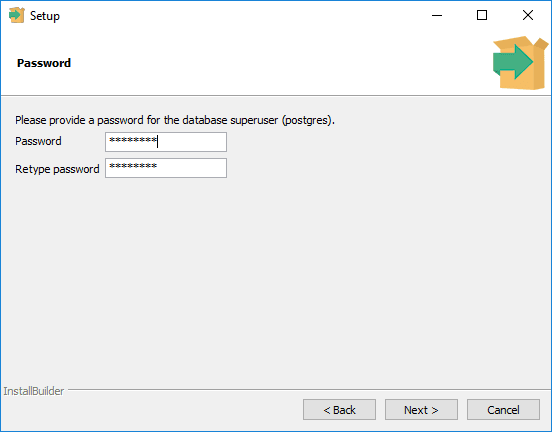
5. Enter the superuser (postgres) password.
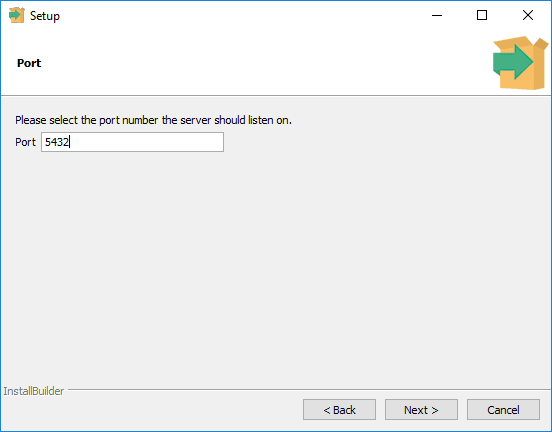
6. Enter the listening port.
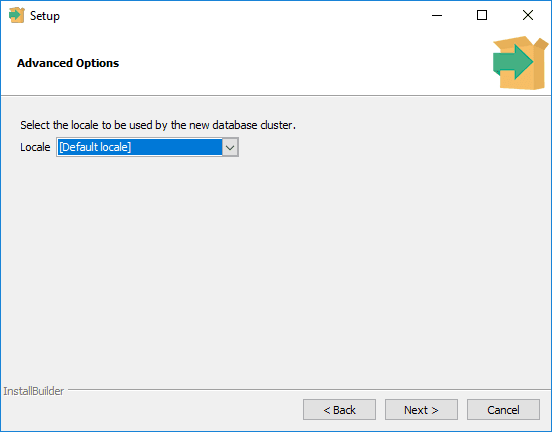
7. Default local for English.
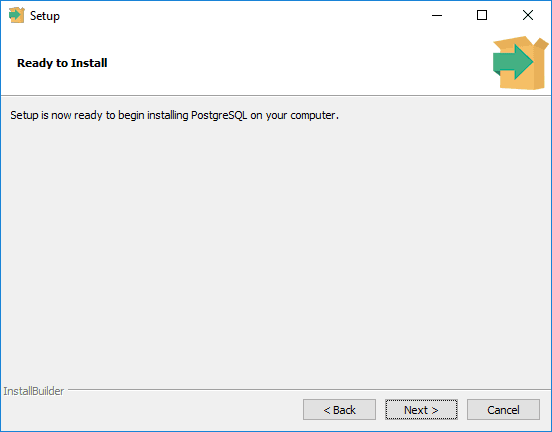
8. Next, next, next & you’re done.
Install Stack Builder Components on Windows
Stack Builder is a quick way of getting additional software installed on your server, such as drivers, apache and EnterpriseDB tools.
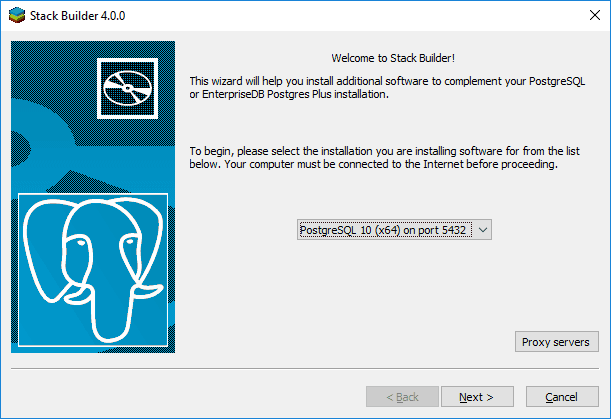
1. Select your Postgres Sever.
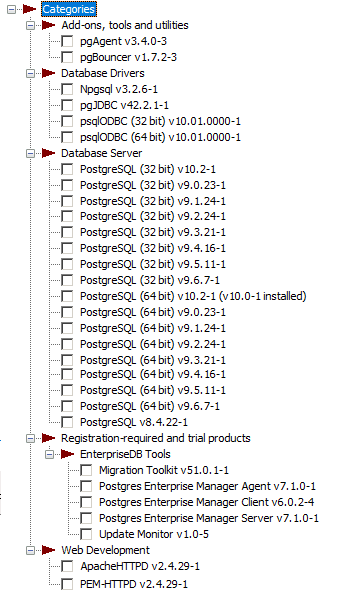
2. Make your selections – pretty handy having things like the drivers in here.
3. Continue on.
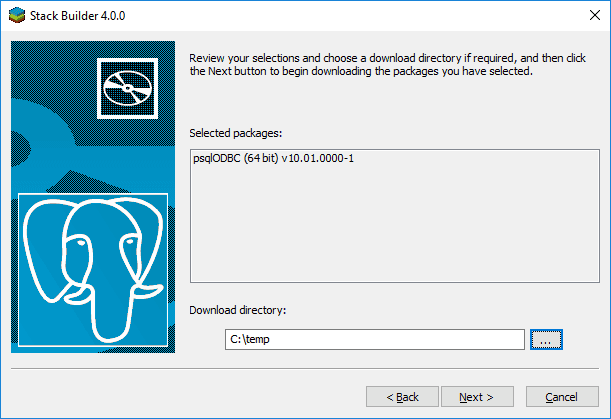
4. A reboot may be required, depending on what has been selected.
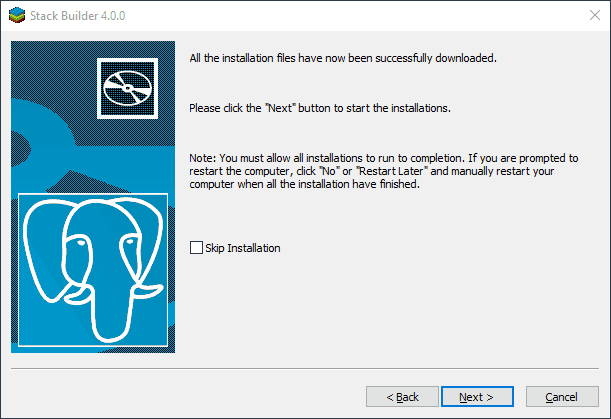
And we’re done. Next, install a management tool such as PG Admin.