
Changing the default Windows Subsystem for Linux (WSL) distribution is simple. This guide shows you how to list your installed distros, set a new default, and fix the one error the command throws when the distro name is not an exact match.
1. Listing Installed WSL Distributions
Before setting a new default, check which distributions are installed on your system. Open a terminal and run:
# show installed wsl distros
wsl -l -v
This command lists all installed WSL distributions along with their version numbers. Take note of the exact name of the distribution you want to set as the default.
2. Changing the Default WSL Distro
Once you have identified the distro you want to use as the default, run the following command:
# set default wsl distro
wsl -s <distro-name>
Replace <distro-name> with the name of your preferred default distribution.
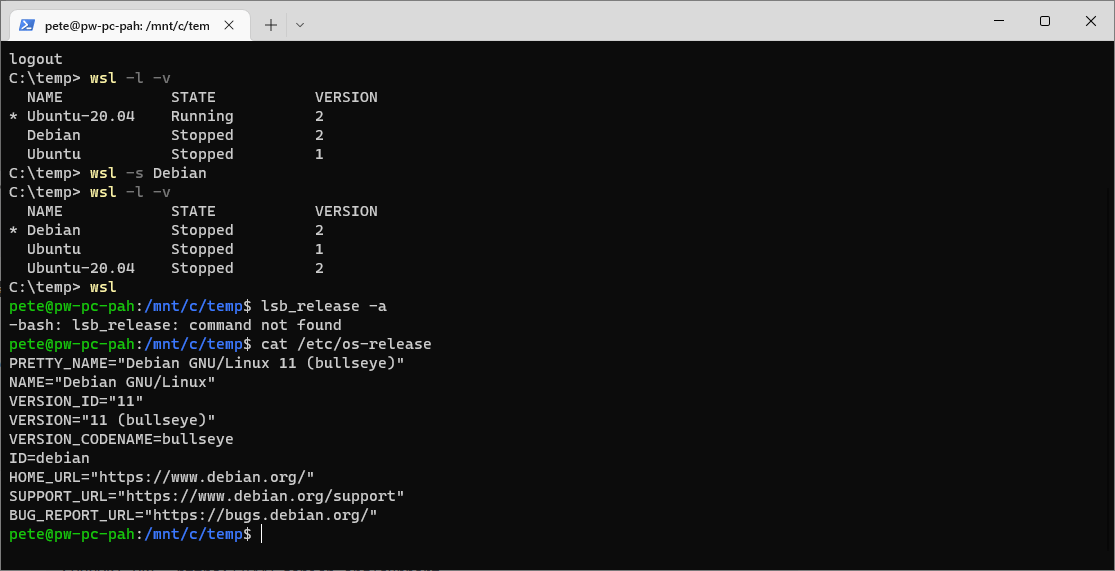
In my example above, I’m setting Debian as the default distro and then when I enter that WSL Debian, I’m running cat /etc/os-release to verify what Linux flavor I’m running.
“There Is No Distribution With The Supplied Name”
This is the one thing that goes wrong with wsl -s, and it is nearly always the name rather than anything being broken:
# the distro is registered as Ubuntu-20.04, not Ubuntu
wsl -s Ubuntu

There is no distribution with the supplied name.
Error code: Wsl/Service/WSL_E_DISTRO_NOT_FOUND
The name has to match what wsl -l -v prints character for character, version suffix included. As far as WSL is concerned Ubuntu and Ubuntu-20.04 are 2 different distros, and only one of them is installed.
The verbose listing pads its columns with spaces, which is where the wrong name usually comes from. The quiet form prints the names on their own, so there is nothing to trim:
# just the distro names, nothing else
wsl -l -q
Nothing is changed when the command fails, so whatever was default before is still default. To confirm which one that is, list the distros again and look at the left column: the default is the one with an asterisk against it.
Setting the default changes what starts when you type wsl on its own, with no distro named. If you only want a different distro for the session in front of you, leave the default alone and name it on the command instead:
# run one distro once, without changing the default
wsl -d Debian
That’s it, you’ve now set your default WSL distribution! For more random WSL tips, feel free to check out my other WSL Blog posts.
Related
- How to Change the Default User in WSL
- How to Back Up and Restore a WSL Distro
- How to Check WSL Distro Versions
- How to Uninstall a Linux Distro in WSL
If SQL Server is part of your day job, my current work lives over at sqldba.blog: production DBA scripts, an error library and the SSMS guide.