-

Joining a Windows Host to a Domain
This post contains a demo of joining a Windows Server onto a test Domain, which I created in my previous post (Installing Active Directory on Windows Server 2016).
Joining a Windows Computer to Active Directory Domain Services is required in 99% of Corporate environments, and is usually a Systems Administrator task to configure at the Domain Controller side. Adding a computer to AD allows your computer to be administered via Group Policies that can be applied to all remote computers globally within your company. This helps companies lock down computers and roll out new software or updates.
There are 2 parts to this one:
> Creating a New Domain User Account
> Joining a Windows Server to a DomainCreating a New Domain User Account
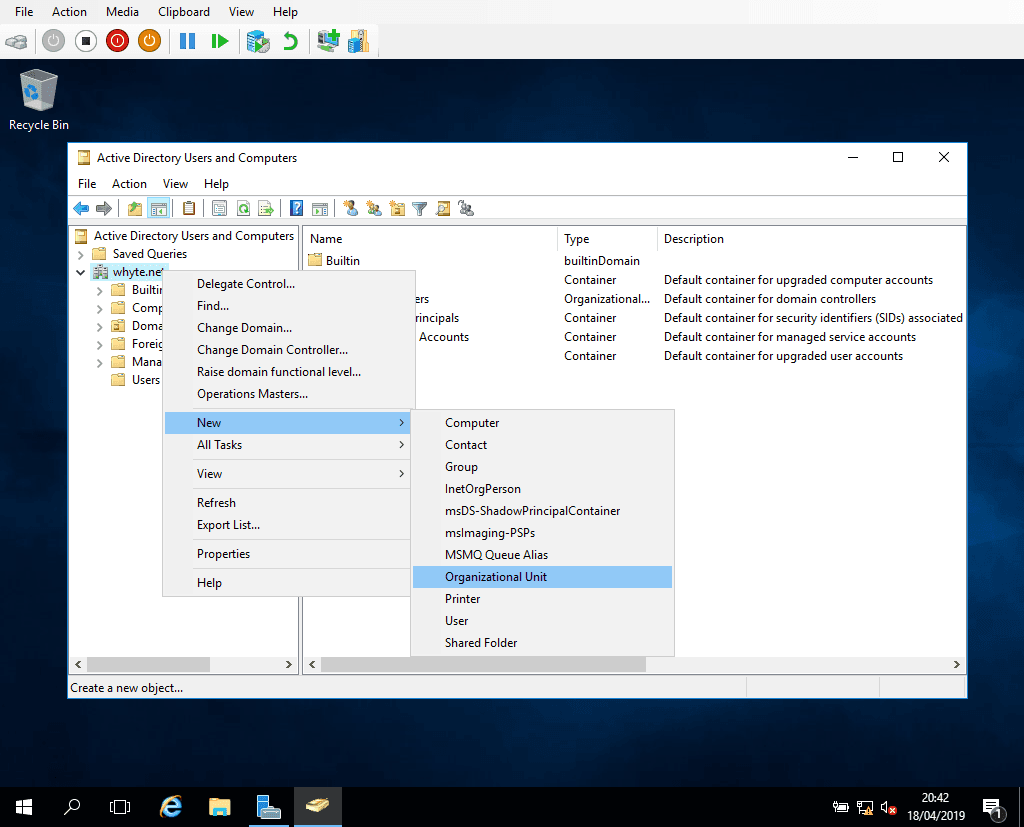
I’m creating a new user account for me to carry out all changes required to set up my lab. It’ll be a new OU in AD, create a new user account and then add it to the Domain Admin group.
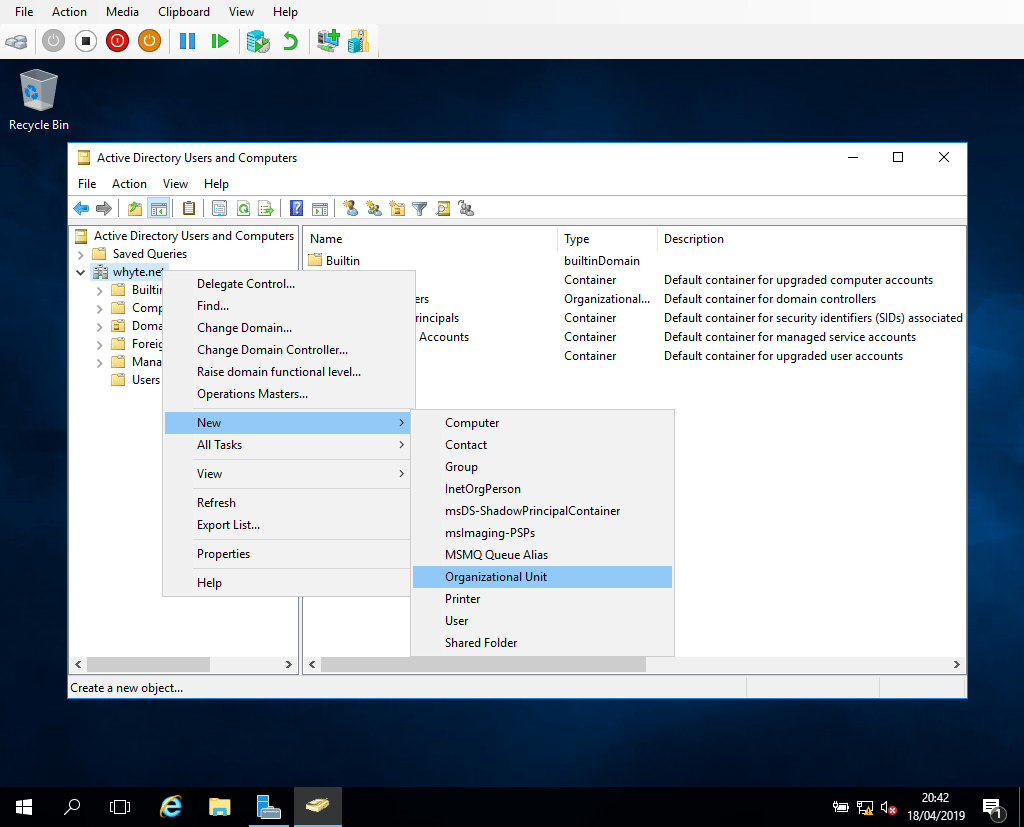
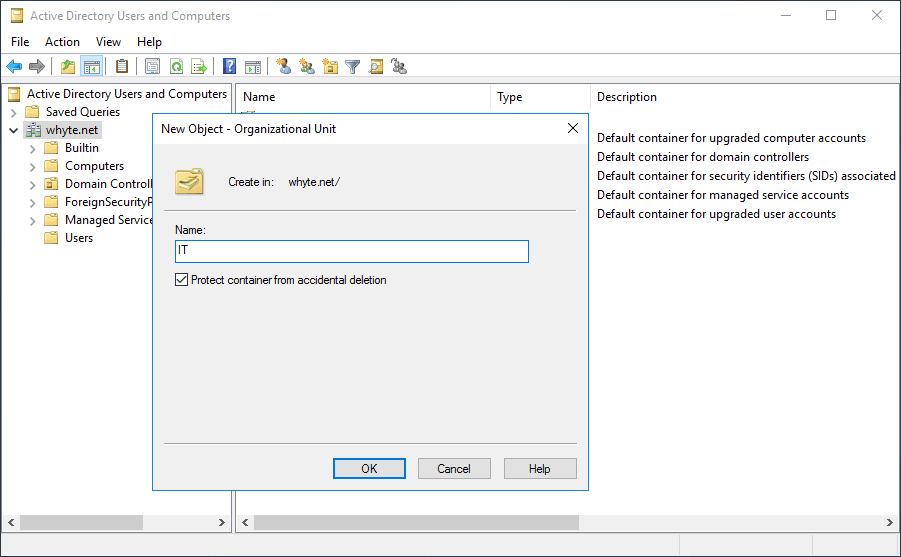
1. Right-click the Domain Name within Active Directory Users and Computers, select New and Organisational Unit:
2. Enter the new OU name – I’m going to pretend I’m in the IT Department:
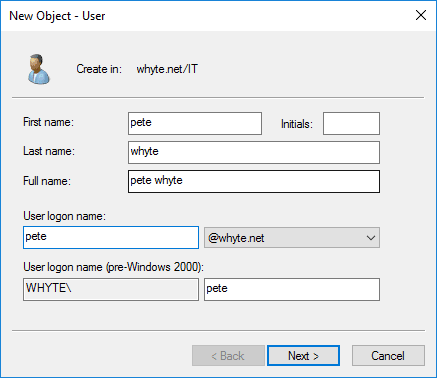
3. Within the IT OU, right-click and select New-User:

4. Enter new user details:
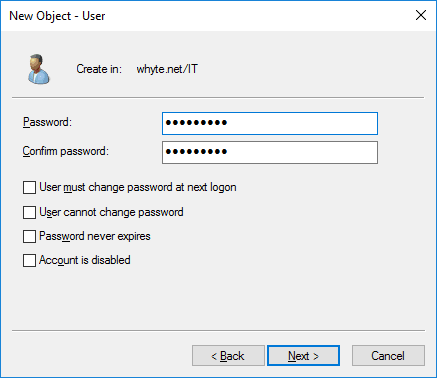
5. Enter password stuff:
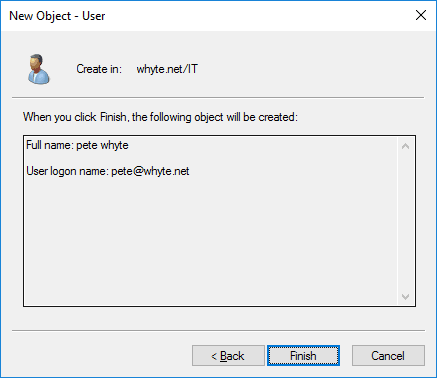
6. Finish:
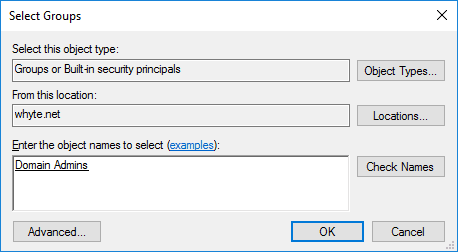
7. Right-click the new user and select Add to a group:
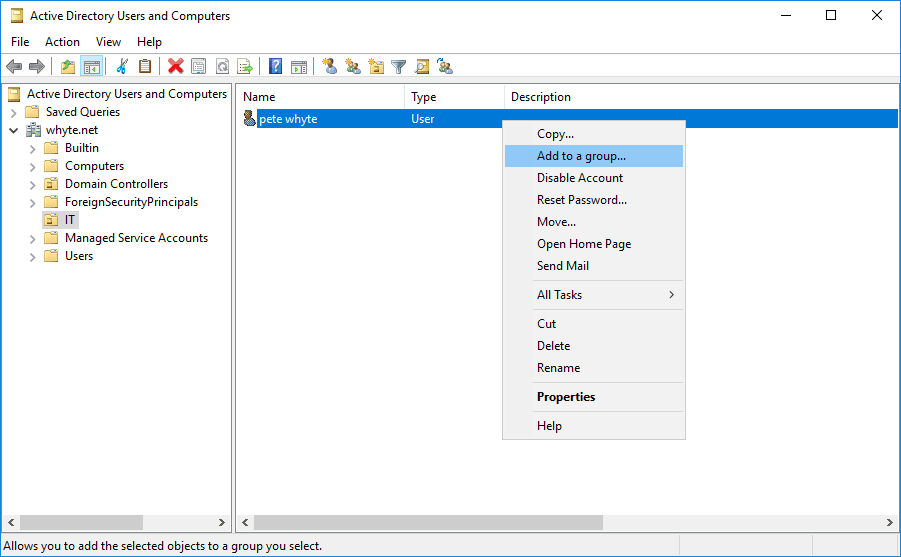
8. Enter king group, Domain Admins:
Joining a Windows Server to a Domain
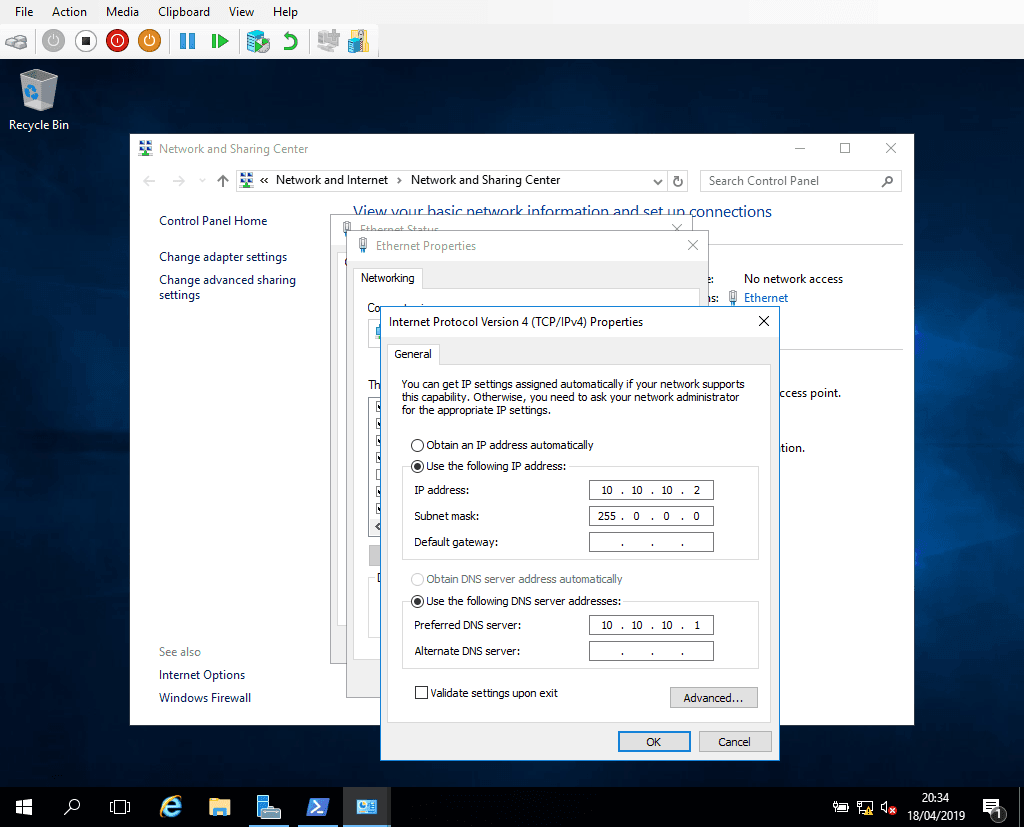
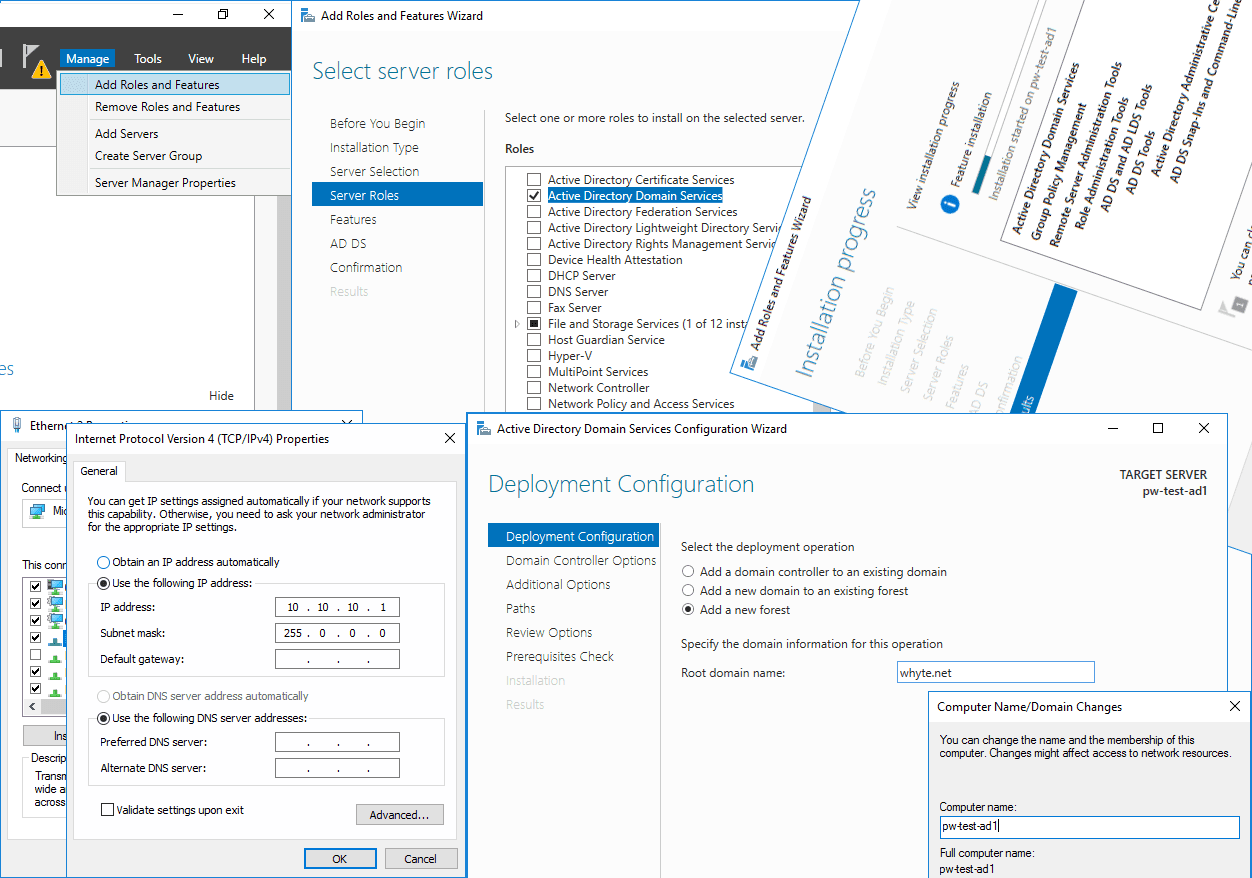
1. First, I have to get onto the same private IP range as the DC:
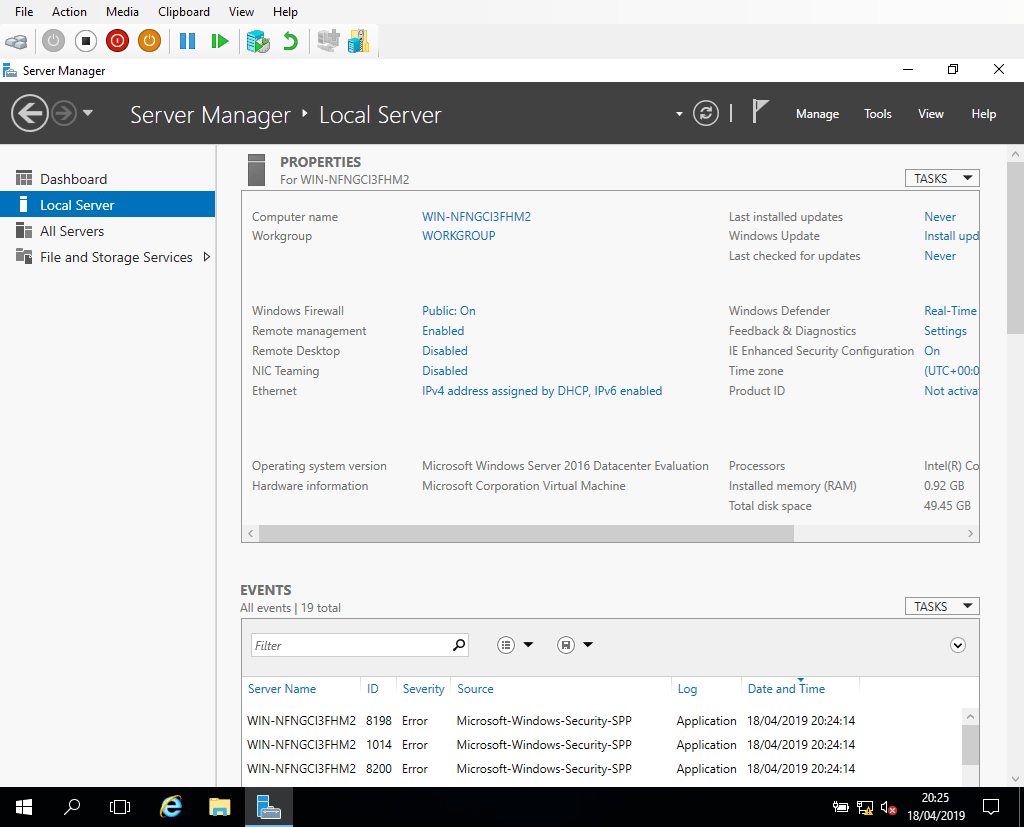
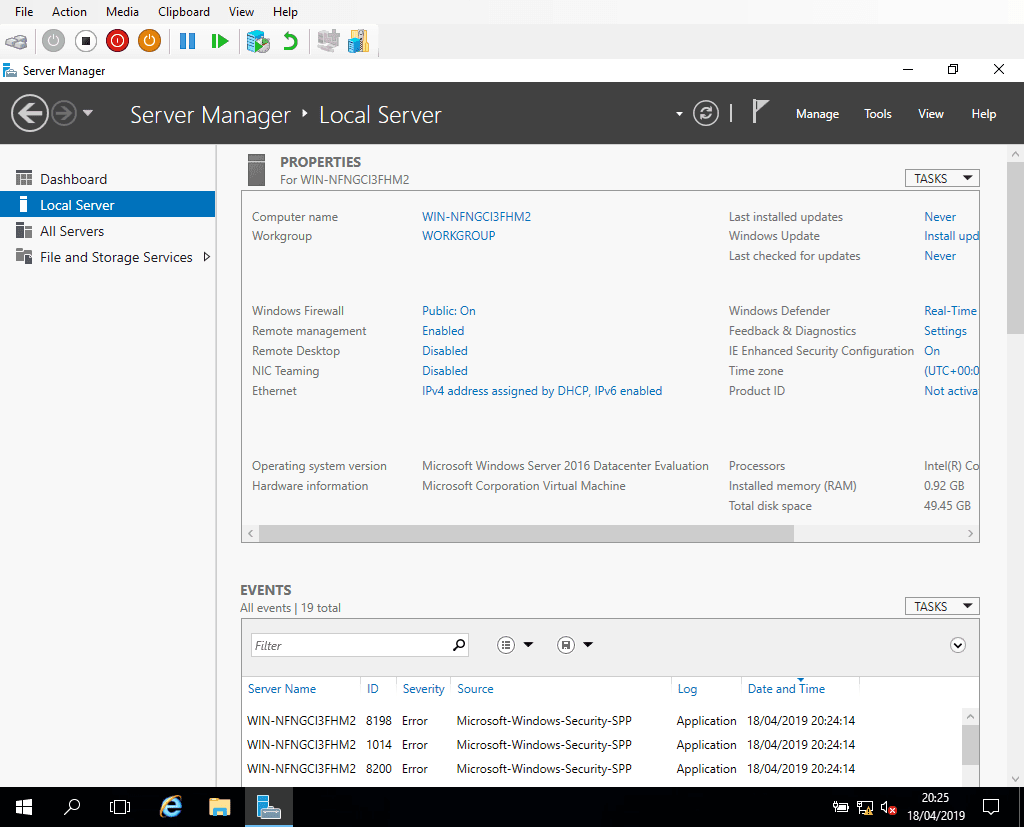
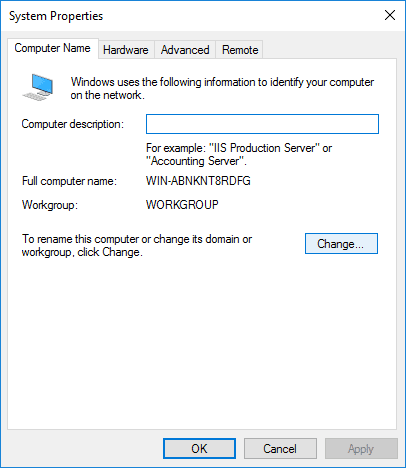
2. Within Server Manager, click the Computer name link:
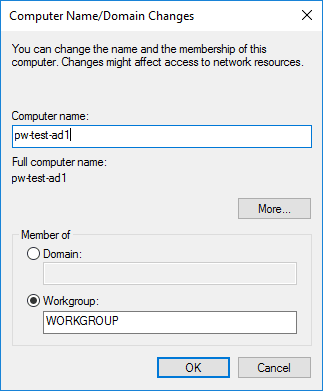
3. Click Change:

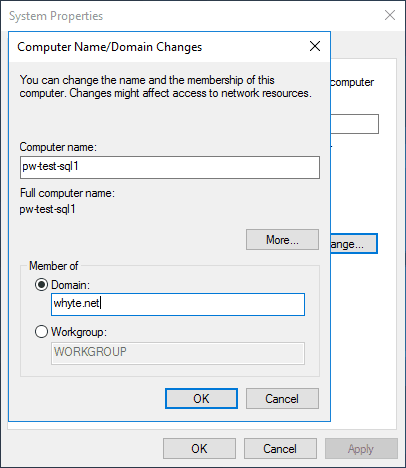
4. Amend the hostname and enter the Domain name:
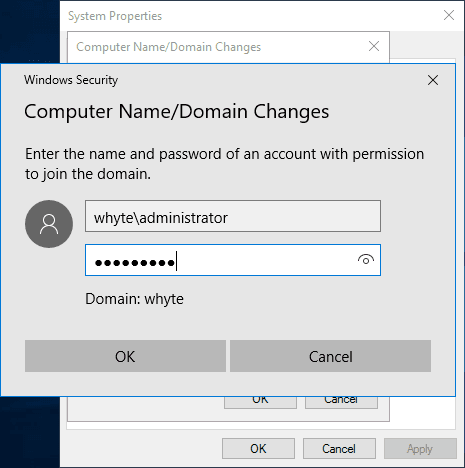
5. Enter credentials for an account that can join the domain (the account created above within this post would also work):
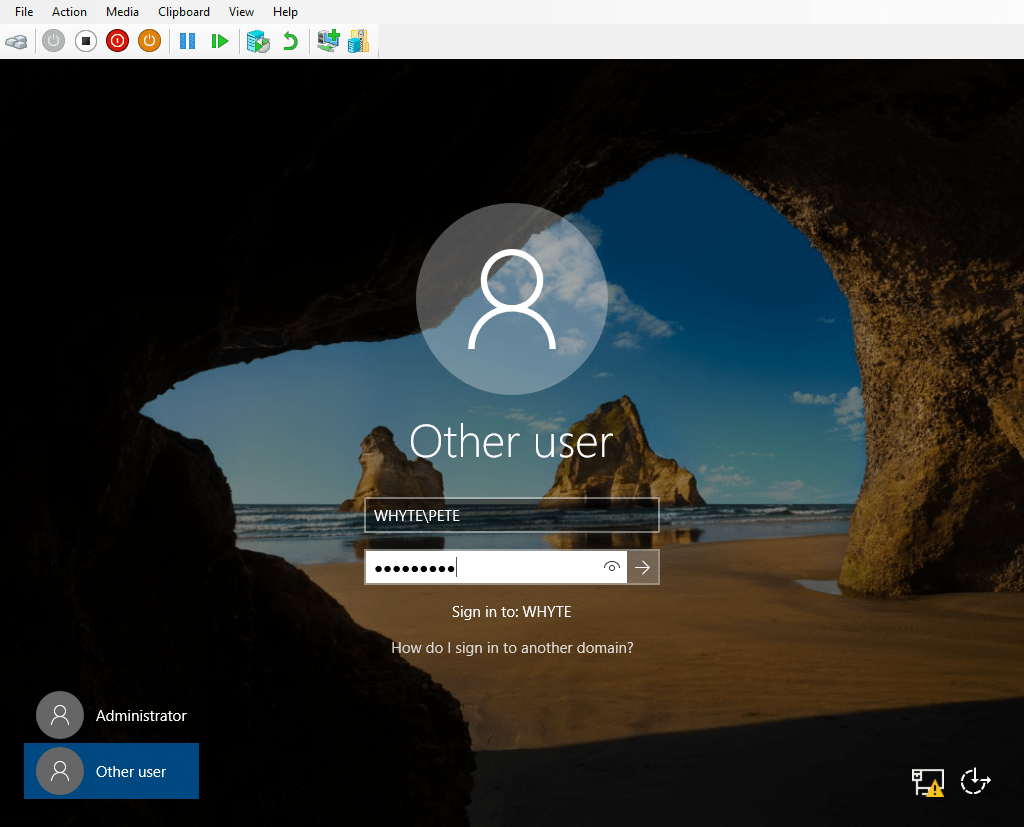
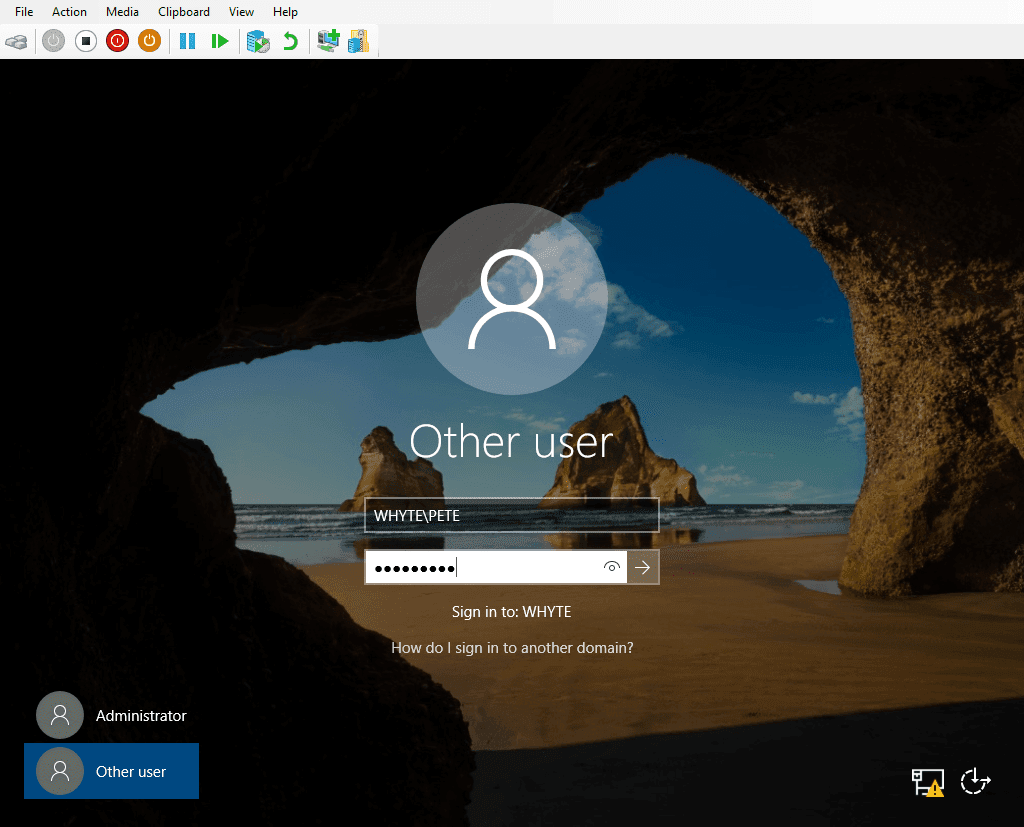
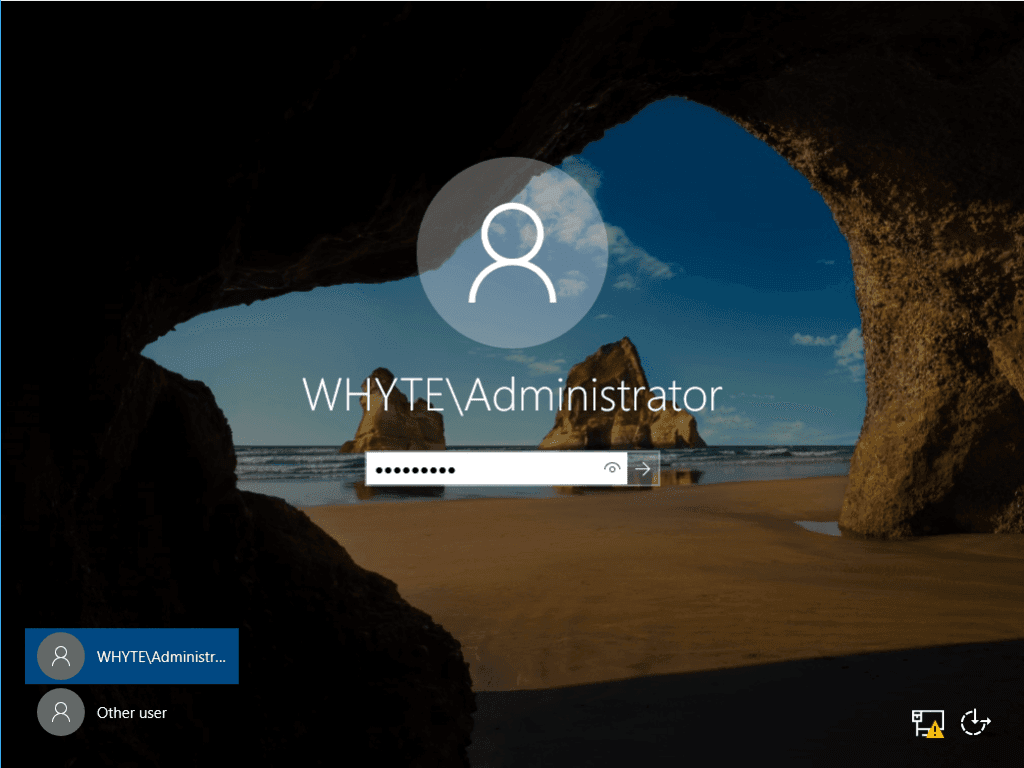
6. When the server next boots up a domain user account can log in:
And that should be us!
-
Installing Active Directory on Windows Server 2016
This post contains a demo installation of Active Directory Domain Services on Windows Server 2016. It follows a previous post for a series of test lab configuration posts.
Microsoft docs on installing AD on Windows Server can be found here: Install Active Directory Domain Services
Configuring a Windows Server 2016 on a local Hyper-V can be done by following my previous post: Installing Windows Server 2016 with Hyper-V
The following steps will get your test Windows Server environment set up to run Active Directory:
# Create a Hyper-V Private Network.
# Configure Windows TCP/IP Settings.
# Rename the Windows Server Host.
# Install Active Directory.
# Promote the Server to a Domain Controller.
Once the above has been achieved, you can create a new VM in Hyper-V (or other Hypervisor) and join your Domain, as I’ve done for some tests.Create a Hyper-V Private Network
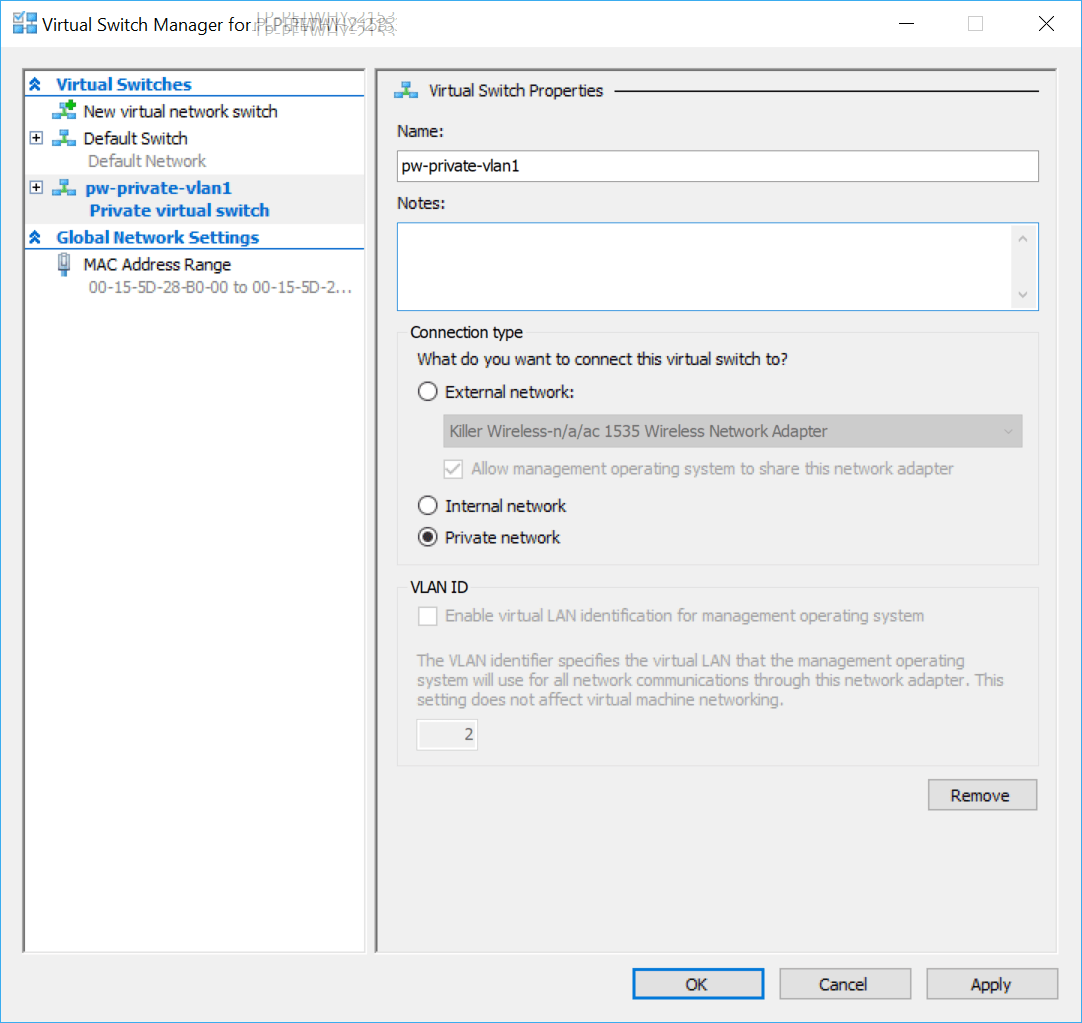
1. Right-click the Hyper-V host and select Virtual Switch Manager.

2. Select Private and Create Virtual Switch.
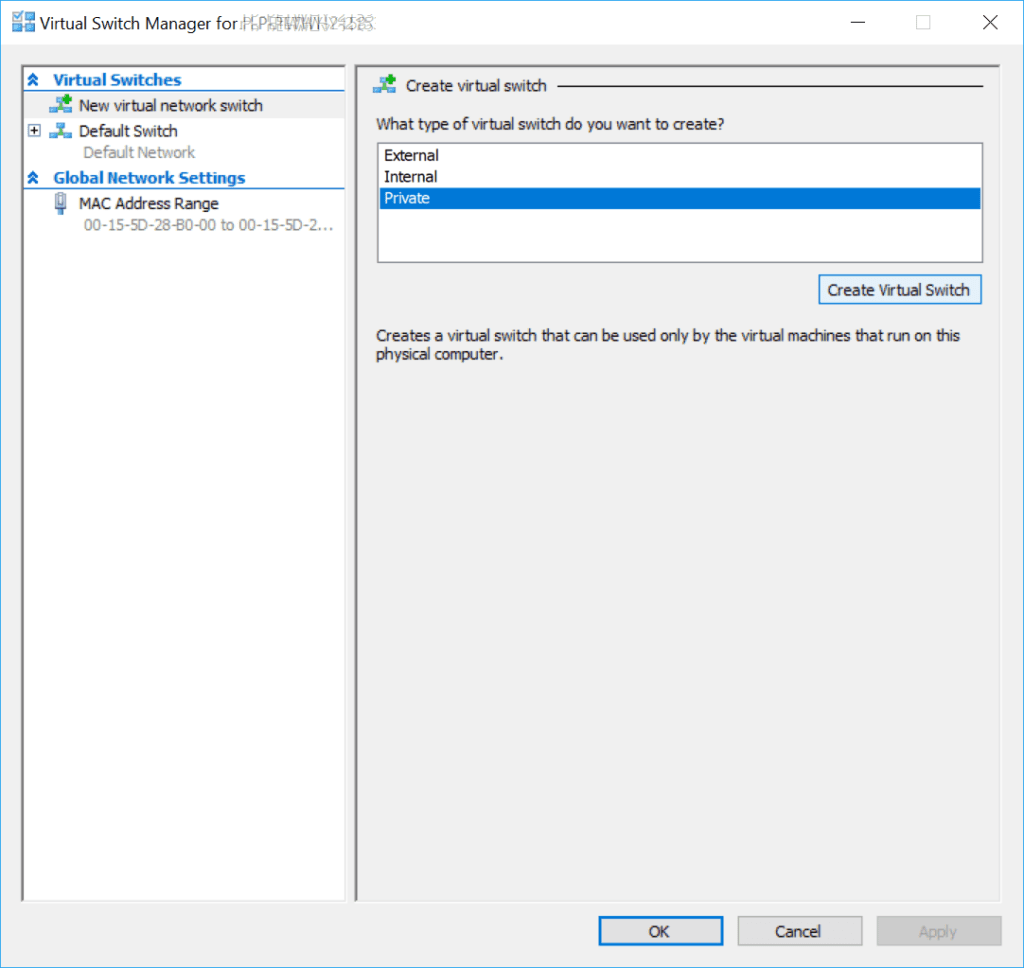
3. Enter a name for the network and click okay.

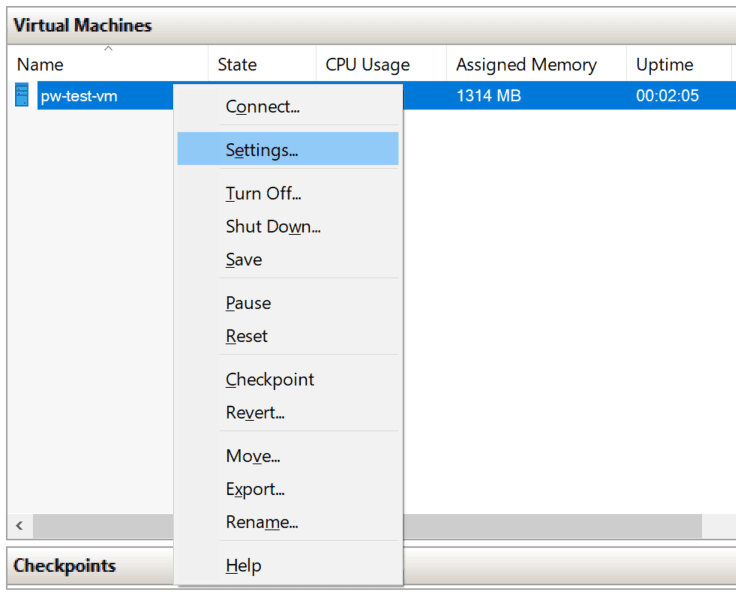
4. Right-click the VM in Hyper-V and click Settings.
5. Add a new Network Adapter.
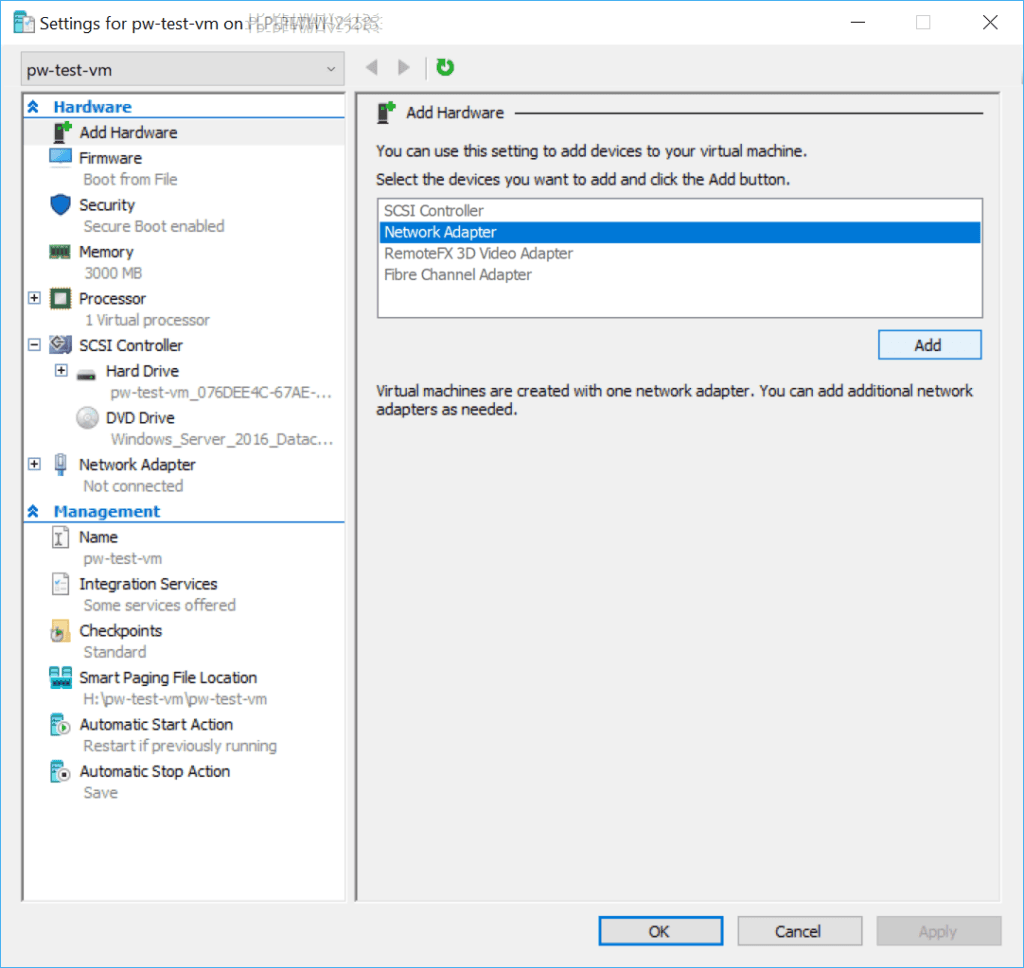
6. Select Private vSwitch as named above and click OK.

Configure Windows TCP/IP Settings
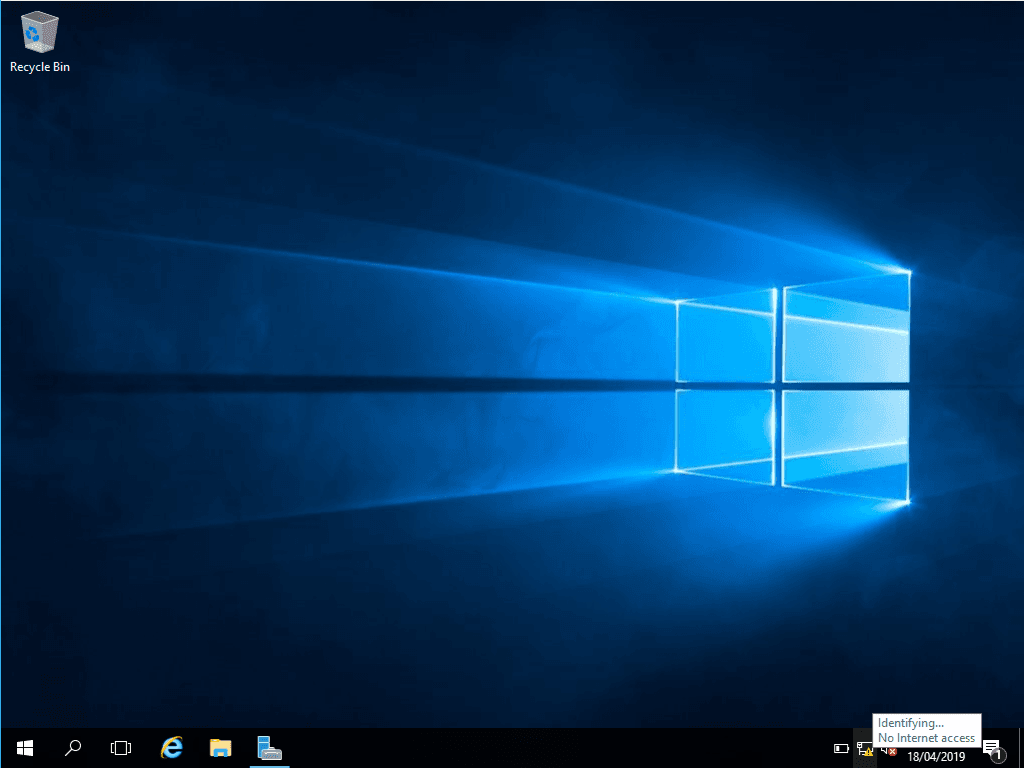
1. When the above has been set-up, Windows Server will show network settings as Identifying…
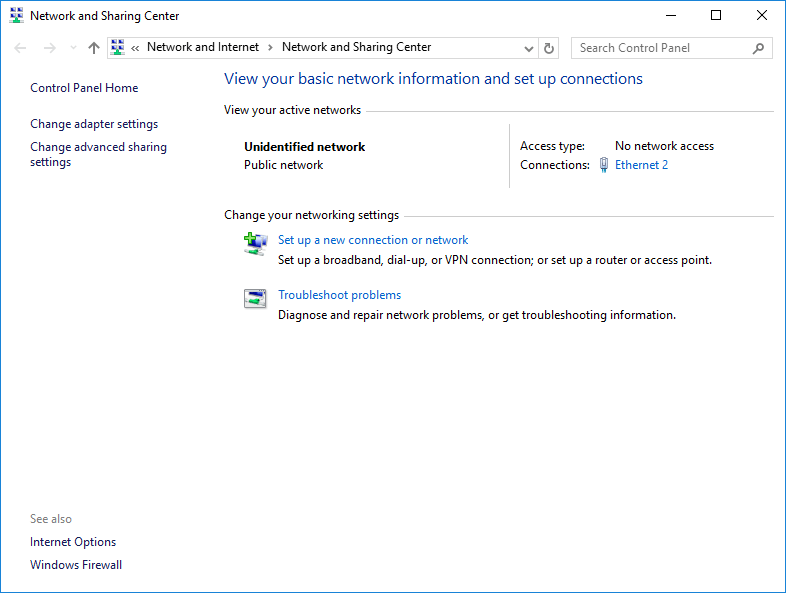
2. Right-click the network icon and click Open Network and Sharing Center.

3. Click the highlighted active Ethernet connection.
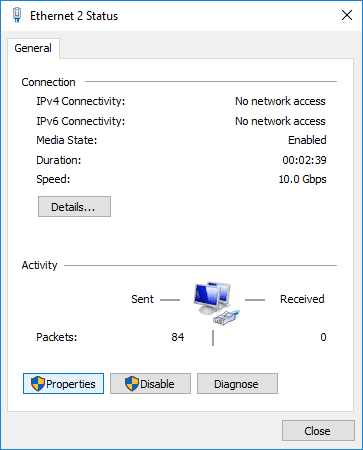
4. Open Properties.
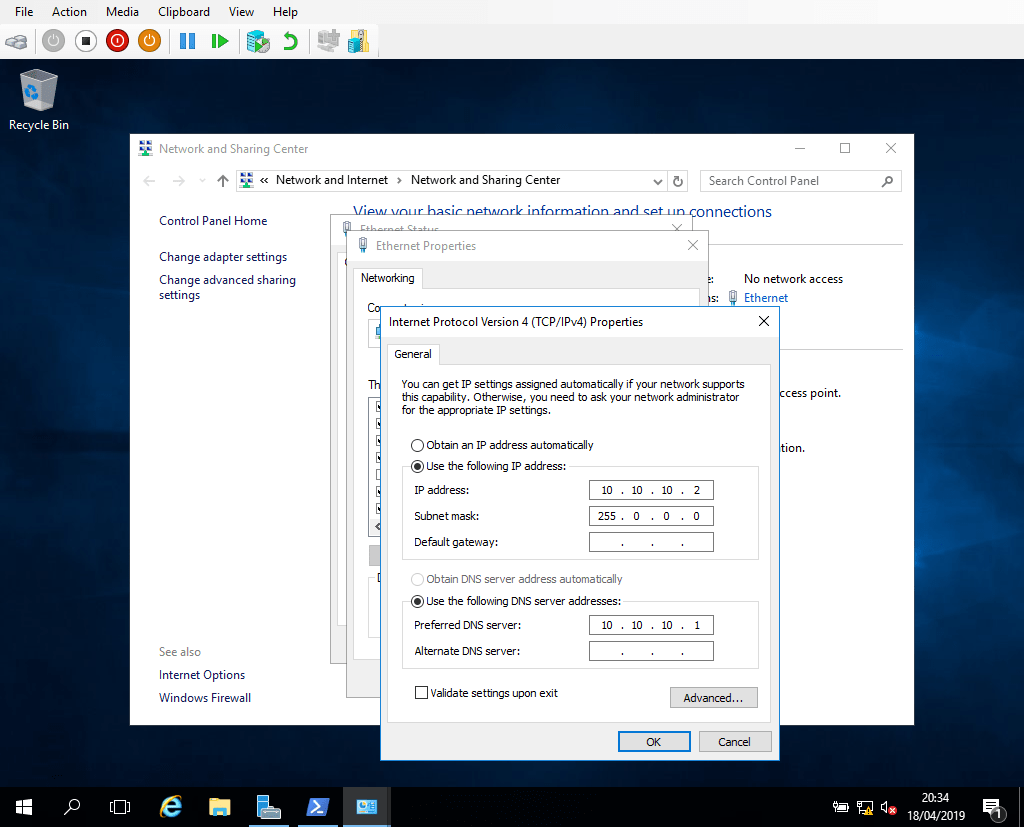
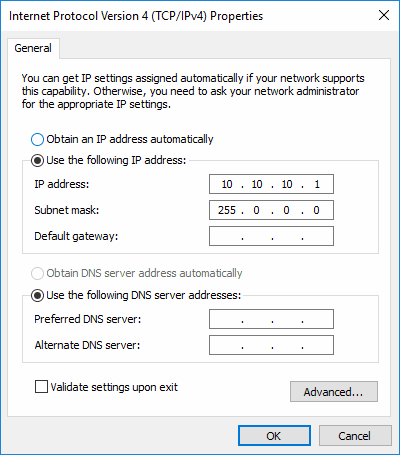
5. Open Internet Protocol Version 4 (TCP/IPv4) Properties.
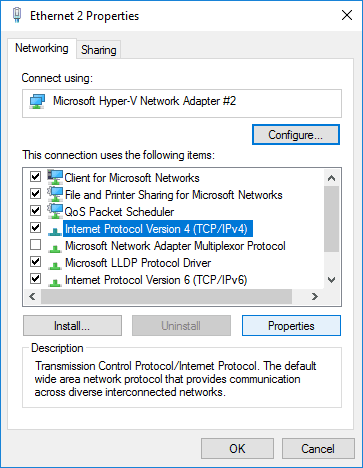
6. Enter IP and subnet addresses.
Rename the Windows Server Host
1. Open Server Manager and click the highlighted Computer Name.

2. Click Change…
3. Enter new Computer Name and click OK.
The host will require a reboot once done.
Installing Active Directory
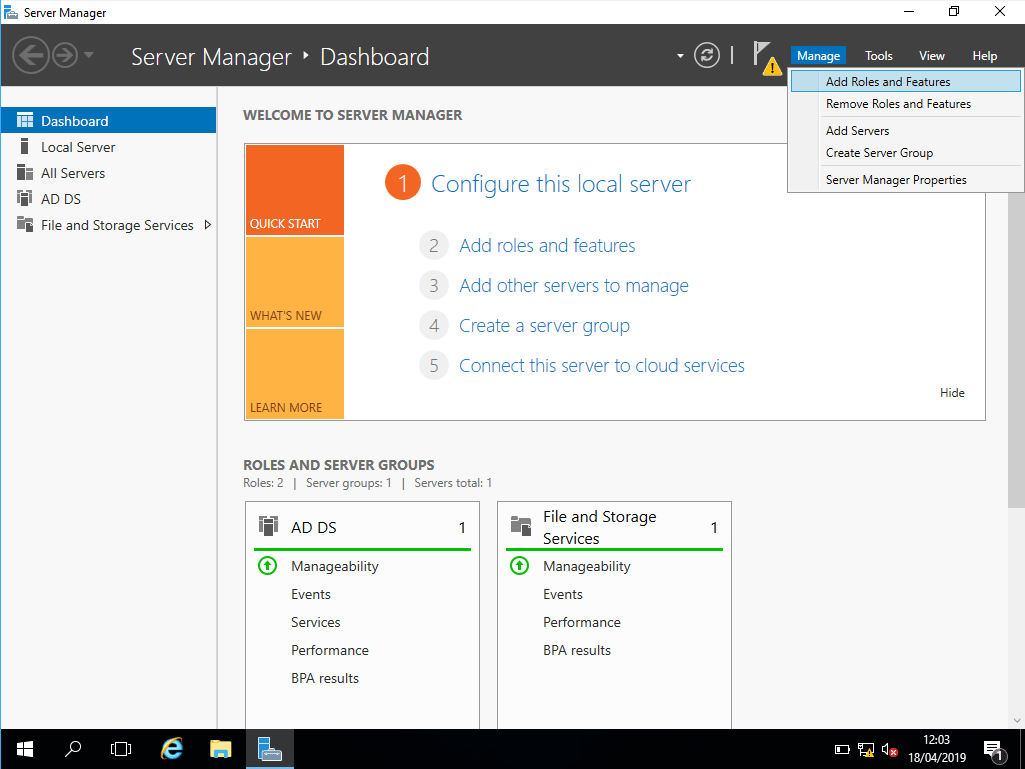
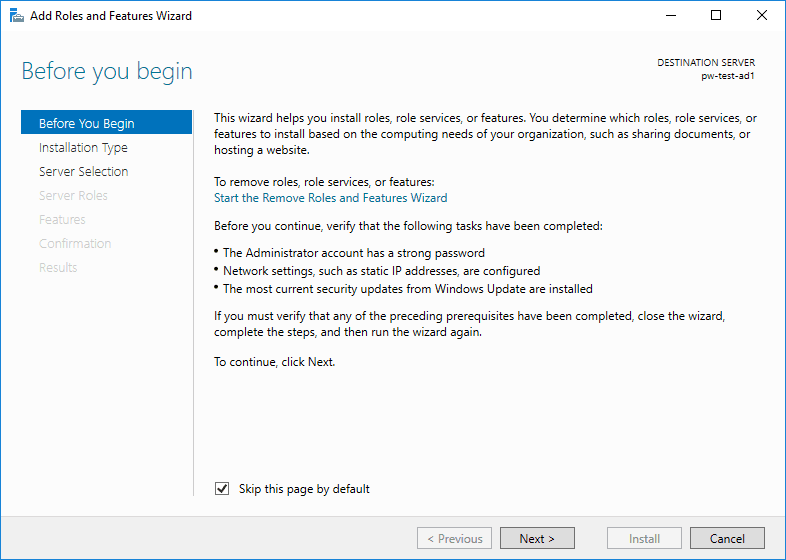
1. Within Server Manager, click Manage > Add Roles and Features.

2. Before you begin, read the before you begin.
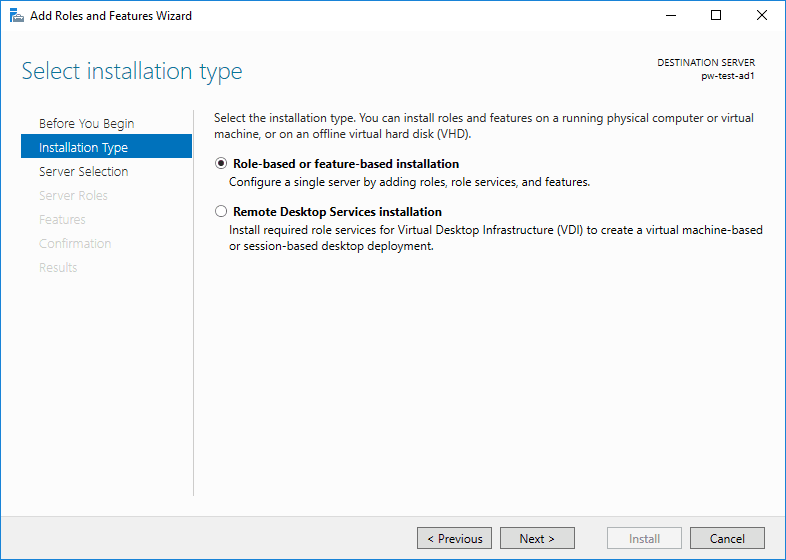
3. Select Role or Feature-based installation.
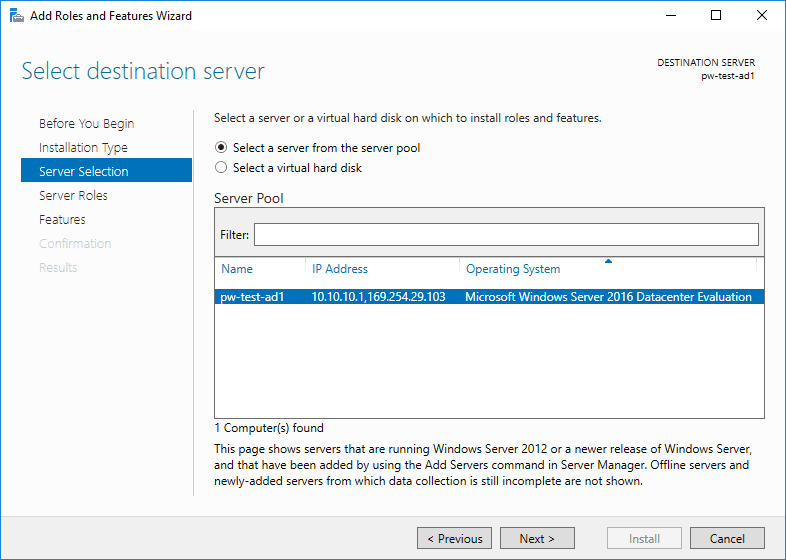
4. Select the destination server.
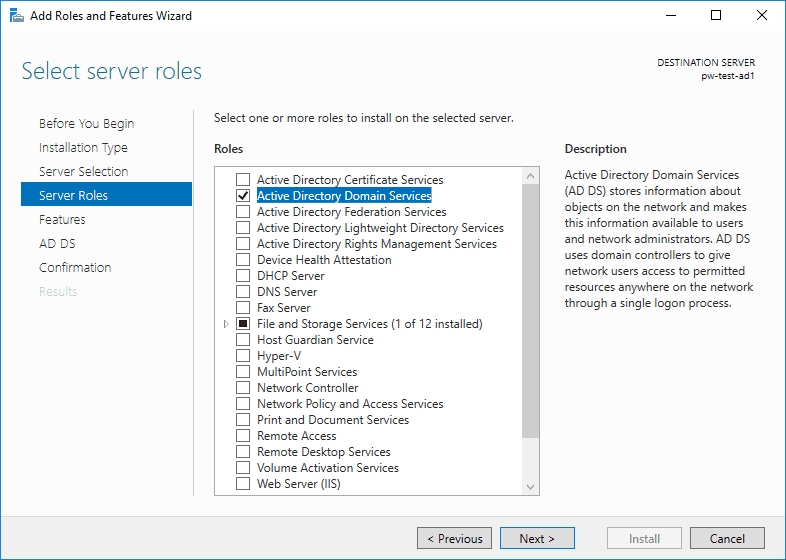
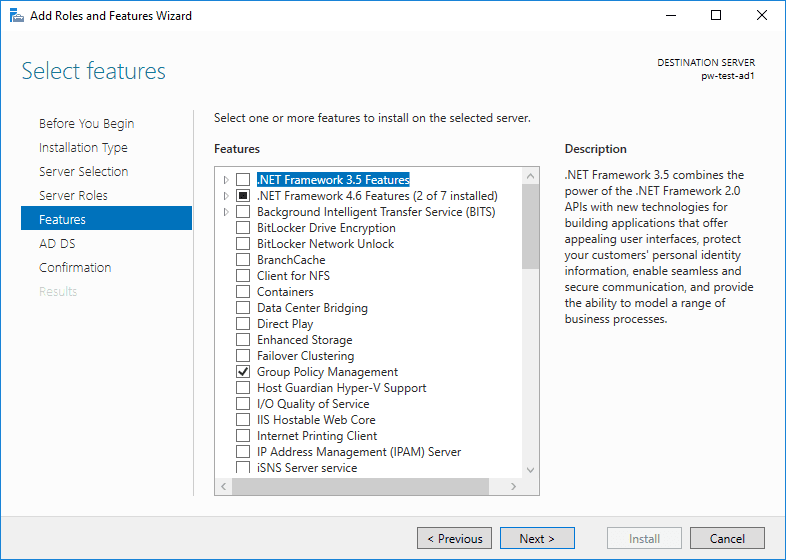
5. Tick the Active Directory Domain Services checkbox.
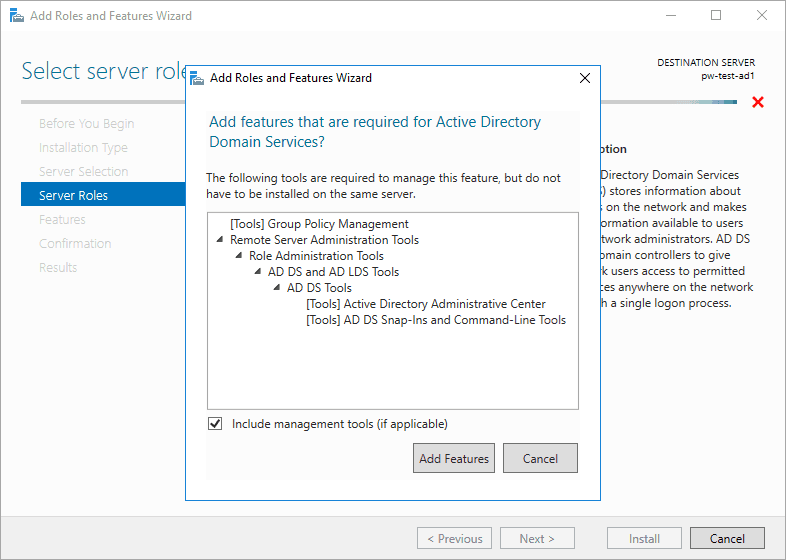
6. The following will appear – click to add the additional tools.
7. No features are being added at this time – click to continue.
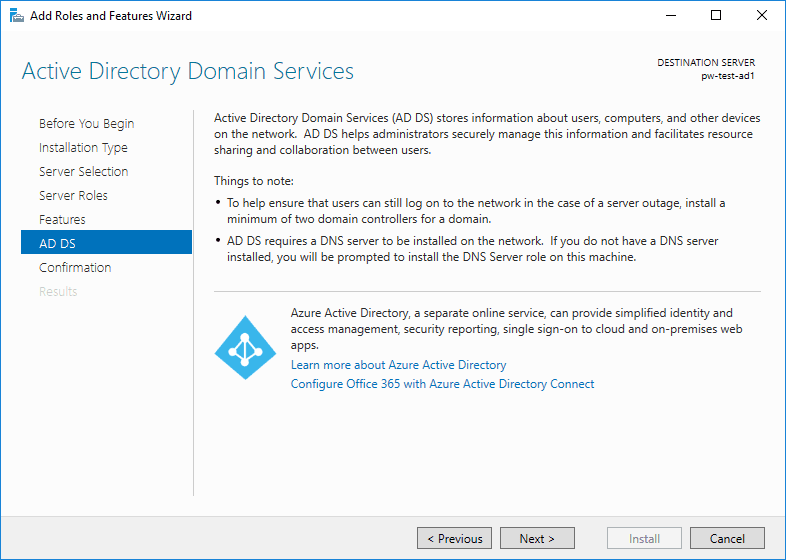
8. ADDS page is worth a read – nothing to change here.
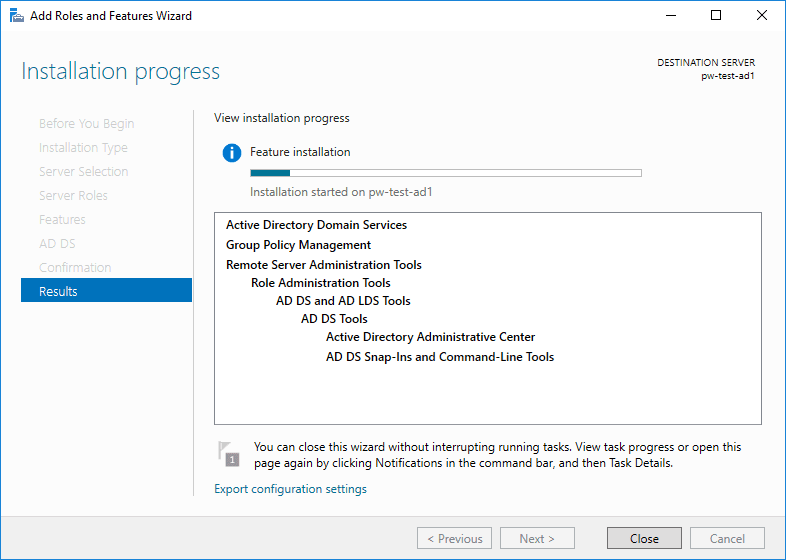
9. Review and click to install.

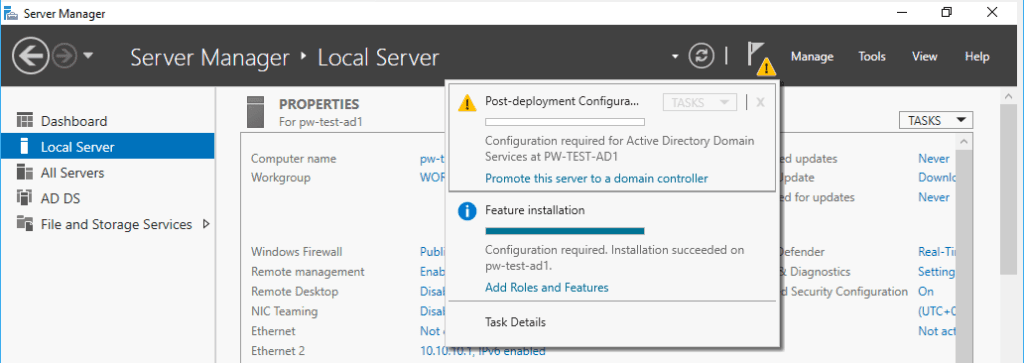
10. Leave it a few minutes and we’re then able to promote this server as a new Domain Controller.
Promote the Server to a Domain Controller
1. Once done with the above, there won’t be a finish point within the wizard. Click the flag on Server Manager to Promote the server to a Domain Controller.
2. This is a new test environment, so I need to Add a new forest.
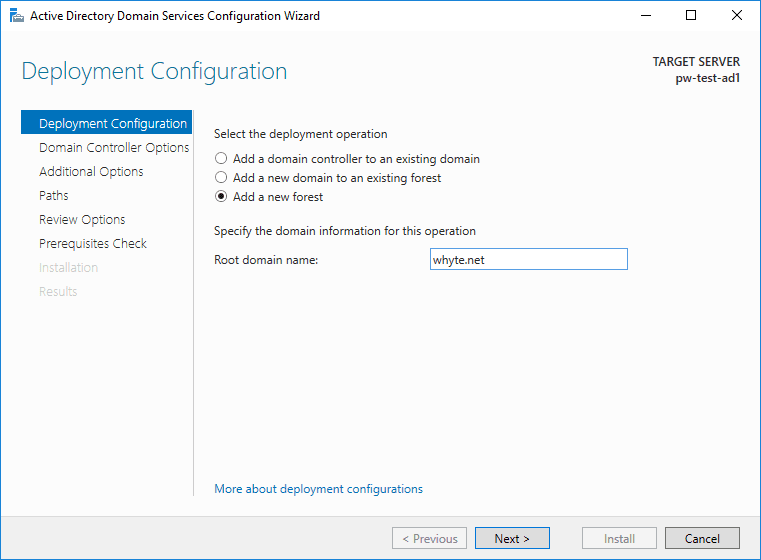
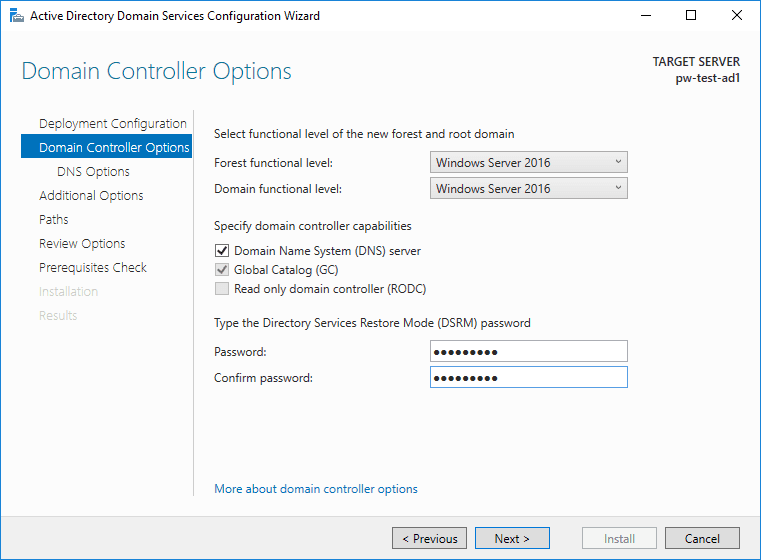
3. A new Forest means Functional Levels can be the latest edition available, Windows Server 2016. This is also the place to enter an important password that is required if recovering a failing AD.
4. The following error is listed within the known issues for installing and removing AD DS. It’s expected if create a new forest as I’m doing.

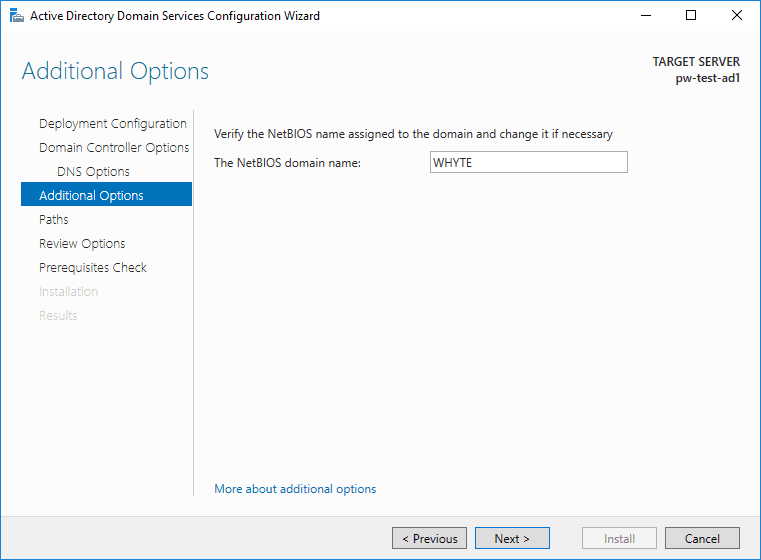
5. Enter a preferred NetBIOS name.
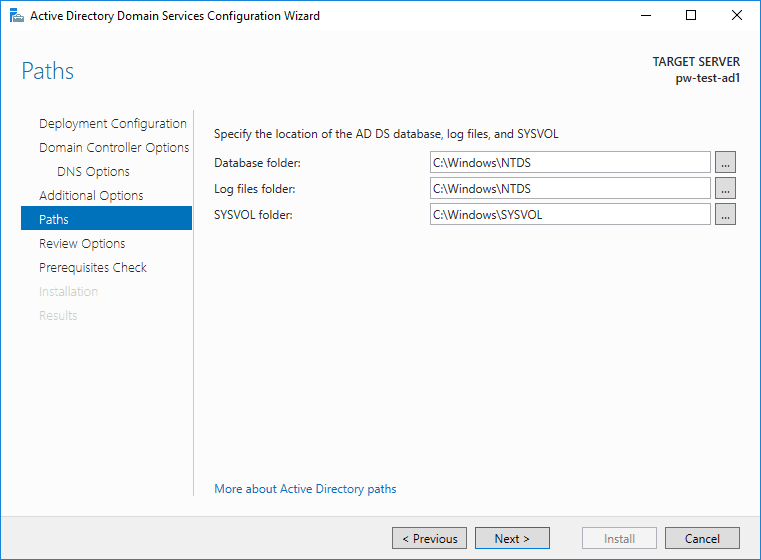
6. Locations can stay as defaults of course.
7. Time for us to review wizard selections.
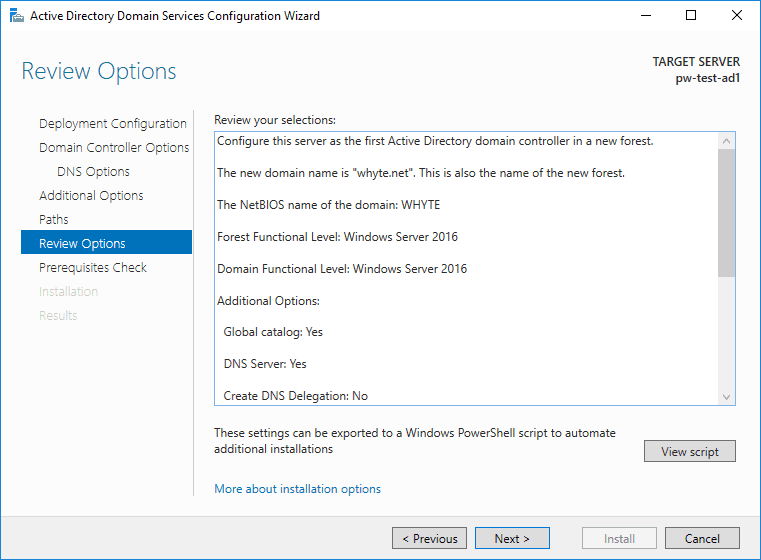
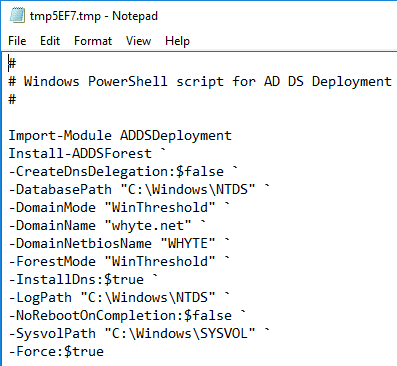
8. As you’ll see in the image above, we can click to view the PowerShell script that is about to run with the wizard selections included.
9. A prerequisites check will run as we hit next from above.
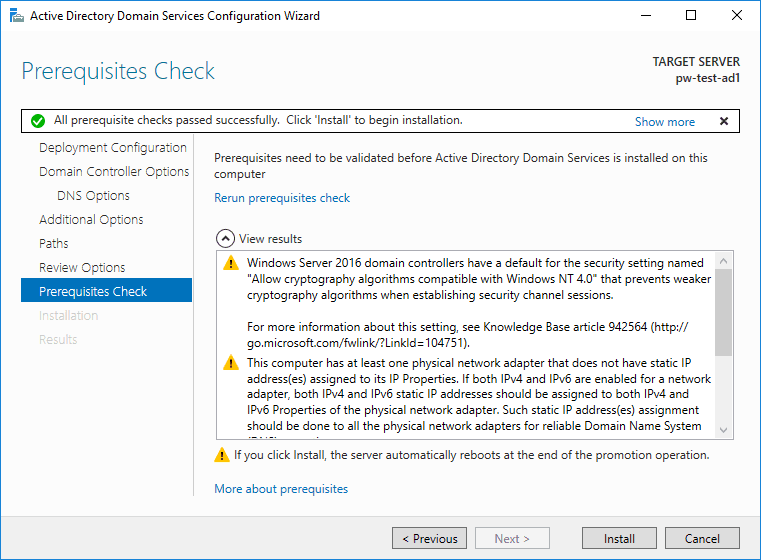
10. Click to install…
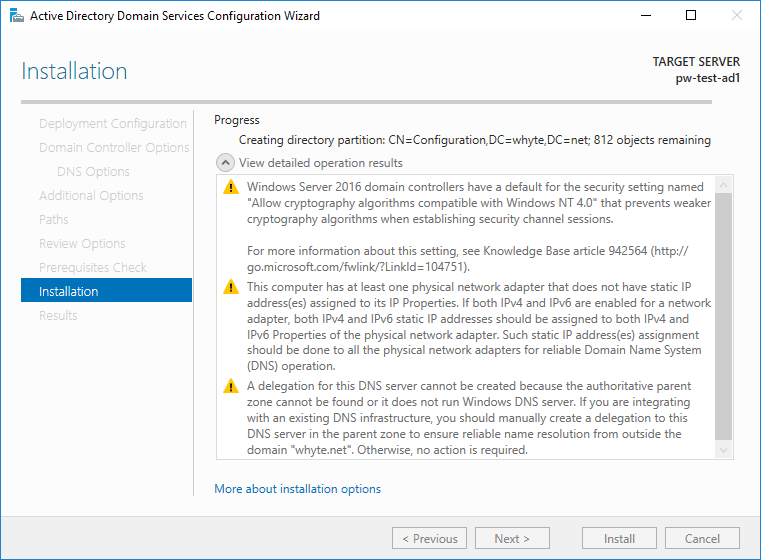
11. An automatic reboot will be initiated at the end.
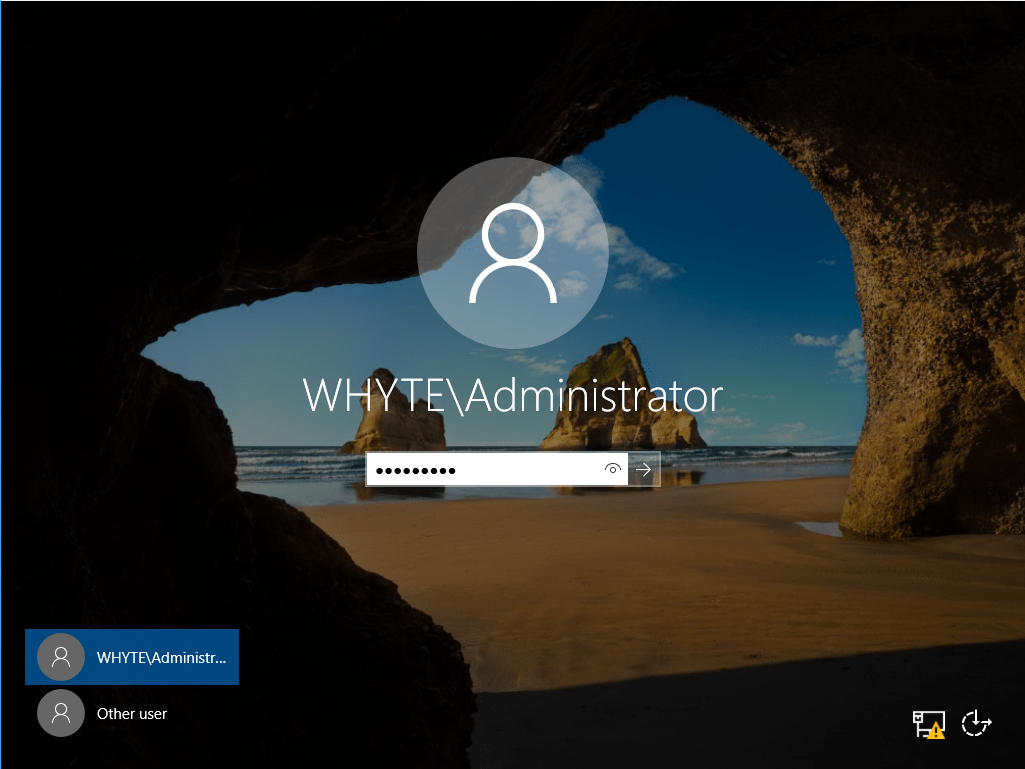
12. When back up and running, we can log in to the new domain.
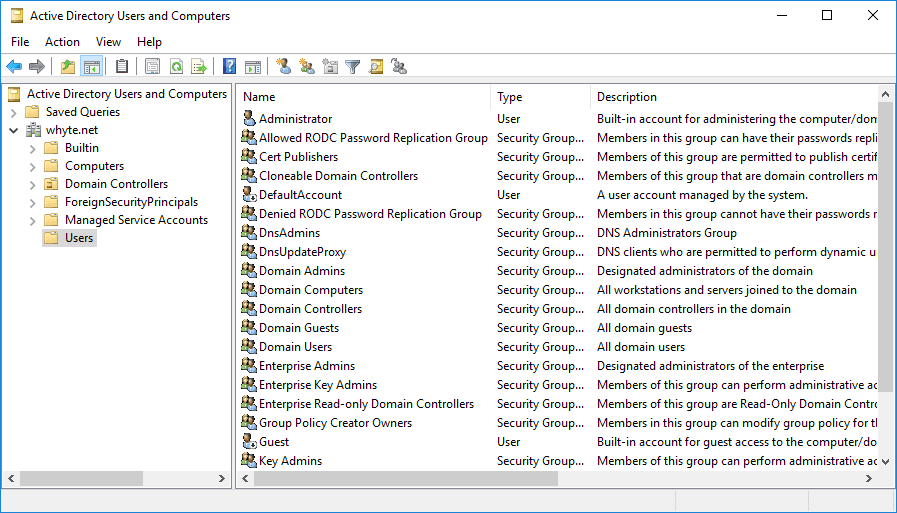
13. And have a look at our Active Directory Users & Computers, just for the fun demo of course.
-

How to Install Windows Server on Hyper V
This guide provides a step-by-step walkthrough for installing Windows Server on Hyper-V. By the end of this tutorial, you’ll have a fully operational Windows Server VM, ready for further configuration and testing.
If you need to install the Hyper-V role on Windows first, refer to this guide – Microsoft Docs: Install Hyper V on Windows
What This Guide Covers:
1. Creating a new Hyper-V Virtual Machine
2. Installing Windows Server (2016)Once you complete this setup, you can proceed with additional configurations, such as installing Active Directory (AD) on your new server.
1. Creating a new Hyper-V Virtual Machine
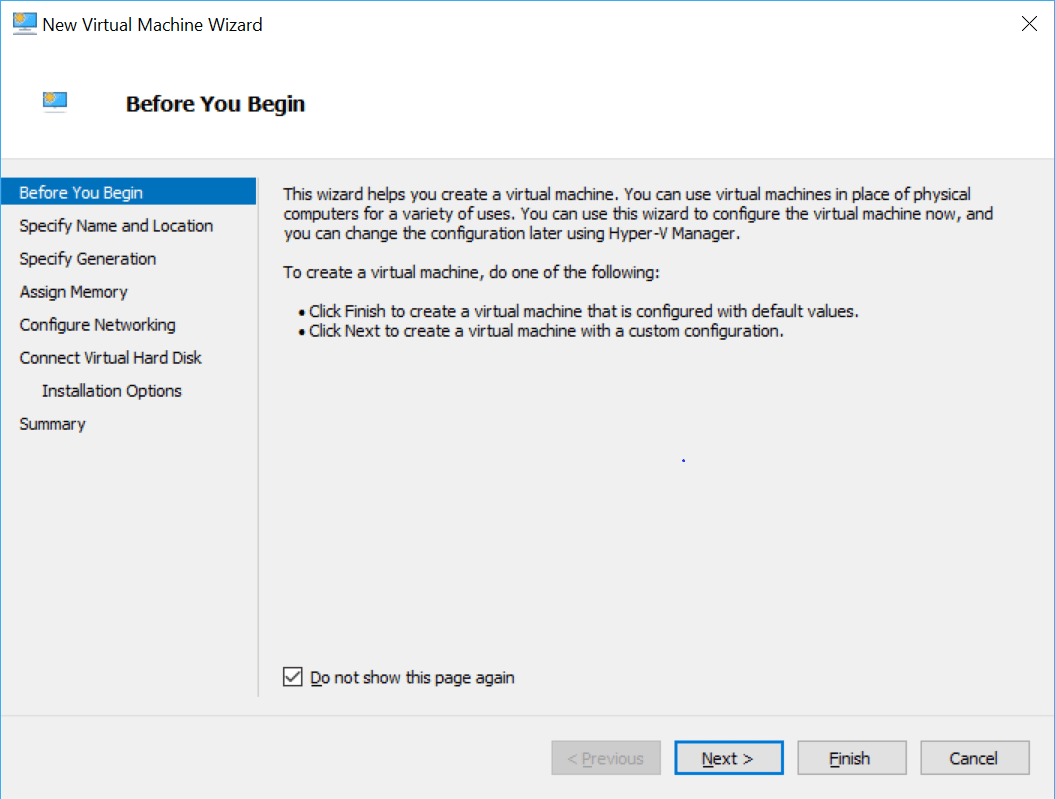
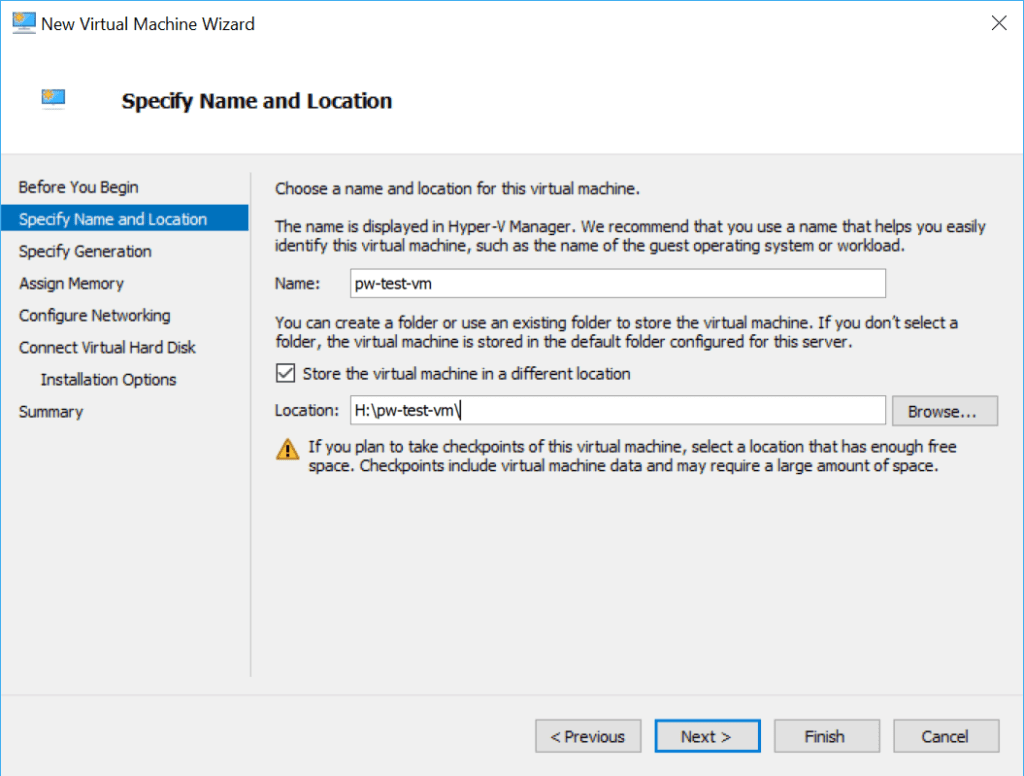
1. Right-click your Hyper-V Manager host machine, and select New > Virtual Machine…


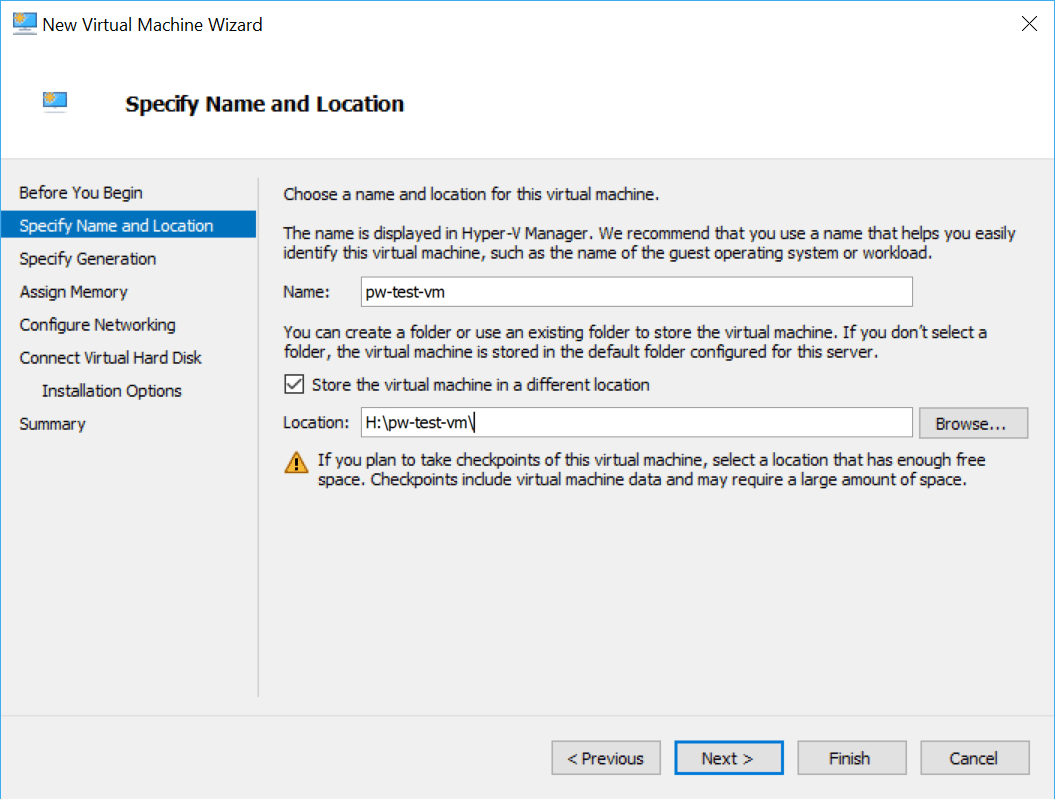
2. Enter the name of the new VM and the location on disk.
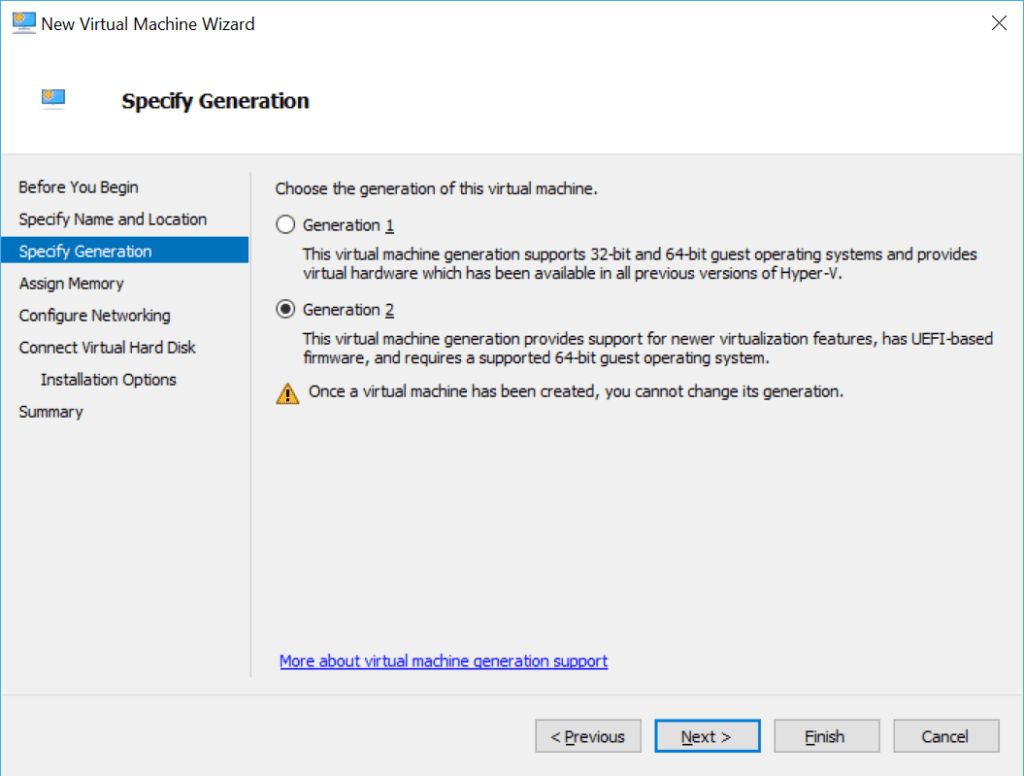
3. Select Generation of VM.
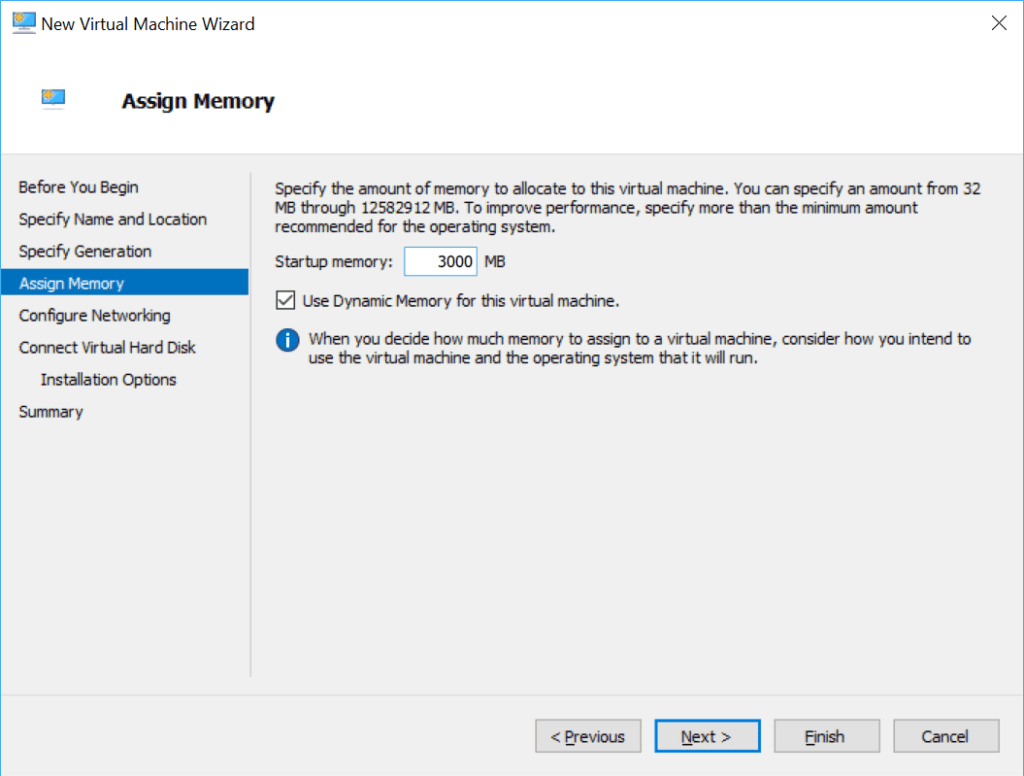
4. Enter the memory allocation amount.
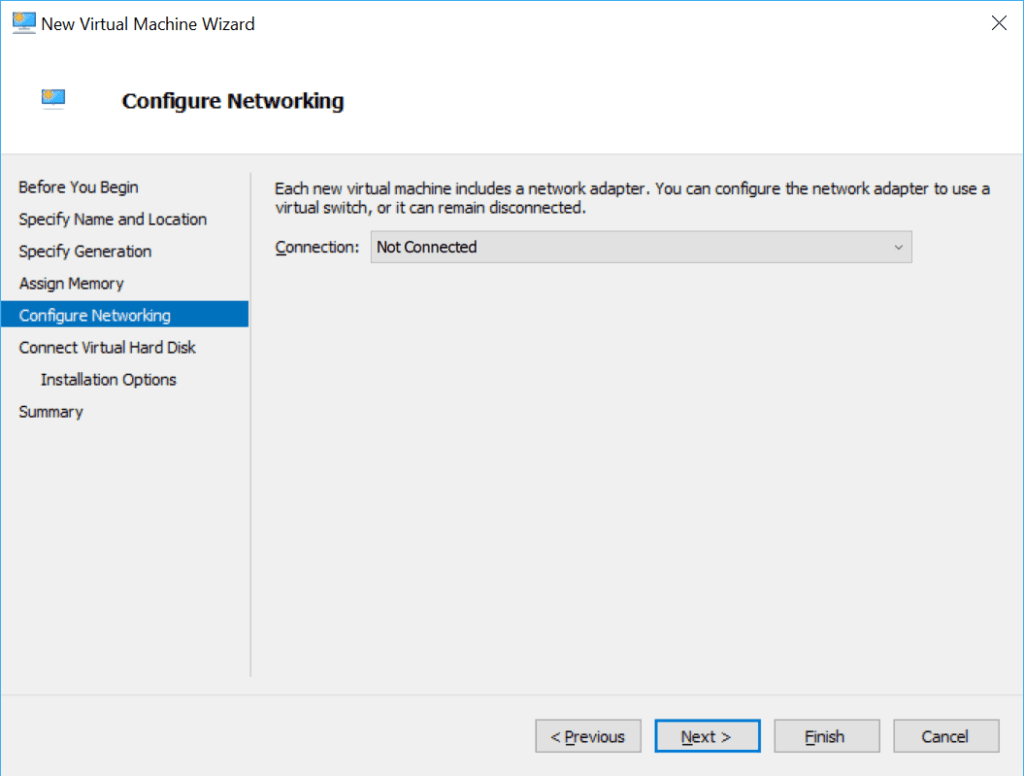
5. Select a network connection (I’ll set this up later).
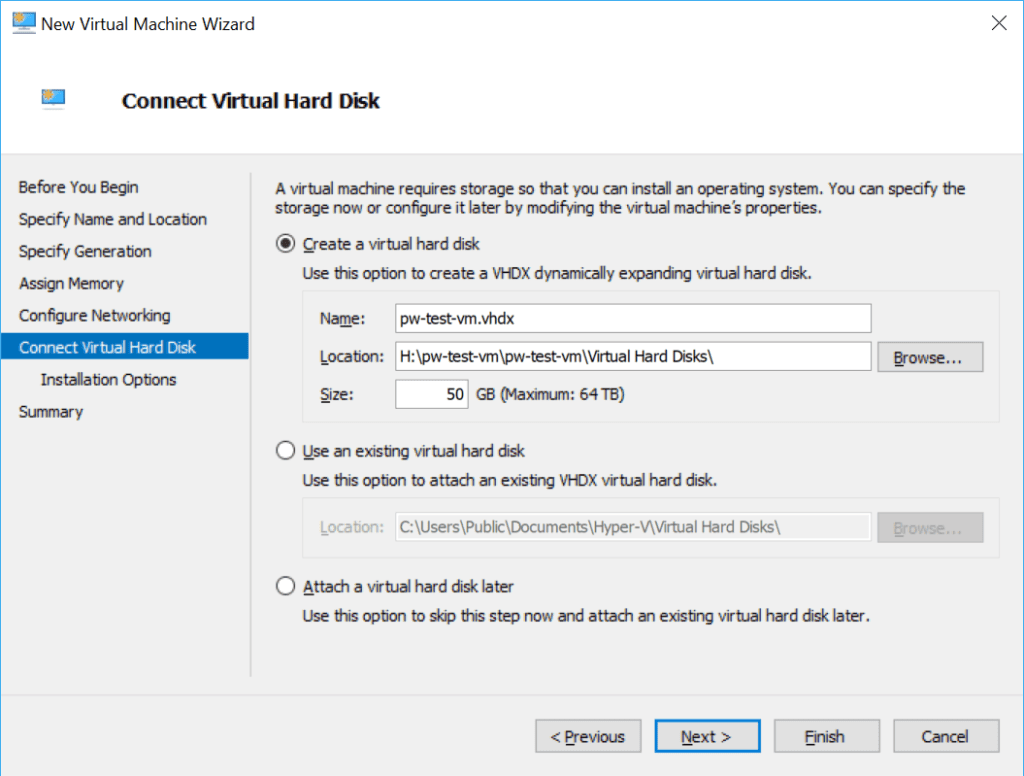
6. Enter the dynamic virtual hard disk limit, and for this tutorial, I’m leaving the vHD location as default (driven from the previous selection).
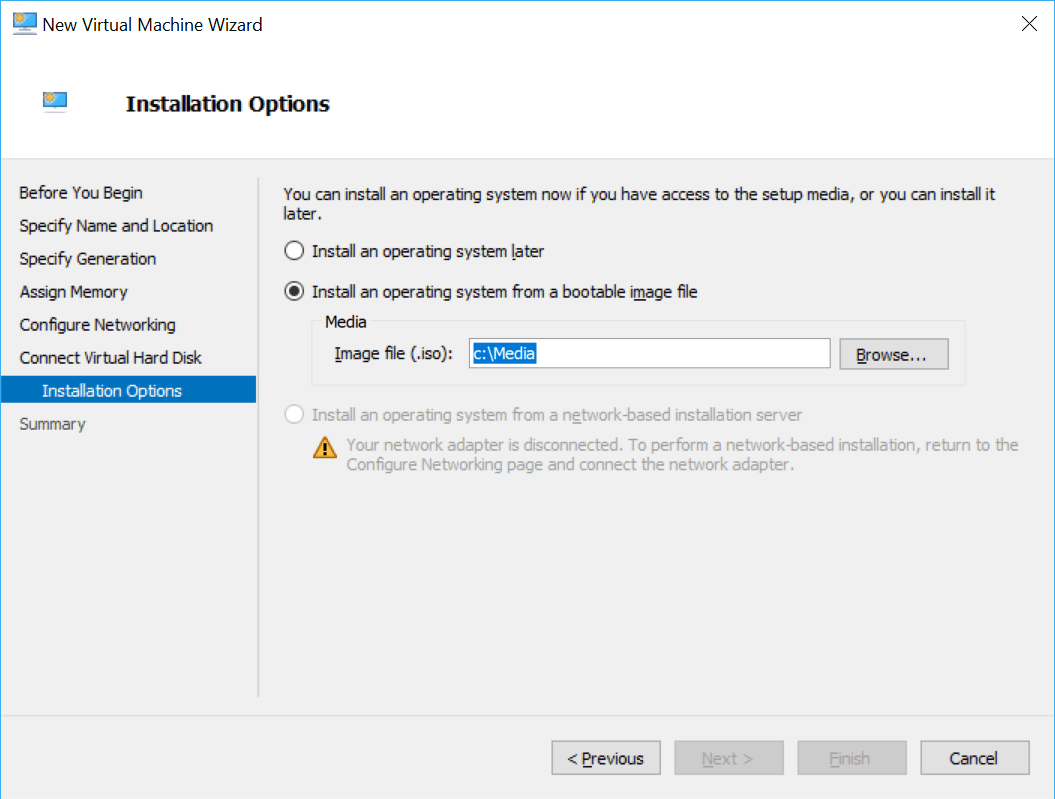
7. Select an Operating System ISO file.

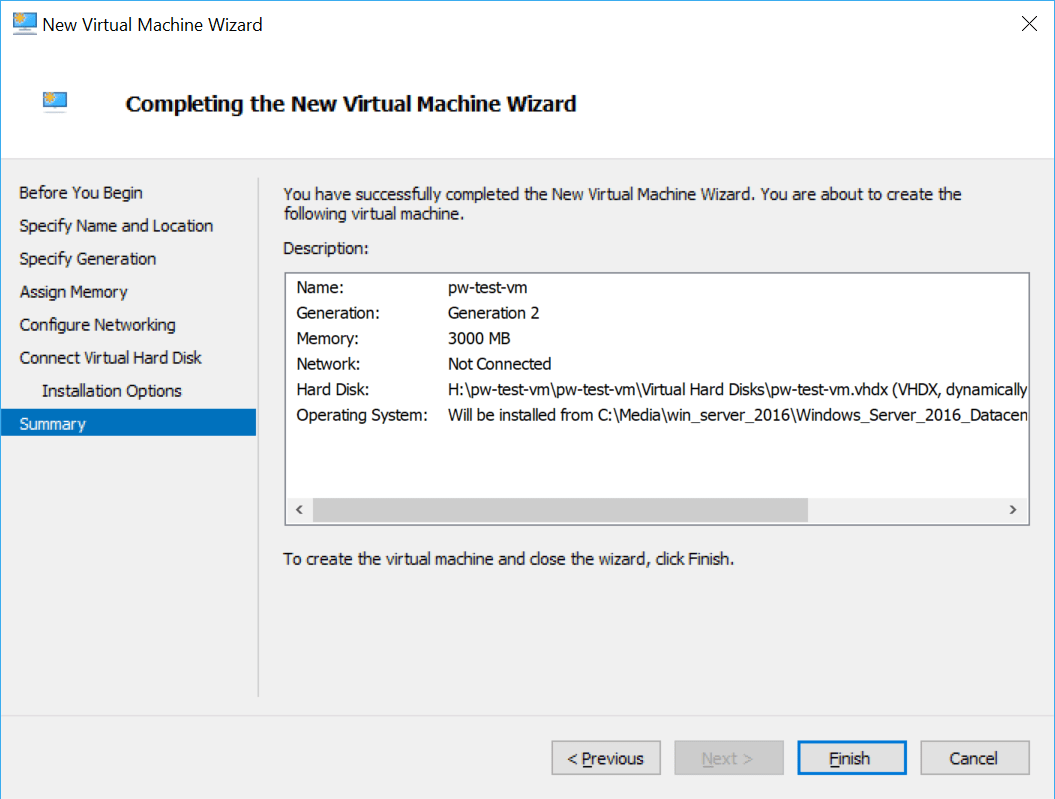
8. Review configuration and hit finish.

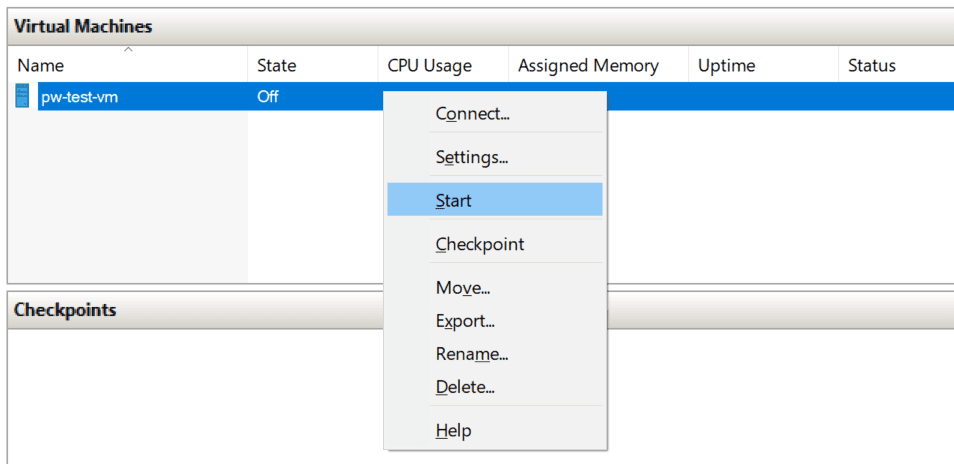
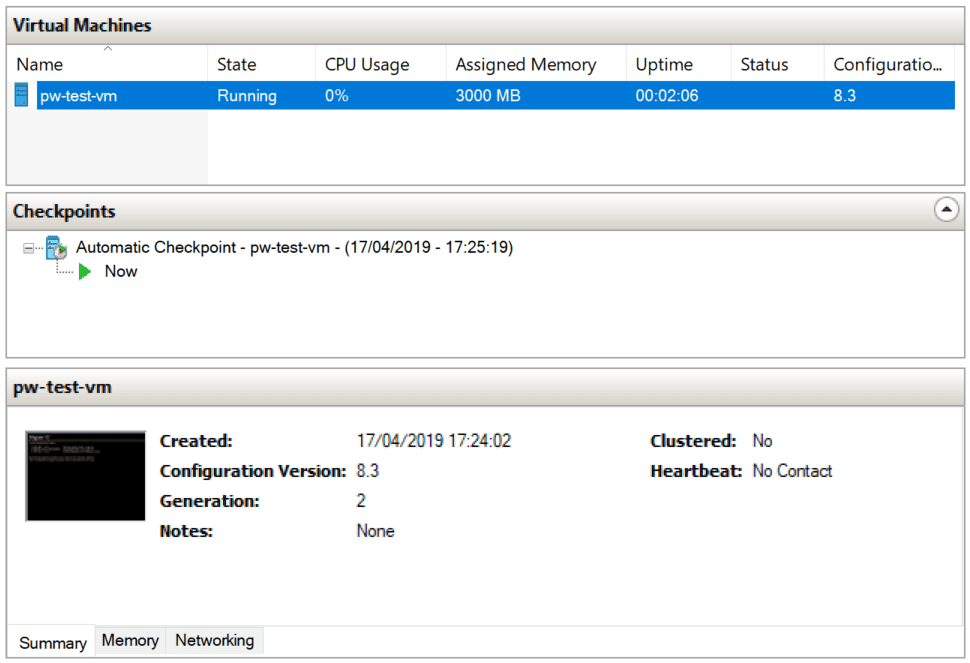
9. Power up the new VM!
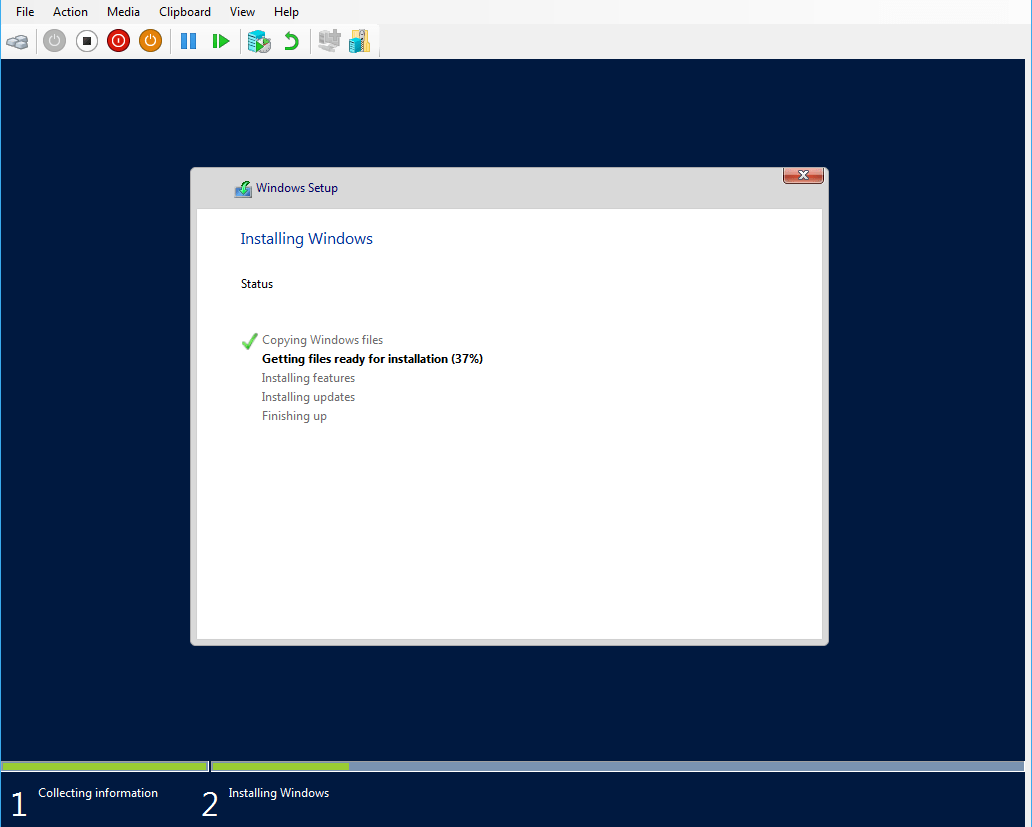
2. Installing Windows Server (2016)
1. Connect to the new VM (ensuring step 7 above was followed).
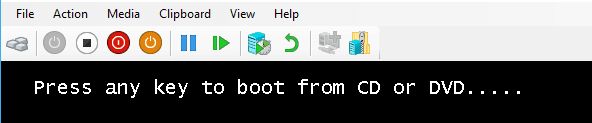
2. Hit any key.
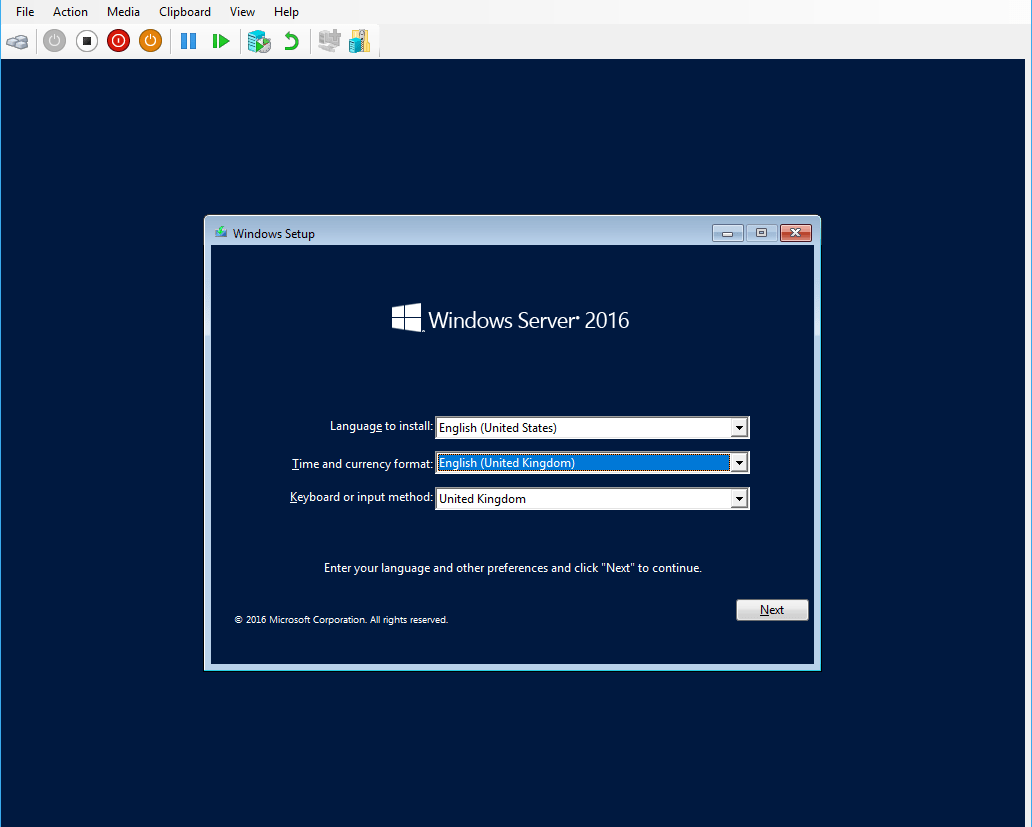
3. After 30 seconds or so of loading, select your location.

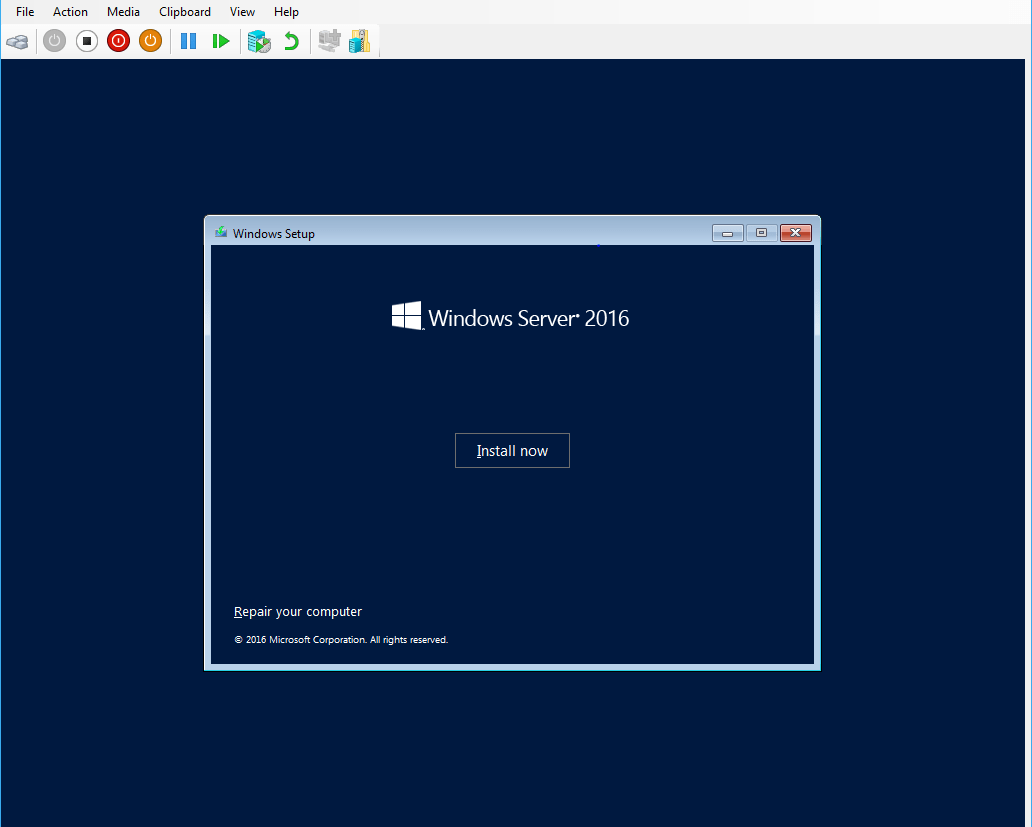
4. Click to start the Windows Server installation.
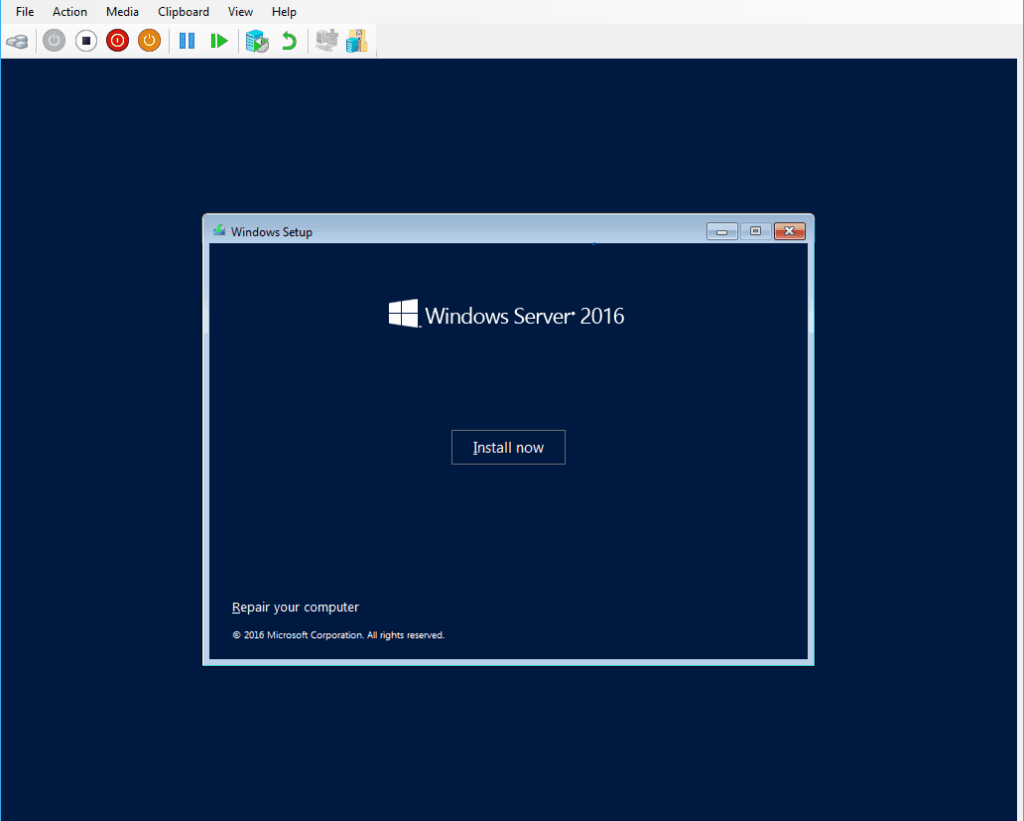
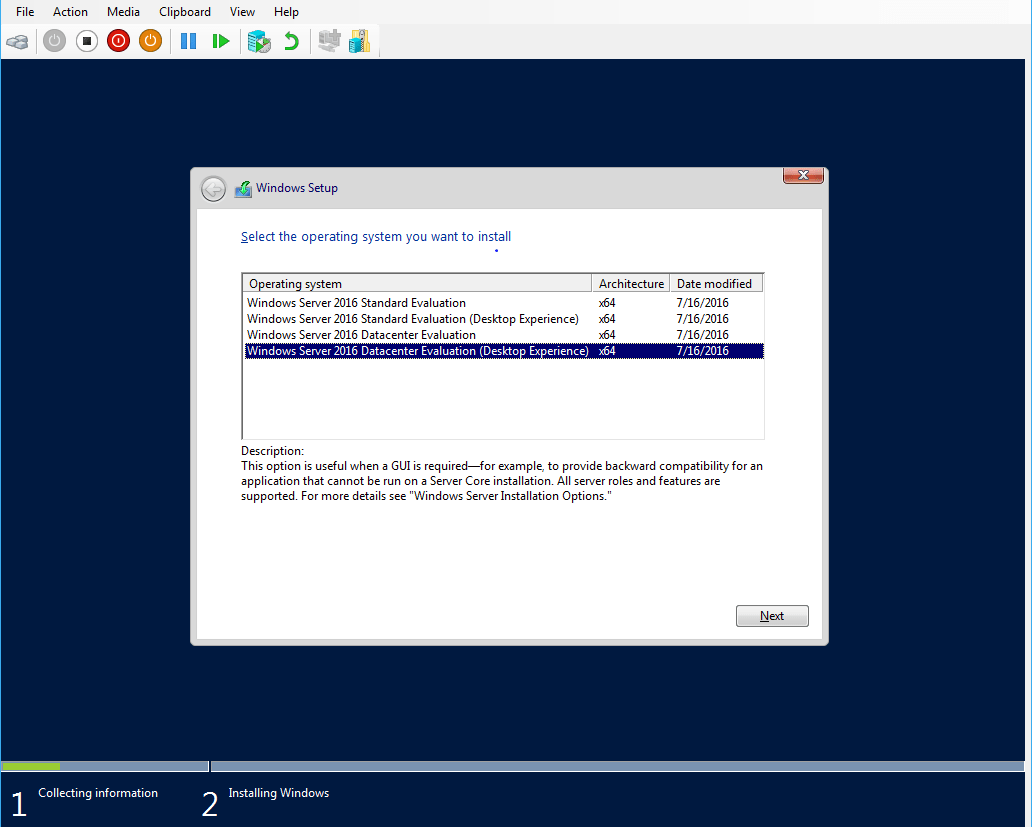
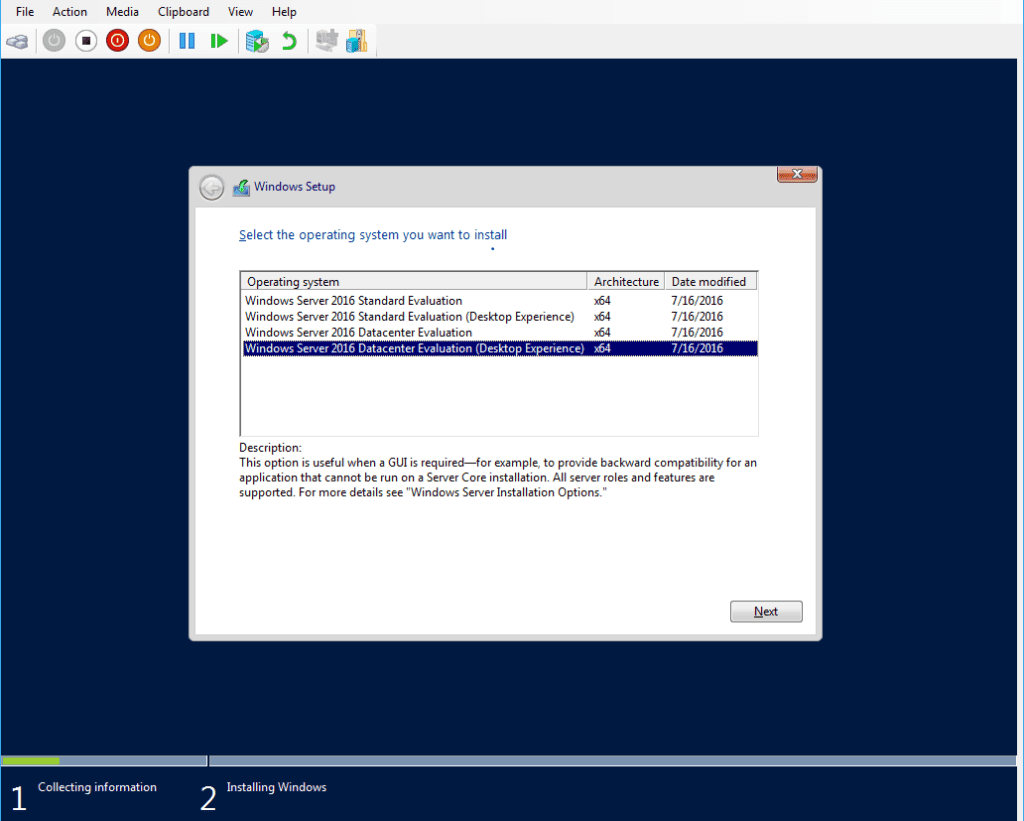
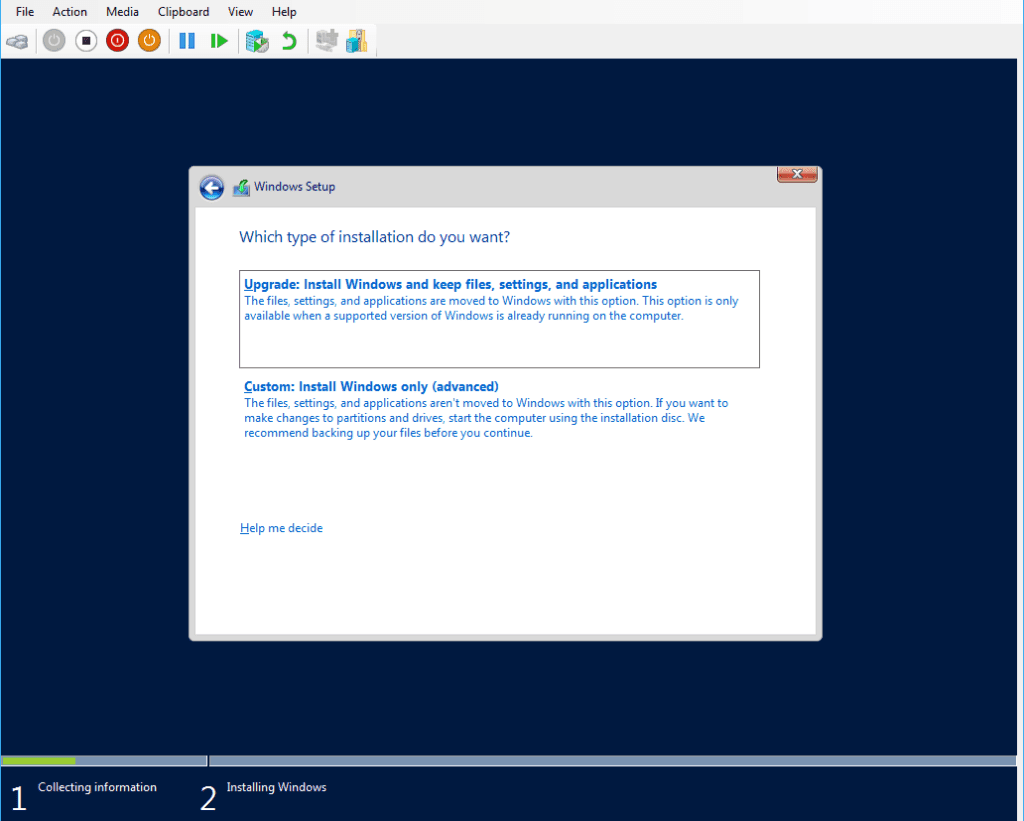
5. GUI this time around, and Datacenter Edition for the test environment.
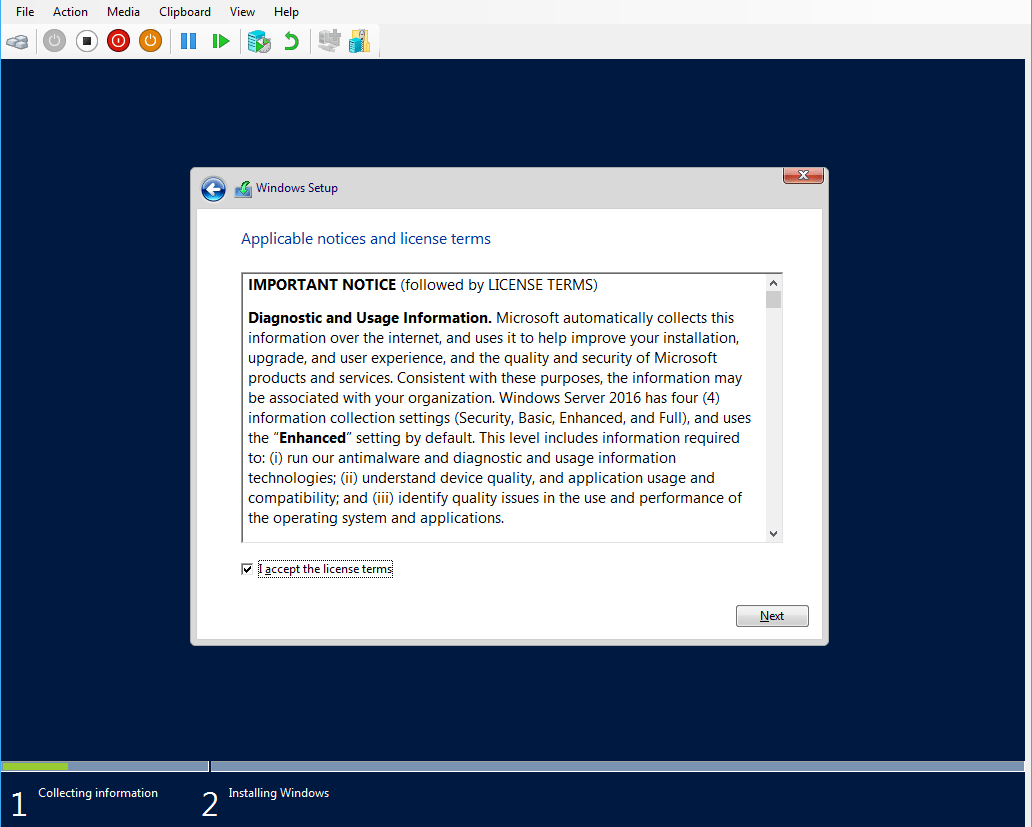
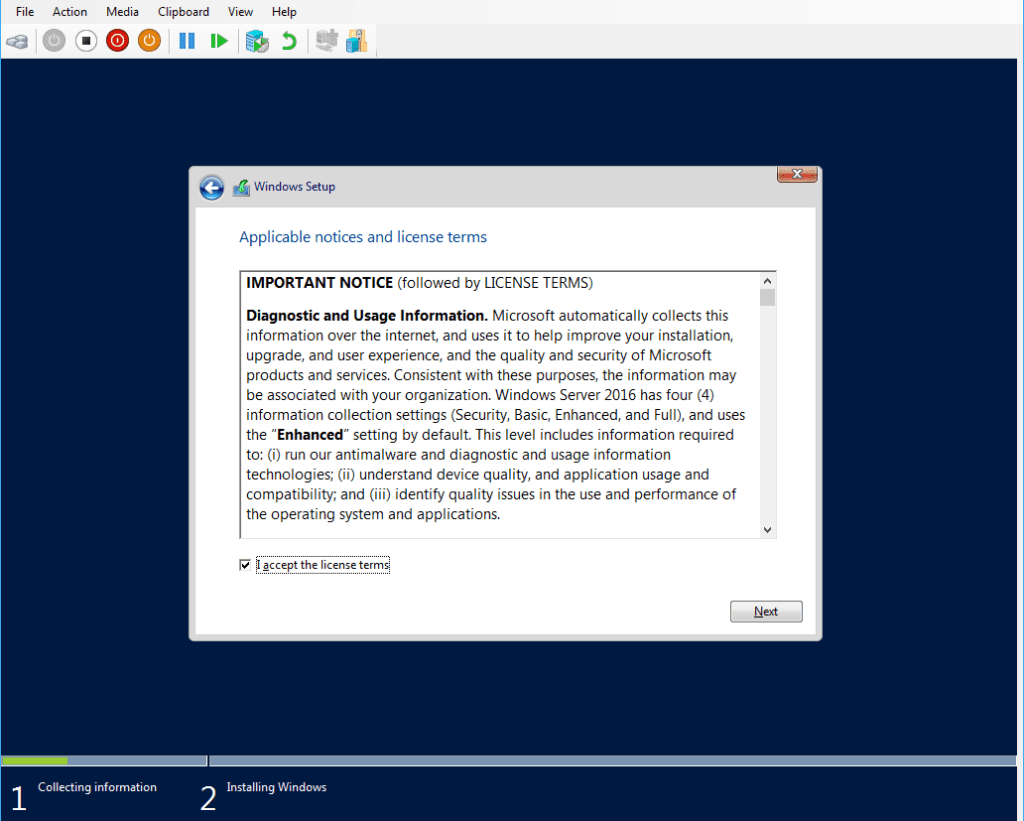
6. Accept the usual.
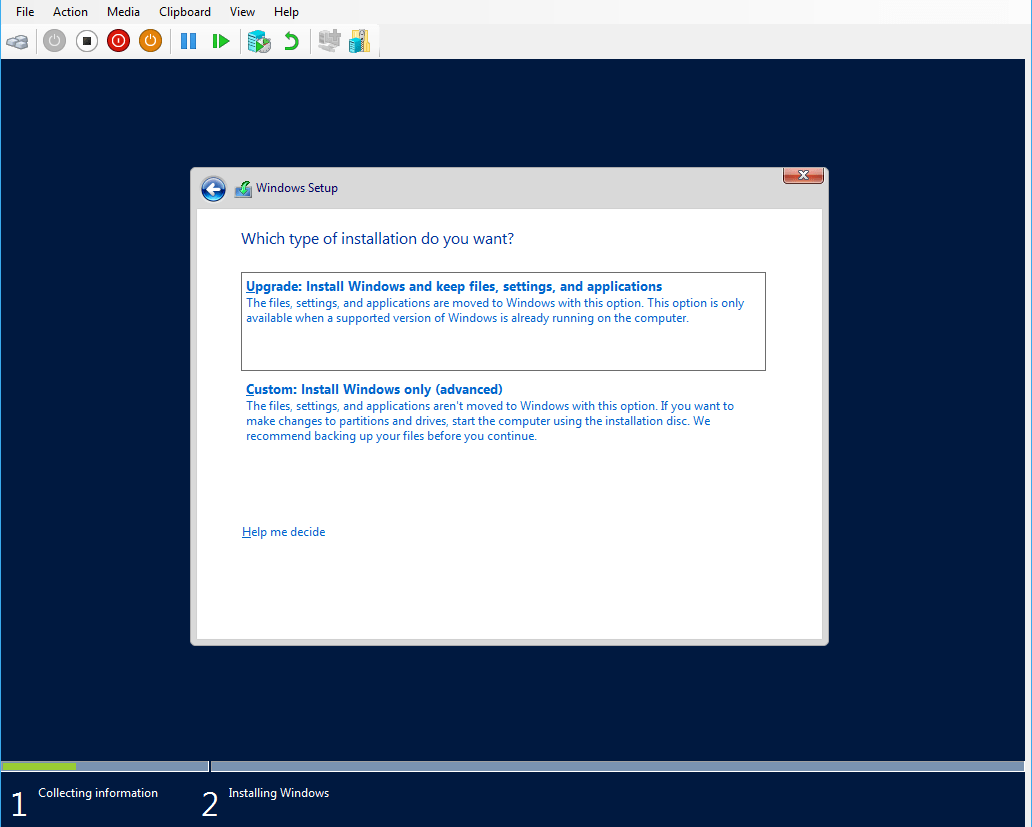
7. Check advanced options.
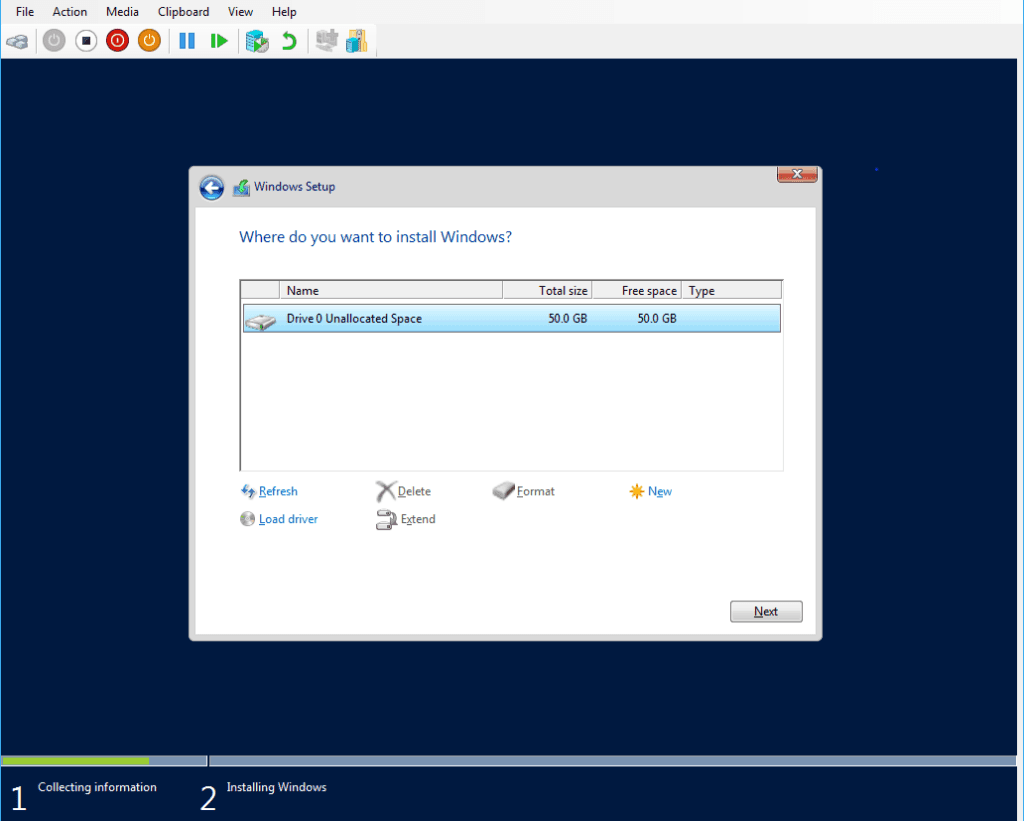
8. Install on the 50GB vHD.
9. Hit next, and away it goes…

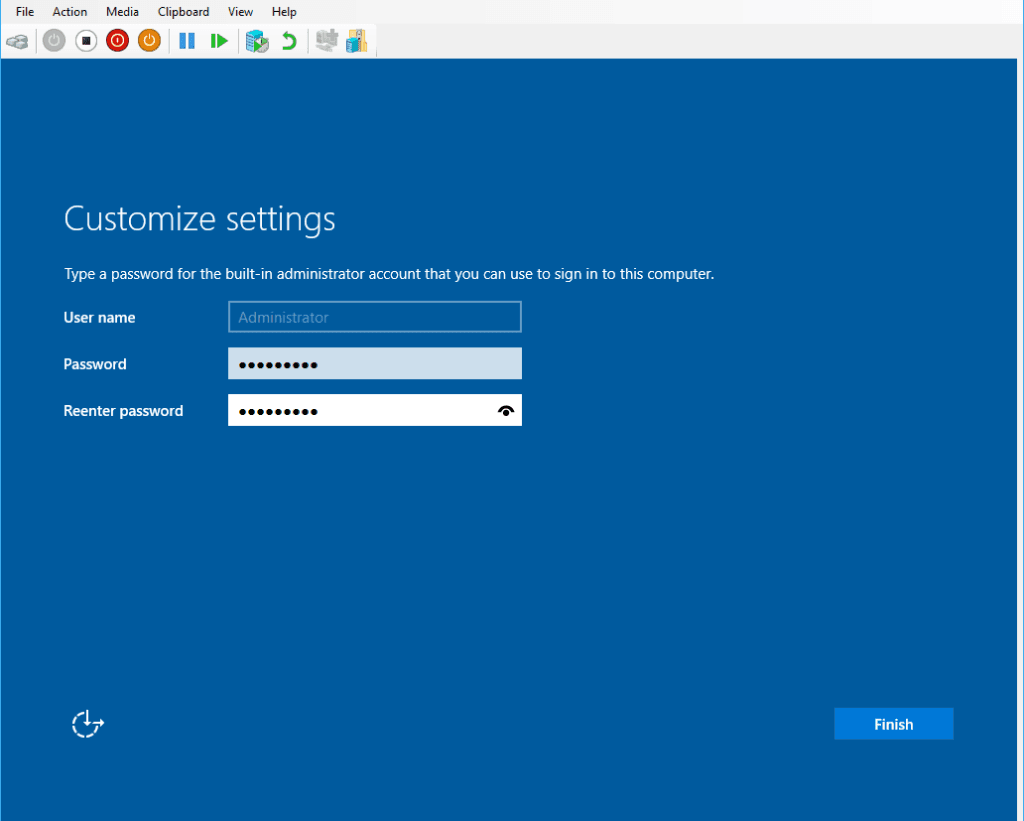
10. The installation will finish up and restart once it’s done. Before the Windows Server login screen is shown, the built-in administrator password needs to be set.
11. Login with the above password.
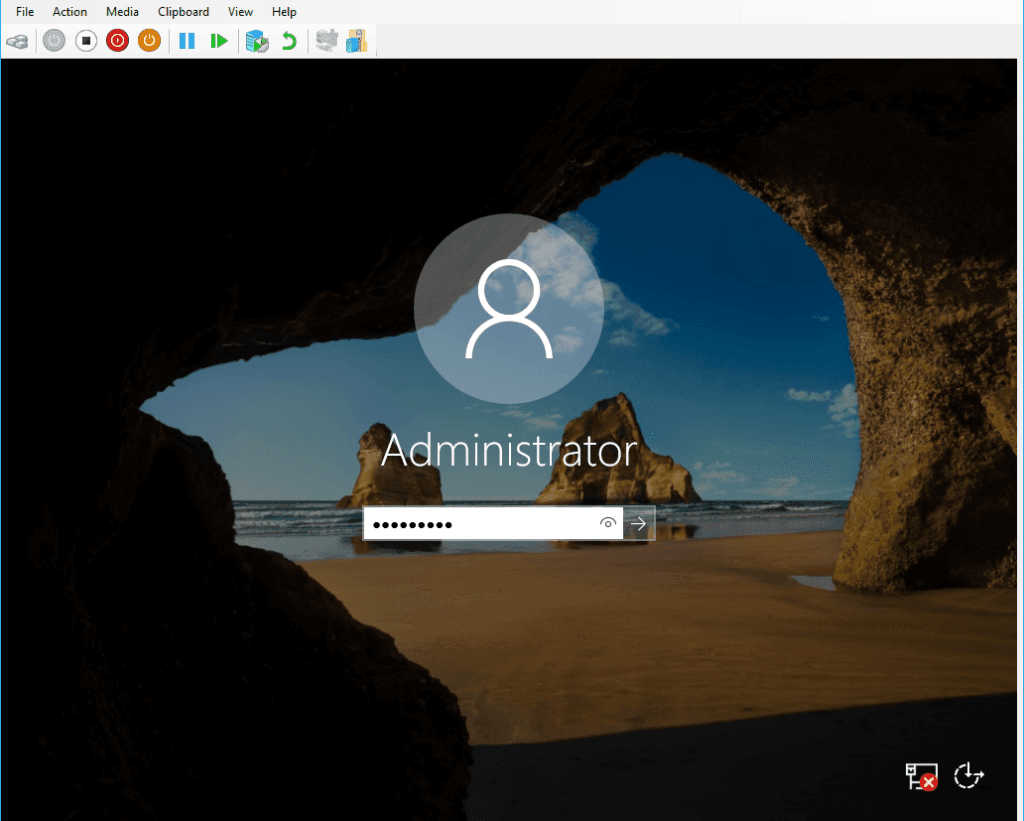
12. Hurray, it’s Windows 2016 everybody!

Now that your Windows Server VM on Hyper V is up and running, you can proceed with additional configurations, such as:
– Installing Active Directory (AD) for domain services. The post I’m linking is a direct follow-up of this with the HyperV focus.
– Configuring network settings and firewall rules. If you have Windows Firewall enabled, my blog tag as linked might be useful.
– Setting up roles and features based on your use case. I’m linking to my FCI feature blog tag which is the Windows feature I install as a Microsoft SQL DBA most commonly.