
This guide walks you through the process of creating an AWS RedShift Cluster in a personal test environment.
Warning: If you're testing AWS RedShift, be mindful of billing. Even when paused, storage charges still apply. To avoid unnecessary costs, I recommend deleting the cluster once you're finished using it.
Contents:
> Creating an AWS RedShift Cluster
> Connecting to AWS RedShift using DBeaver
Creating an AWS RedShift Cluster
1. Open AWS RedShift Service
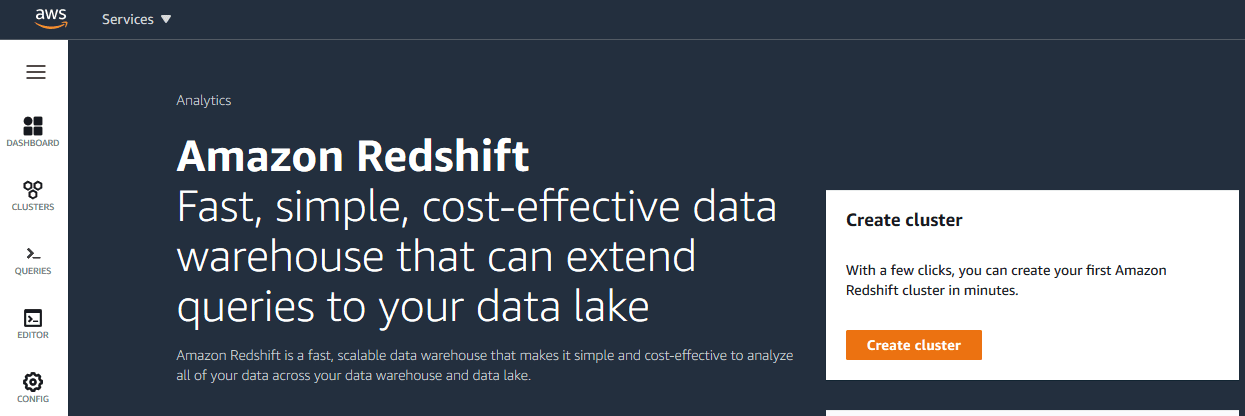
> Navigate to the AWS RedShift service in your AWS console:
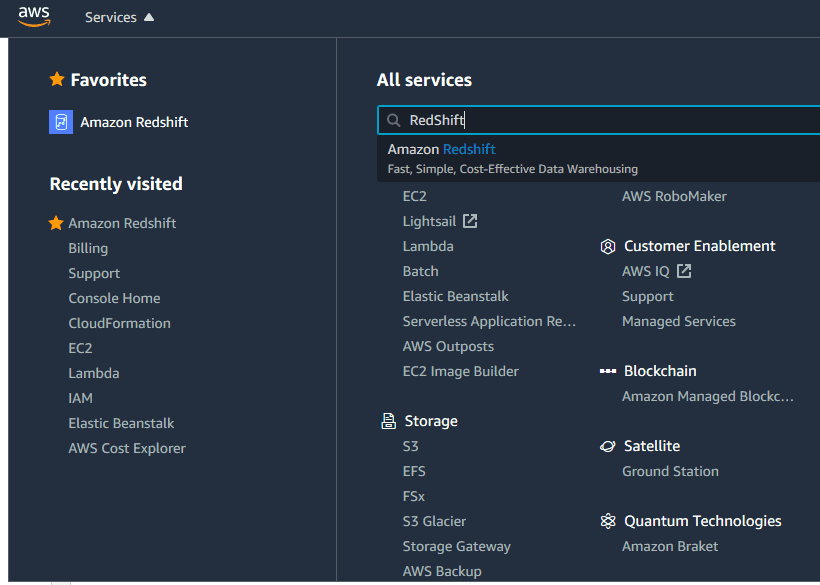
> Click on “Create Cluster.”
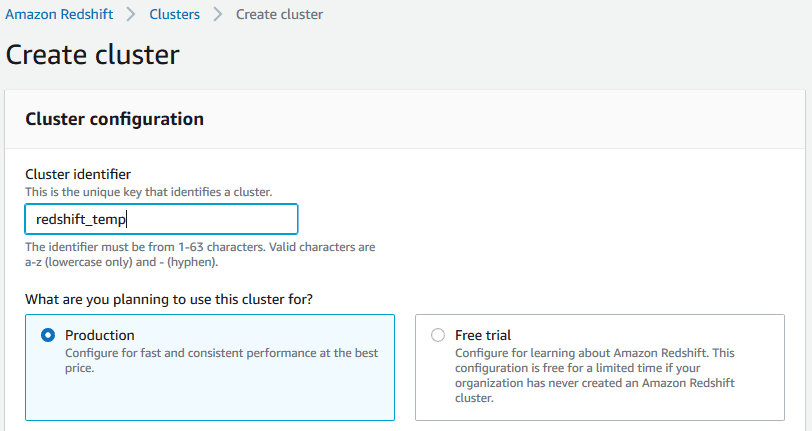
2. Configure Cluster Settings
> Cluster Name: Assign a unique name to your cluster.
> Free Trial Eligibility: If your organization has never used Amazon Redshift Serverless before, you’re eligible for a $300 credit, usable within 90 days toward compute and storage usage.
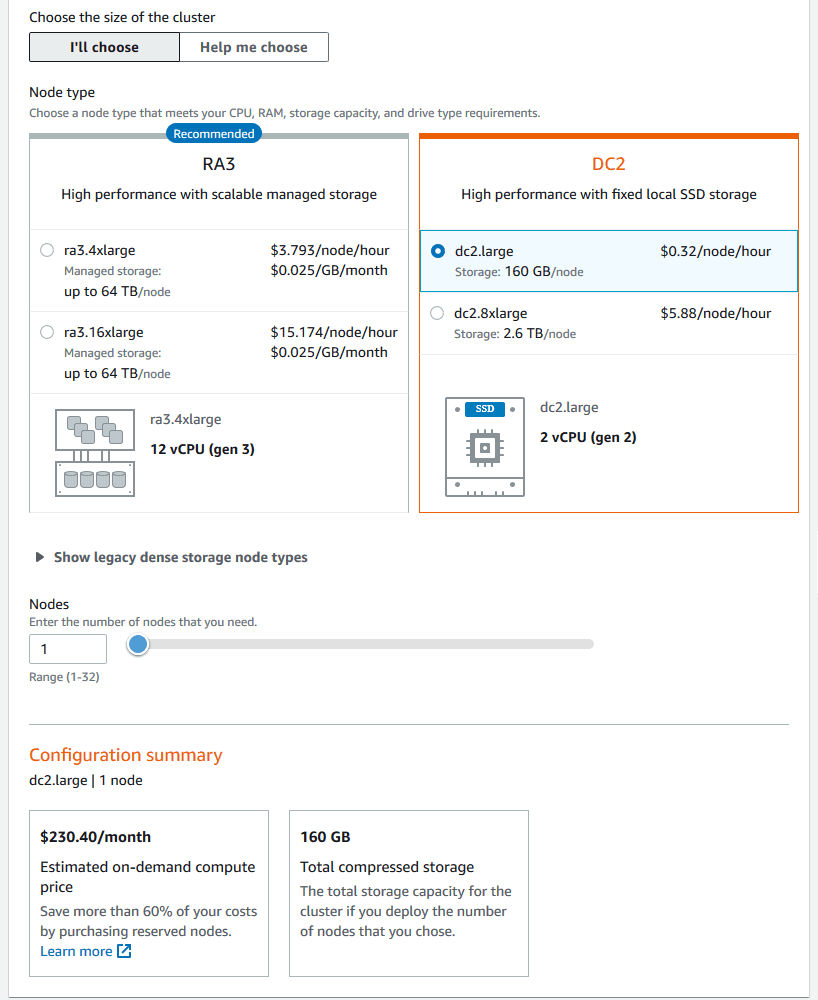
Note: In regions where Amazon Redshift Serverless isn’t available, you can opt for a two-month free trial of a DC2.large node, which includes 750 hours per month, sufficient to run one DC2.large node with 160 GB of compressed SSD storage.
> Post-Trial Billing: After the free trial or credit is exhausted, standard on-demand rates apply. For example, running a DC2.large node costs approximately $0.25 per hour, translating to about $180 per month if run continuously.
> Here I’m checking & noting the the Redshift Cluster costs at the time of writing this post.
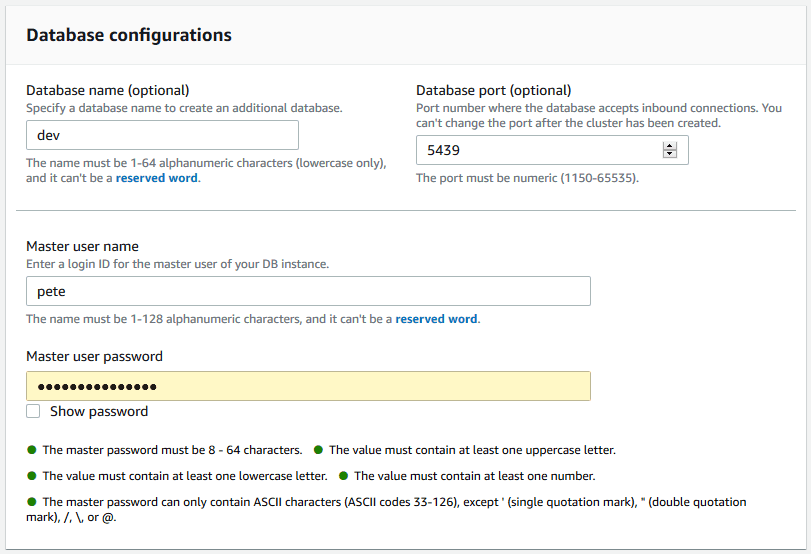
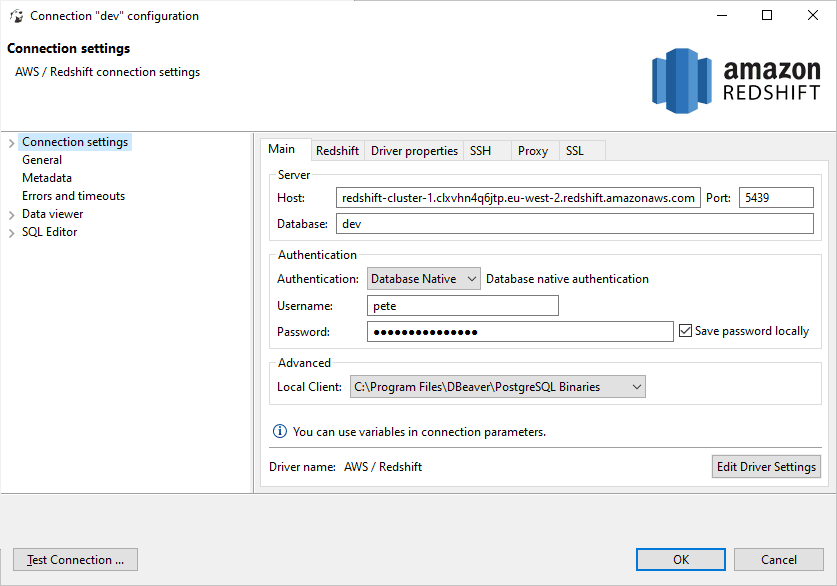
3. Enter Connection Details
> Host: Enter the cluster endpoint (excluding the port and database name).
> Port: Use 5439 (or your specified port).
> Database: Enter the database name (default is dev).
> Username & Password: Provide the credentials set during cluster creation.
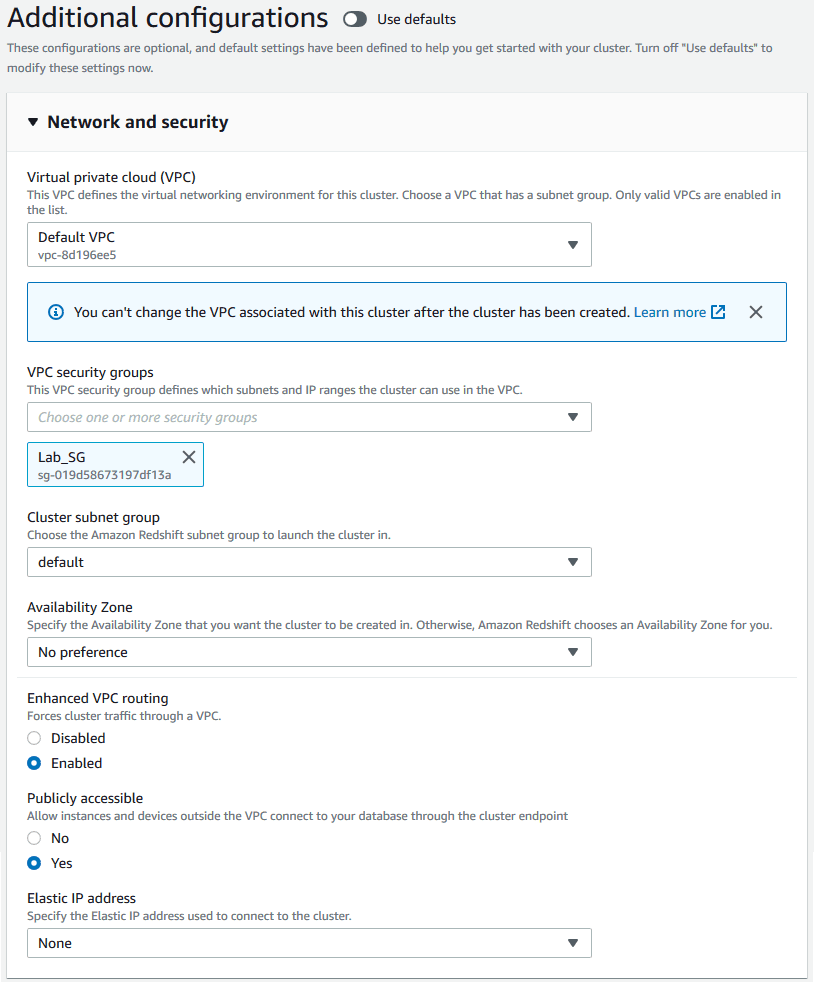
4. Networking & Security
> Select your VPC and Security Group.
> Ensure your machine has access over port 5439.
> Enhanced VPC Routing can add complexity but does not increase costs.
> If your VPC allows external addresses, you may set the cluster to publicly accessible.
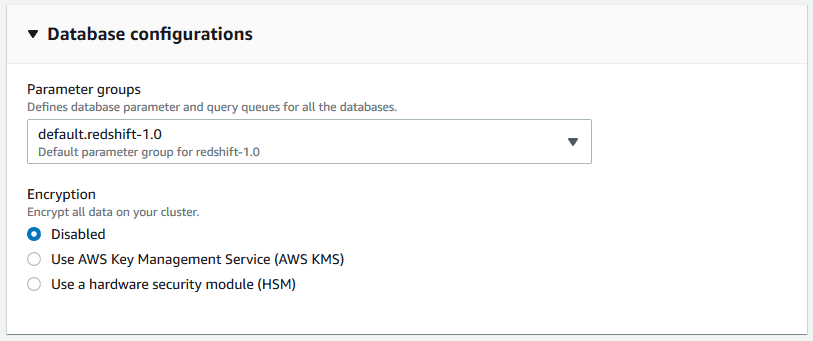
5. Additional Settings
> Use the default parameter group.
> Encryption is optional for testing.
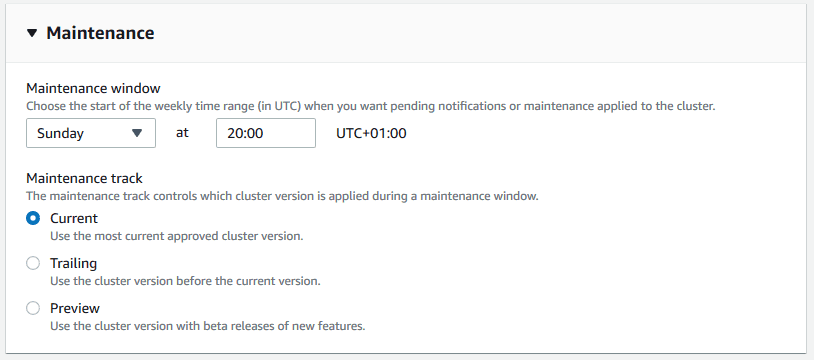
> Set a maintenance window (30 minutes is usually sufficient).
Note: In production, consider trailing updates to ensure stability. AWS frequently releases updates, though they are generally reliable.
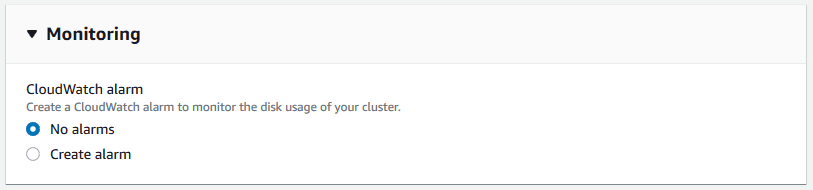
> No need for monitoring for basic testing.
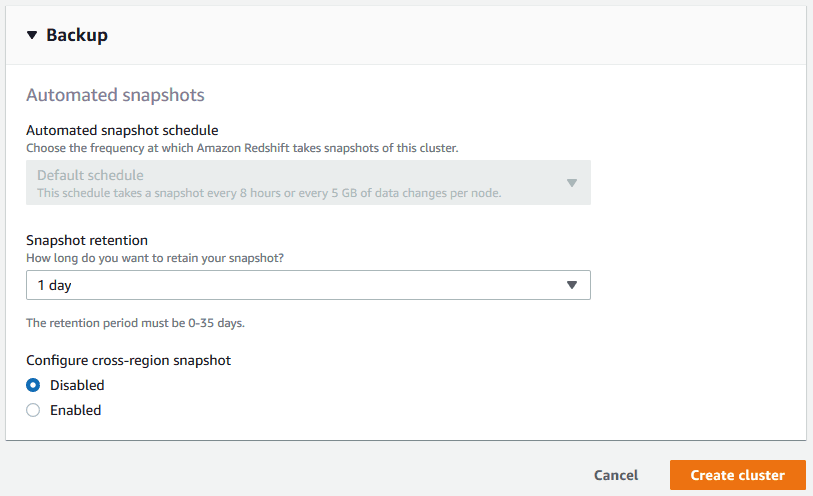
> Set minimum snapshot retention to 1 day.
Snapshot Retention: You can retain snapshots for up to 35 days, but manual snapshots can be stored indefinitely.
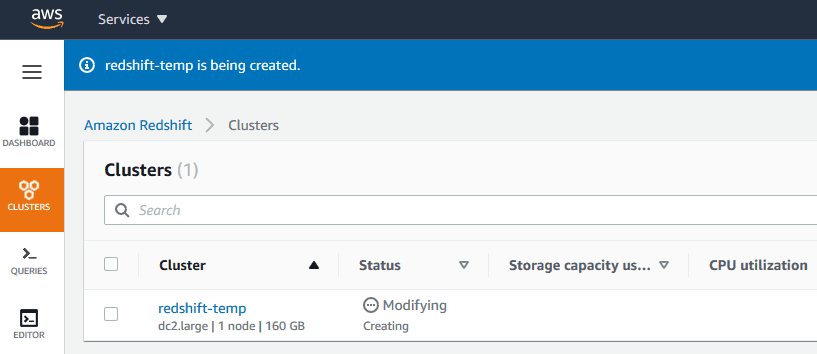
6. Create the Cluster
> Click Create Cluster and wait a few minutes for provisioning.
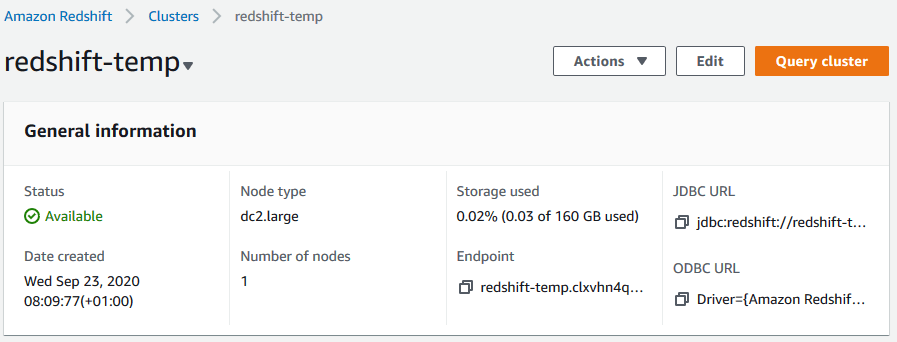
> Once ready, navigate to the cluster details and copy the endpoint address, you’ll need it for the next step!
Connecting to AWS RedShift using DBeaver
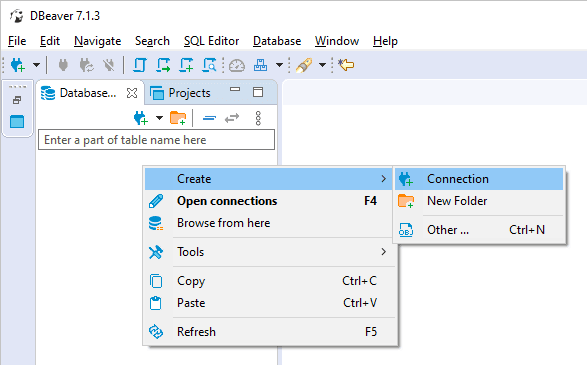
1. Open DBeaver
> Launch DBeaver and create a new database connection.
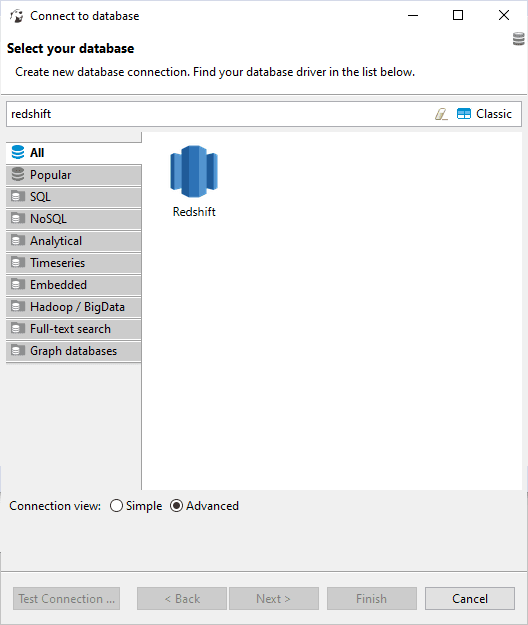
2. Select RedShift
> Search for and select Amazon RedShift from the available database types.
3. Enter Connection Details
> Use the username, password, database name, and cluster endpoint address from step 6.
Note: In most cases, no additional configuration is needed if using a recent version of DBeaver.

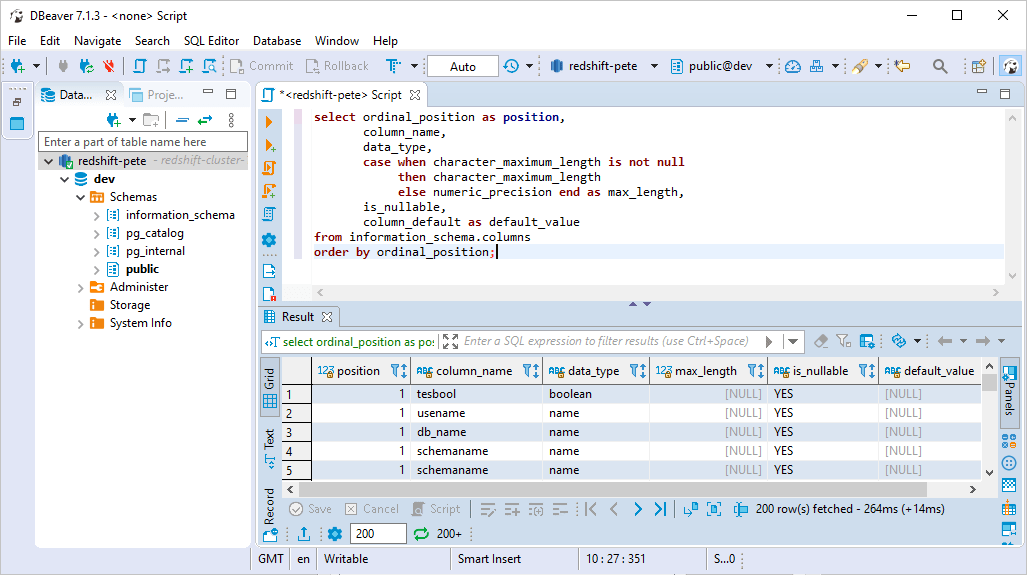
4. Test & Save Connection
> Click Test Connection to verify connectivity.
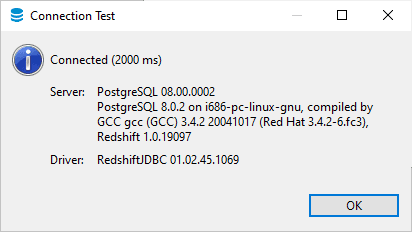
> Save the connection and start querying the cluster!
Important: Managing Costs
By following this guide, hopefully you’ve successfully created a new AWS Redshift Cluster. We should consider the following to keep costs under control:
> Pause or Delete: After completing your tasks, either pause the cluster to stop compute charges or delete it to stop all charges, including storage.
> Billing Alerts: Set up AWS billing alerts to monitor usage and avoid unexpected costs.
Leave a Reply