Setting up MySQL databases and tables is a foundational skill for database administrators and developers. Whether you’re using Windows, Linux, or a cloud environment, this guide is aimed to help you create databases and tables in MySQL.
Topics covered:
> Create a MySQL Database
> The USE DATABASE Command
> Closing MySQL Queries with Semicolons
> How to Exit from MySQL CLI
Create a MySQL Database
To create a new database in MySQL, you use the CREATE DATABASE SQL statement. In MySQL, the terms “database” and “schema” are often used interchangeably.
Example Using MySQL Workbench:
1. Open MySQL Workbench.
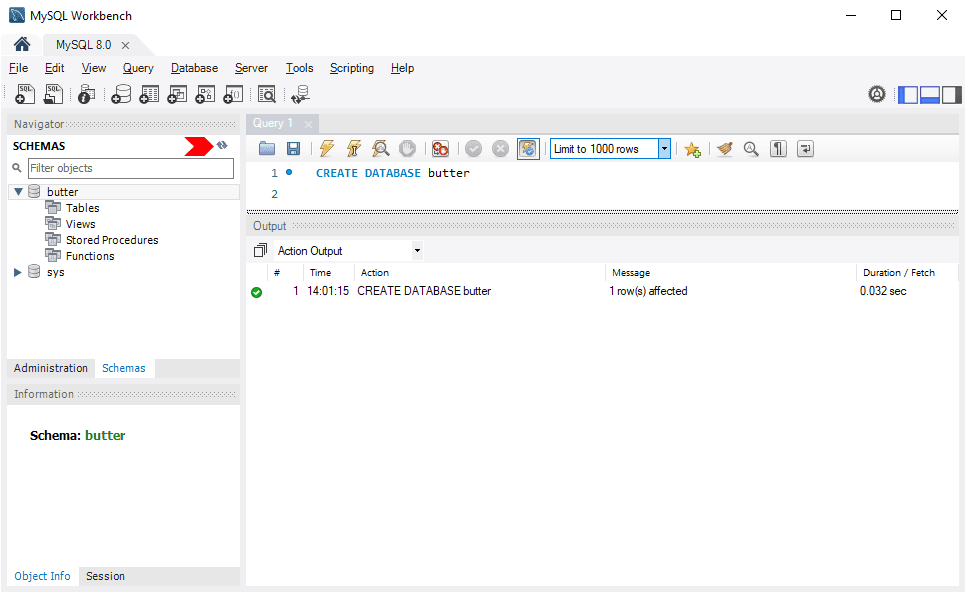
2. Run the following command to create a database:
CREATE DATABASE example_database;
3. Refresh the Schemas panel in the navigator to view the new database.
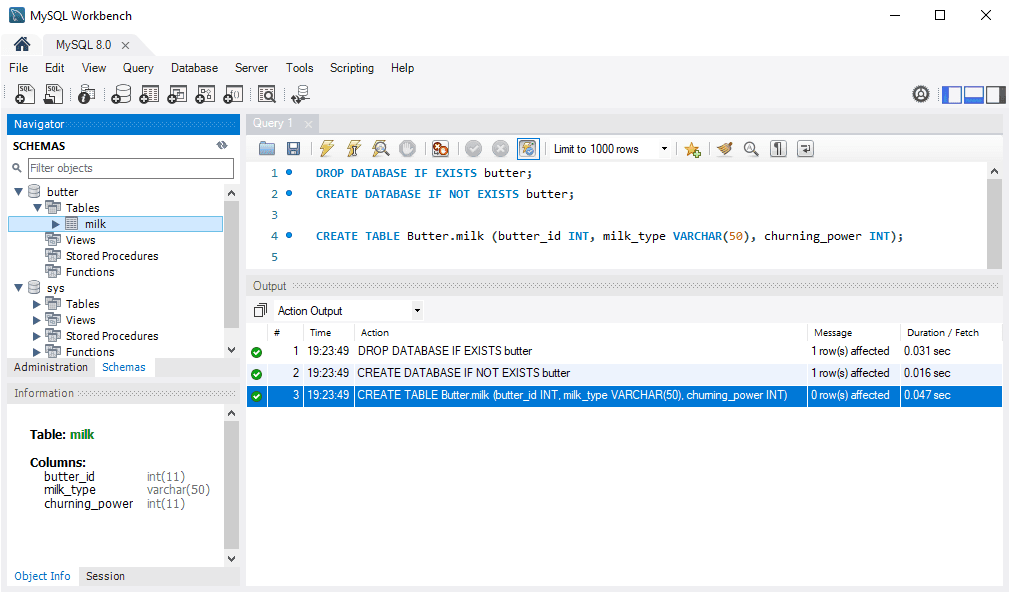
Note: On Linux systems, database names are case-sensitive, unlike Windows systems. To maintain consistency, stick to a consistent naming convention such as finance_database rather than mixing cases like Finance_Database.
Below, I’m creating a database on a local MySQL install (Windows 10) and creating a table with a capital letter on the schema/database name.
Example using MySQL Command-Line Client:
mysql -u root -p
CREATE DATABASE example_database;
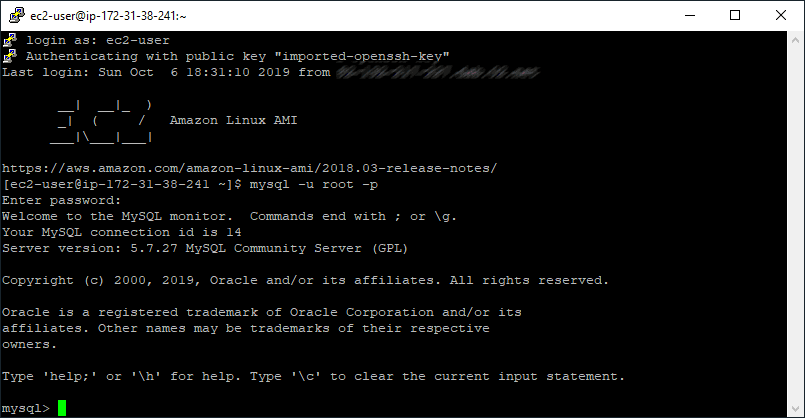
The above shows logging in with the ec2-user to an Amazon Linux EC2 instance. Next, I’m going to create another new table using a capital letter on the database name:

ERROR 1049 (42000) : Unknown database 'Butter'
Great to show this error example, which is happening because we’re not using lower-case for the database name.
2. The USE DATABASE Command
The USE command sets the default database for subsequent operations.
Example: Imagine we have already created a butter database and need to create a table within it. If you forget to specify the schema when running queries, MySQL may return the following error:
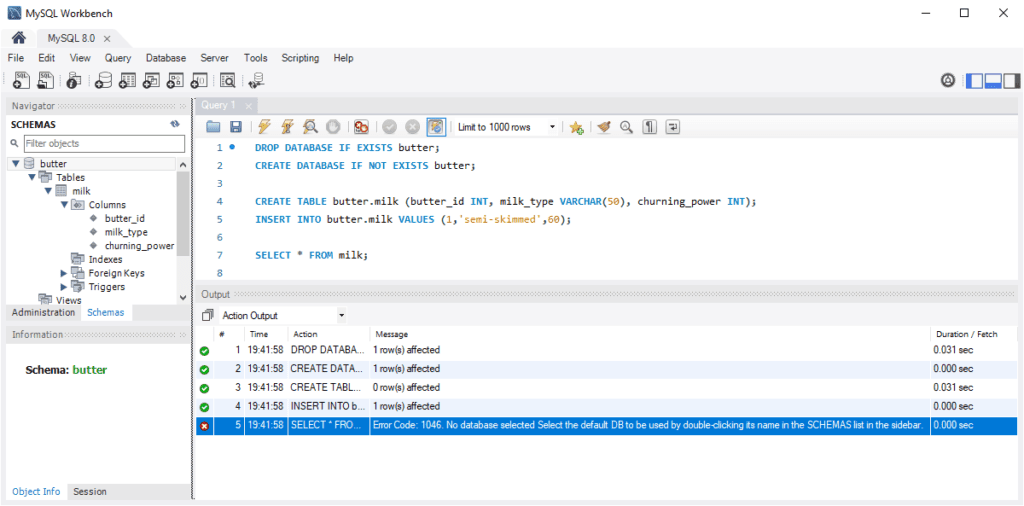
Error Code: 1046: No database selected
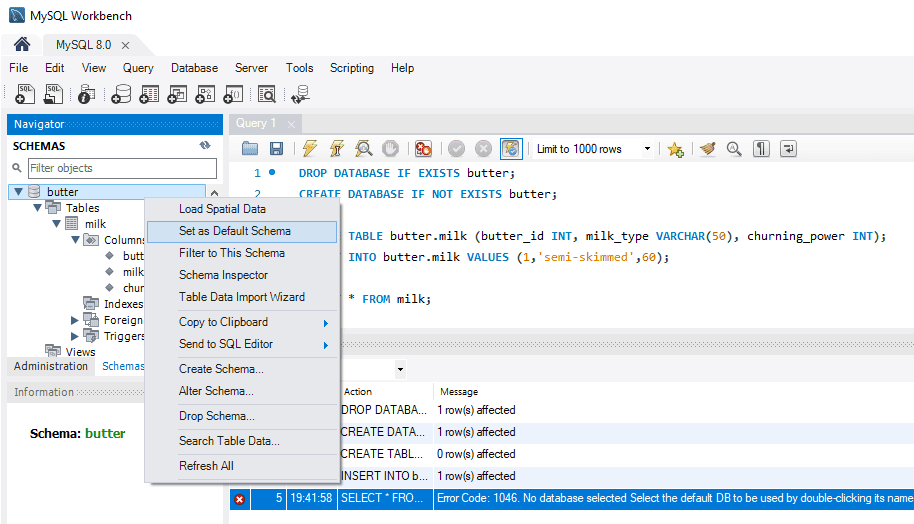
Resolve this by setting the default schema either by double-clicking its name in the Schemas list or using the USE statement:
-- use database example
USE butter;
3. Closing MySQL Queries with Semicolons
In MySQL, semicolons (;) indicate the end of a statement. Without a semicolon, the query will not execute.
Example:
The screenshot below shows a Linux client connected to MySQL. The first SQL command includes a semicolon and returns a list of databases. The second command does not include a semi-colon:
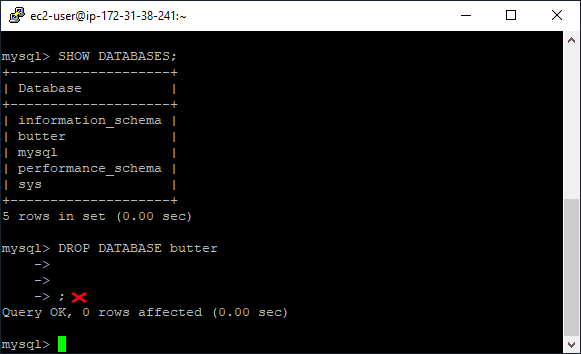
Adding a semicolon ensures the table is created and the row is inserted without errors.
Here’s an example the GUI way, in MySQL Workbench:
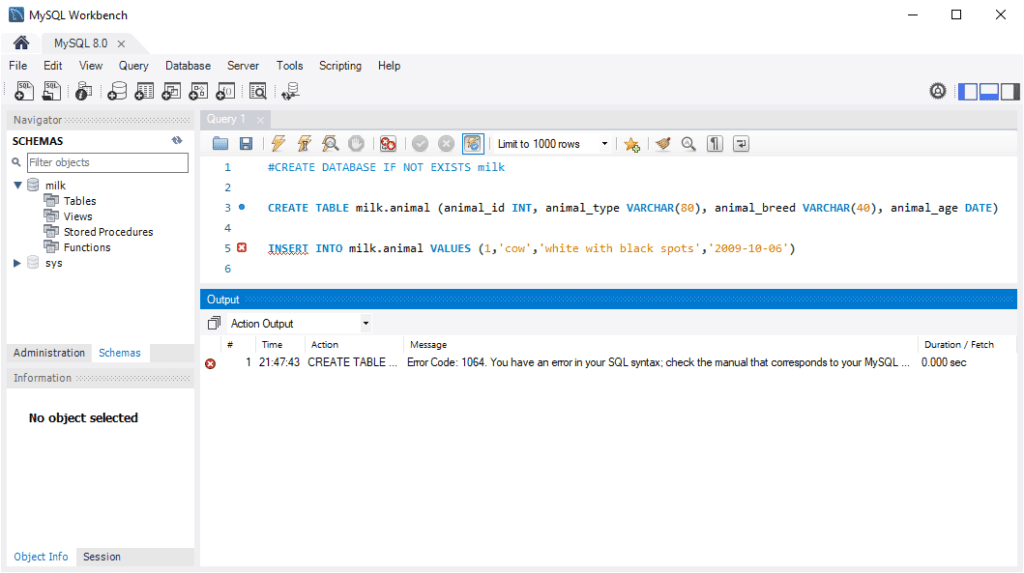
Note: If executing queries line-by-line, semicolons may not be required.
4. Exiting MySQL CLI
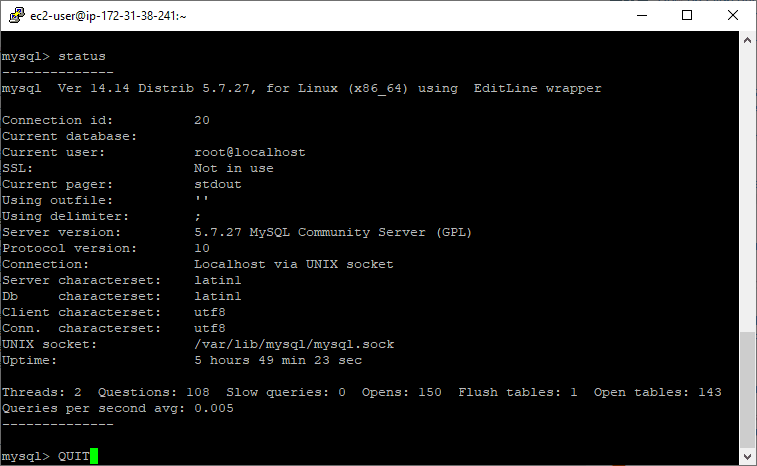
As a final tip for this blog post, I’m showing you how to bug out of the MySQL terminal window.
To exit MySQL CLI run the following:
QUIT;
