How to Install Postgres on Ubuntu 20.04 in WSL
How to Install Postgres on Ubuntu 20.04 in WSL
This is a post on how to install Postgres on Ubuntu 20.04, on Windows Subsystem for Linux (WSL). This should hopefully be a straightforward installation for you, which is done by following these 2 steps:
# Update Local Packages on Ubuntu in WSL
# Install Postgres on Ubuntu
Update Local Packages on Ubuntu in WSL
First, we need to update our local packages, by running the following apt command:
# update local packages
sudo apt update

Install Postgres on Ubuntu
The next command will install Postgres. We’re including the ‘-contrib‘ package which will give us extra functionalities. After installing with the first command I need to restart the Postgres Service to resolve an “error: could not connect to server: No such file or directory” error message.
# install postgres on ubuntu
sudo apt install postgresql postgresql-contrib

# restart postgres service ubuntu
sudo service postgresql restart


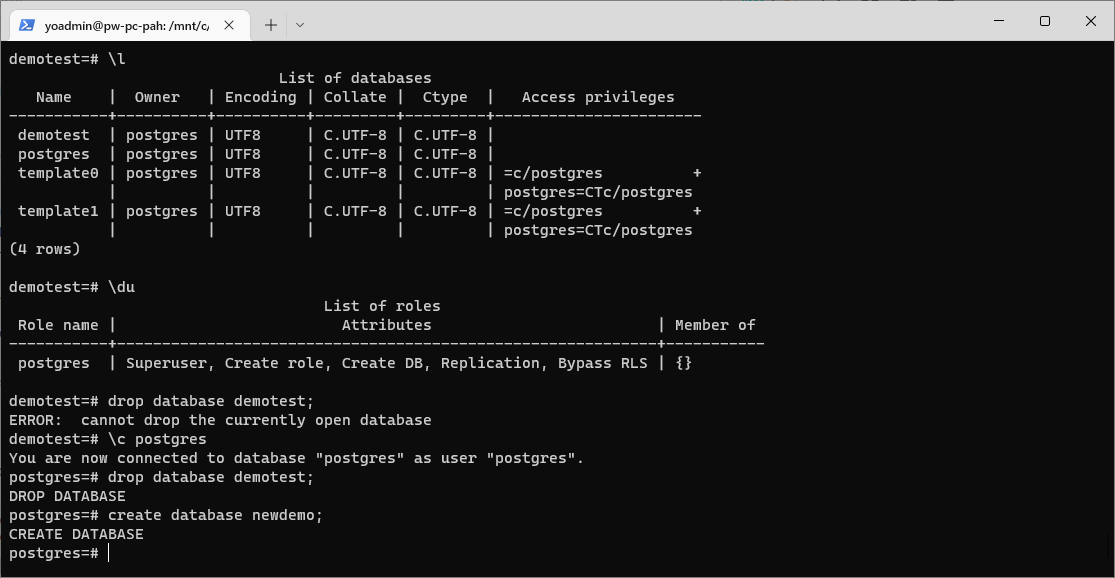
Once the installation completes, we can enter psql using the ‘postgres’ user that was automatically created during the installation.
# login to psql with the out of box postgres user
sudo -u postgres psql

\q (to quit back to terminal)

0 Comments