PostgreSQL is a free open-source RDMS that is widely used and forked. Other than PostgreSQL itself, Redshift is the only other forked database I’ve ever touched.
This blog post is a very simple wizard run-through of installing PostgreSQL and Stack Builder on Windows for testing.
# Install PostgreSQL on Windows
# Install Stack Builder on Windows
Install PostgreSQL on Windows
PostgreSQL official downloads can be found here. Also see this link (chapter 16) for installing this on a Linux system.
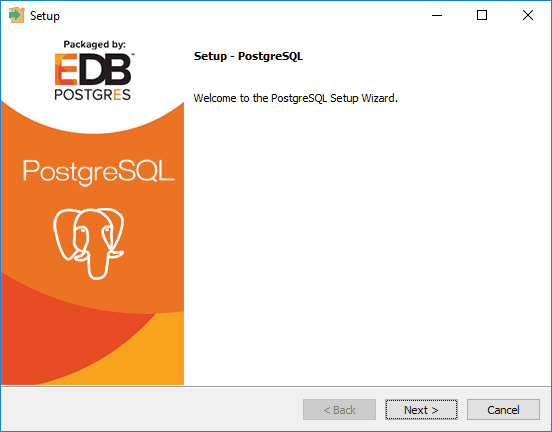
1. Run set-up exe file.
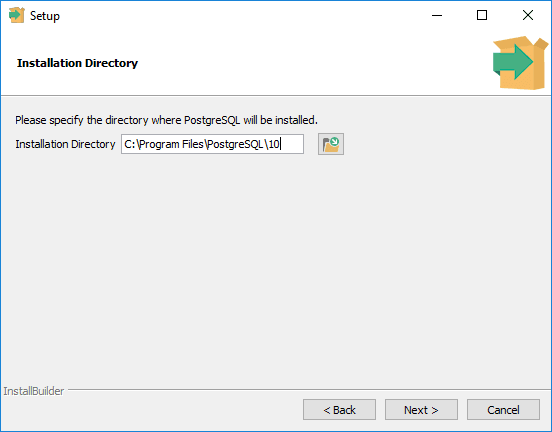
2. Specify installation directory.
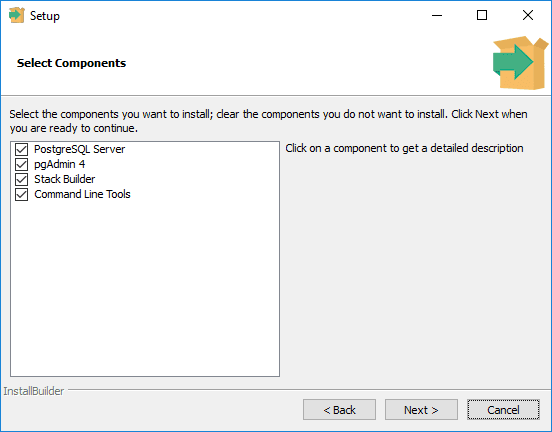
3. Select features.
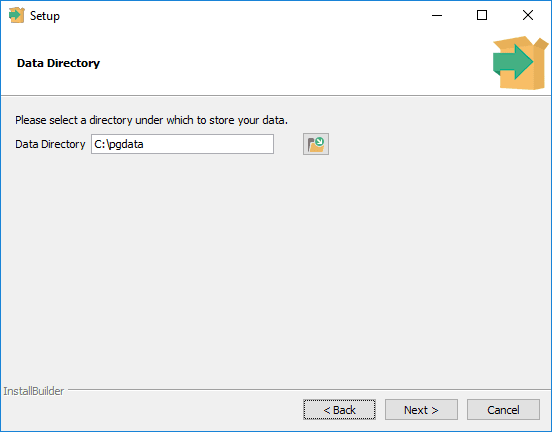
4. Specify data directory.
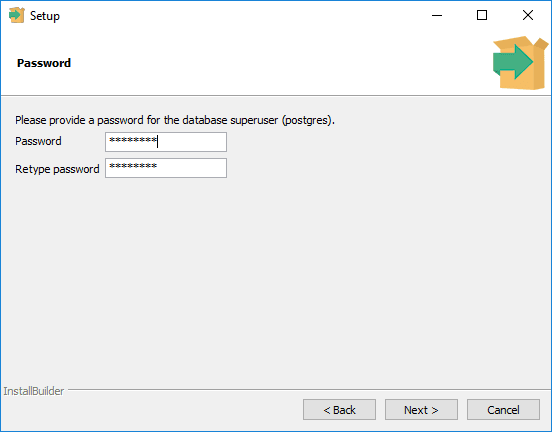
5. Enter the superuser (postgres) password.
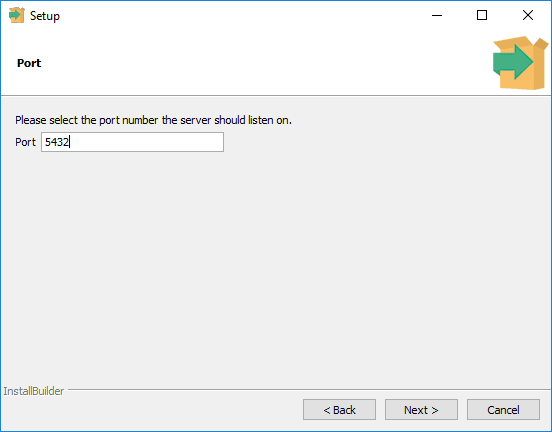
6. Enter the listening port.
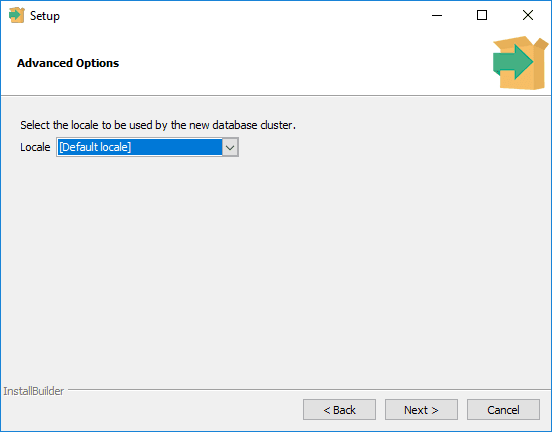
7. Default local for English.
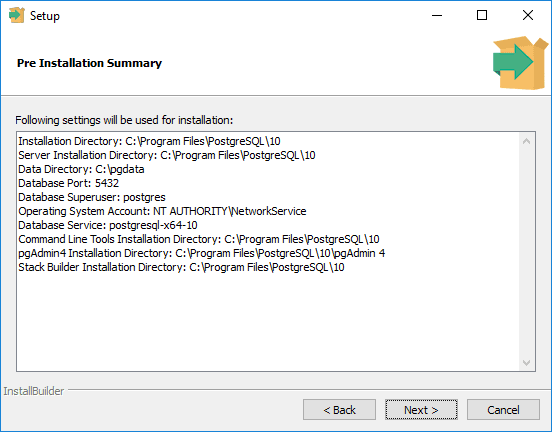
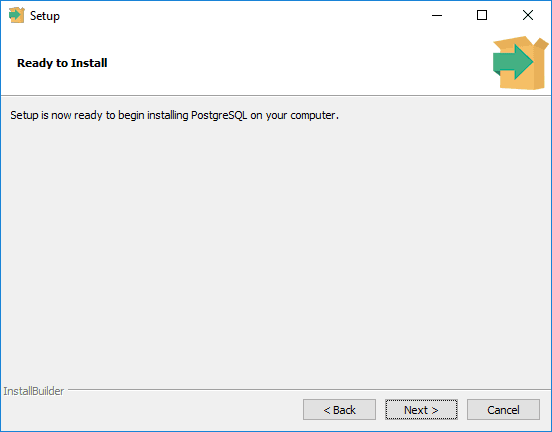
8. Next, next, next & you’re done.
Install Stack Builder Components on Windows
Stack Builder is a quick way of getting additional software installed on your server, such as drivers, apache and EnterpriseDB tools.
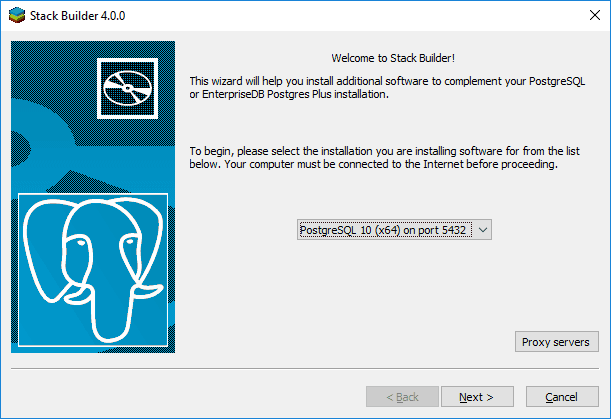
1. Select your Postgres Sever.
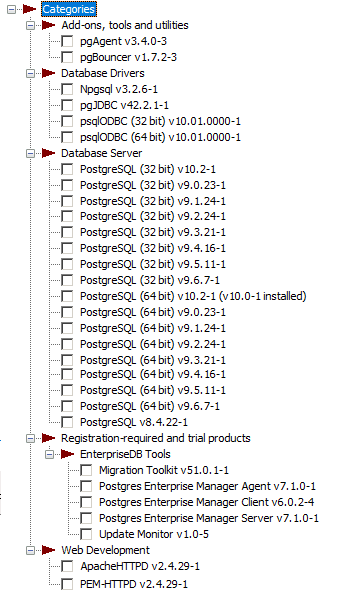
2. Make your selections – pretty handy having things like the drivers in here.
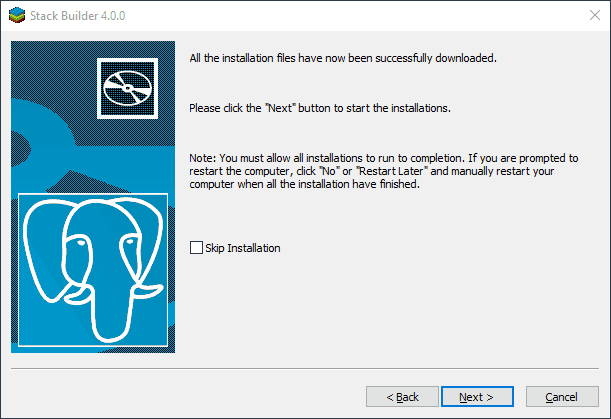
3. Continue on.
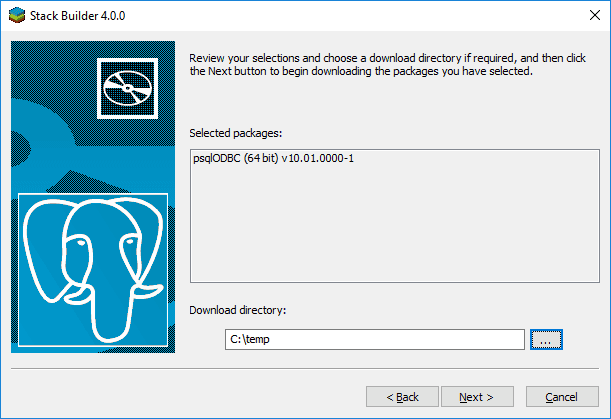
4. A reboot may be required, depending on what has been selected.
And we’re done. Next, install a management tool such as PG Admin.
Leave a Reply