
This guide provides a step-by-step walkthrough for installing Windows Server on Hyper-V. By the end of this tutorial, you’ll have a fully operational Windows Server VM, ready for further configuration and testing.
If you need to install the Hyper-V role on Windows first, refer to this guide – Microsoft Docs: Install Hyper V on Windows
What This Guide Covers:
1. Creating a new Hyper-V Virtual Machine
2. Installing Windows Server (2016)
Once you complete this setup, you can proceed with additional configurations, such as installing Active Directory (AD) on your new server.
1. Creating a new Hyper-V Virtual Machine
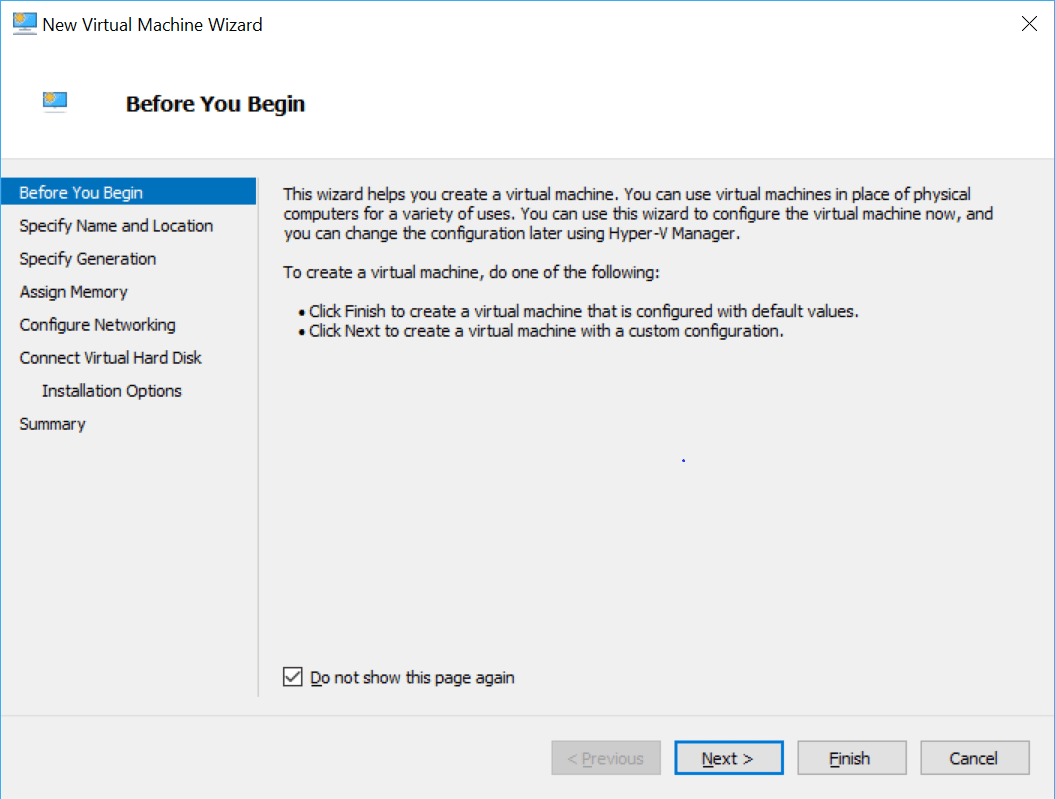
1. Right-click your Hyper-V Manager host machine, and select New > Virtual Machine…

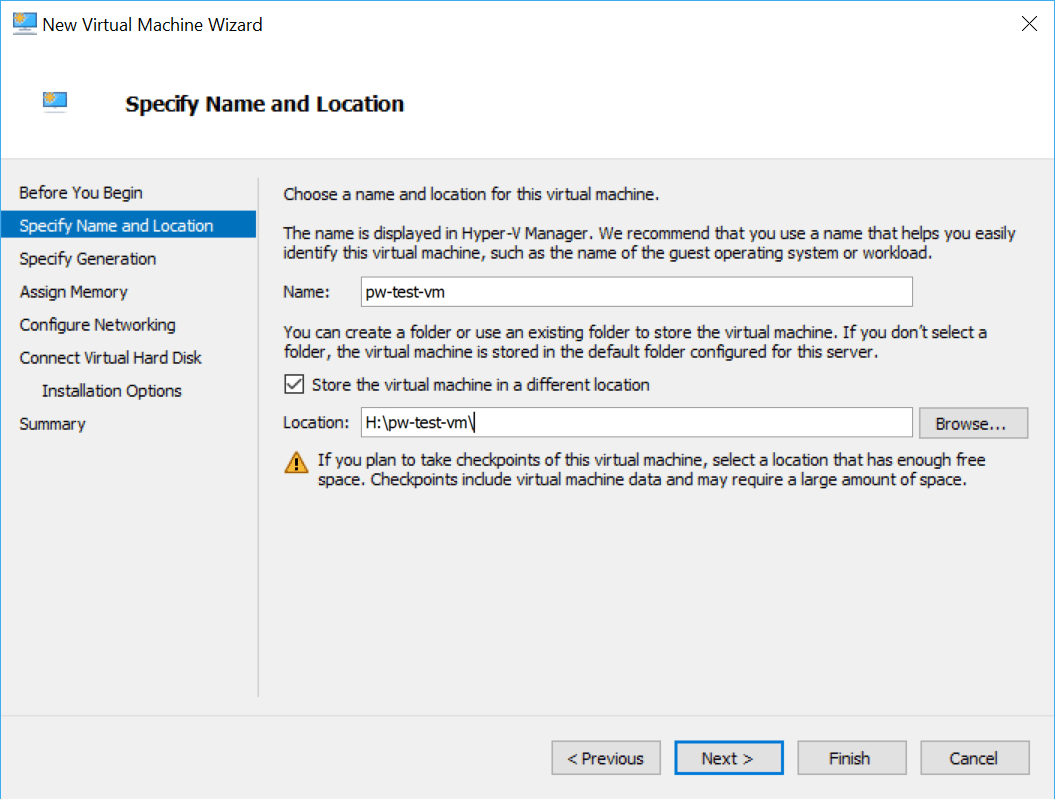
2. Enter the name of the new VM and the location on disk.
3. Select Generation of VM.

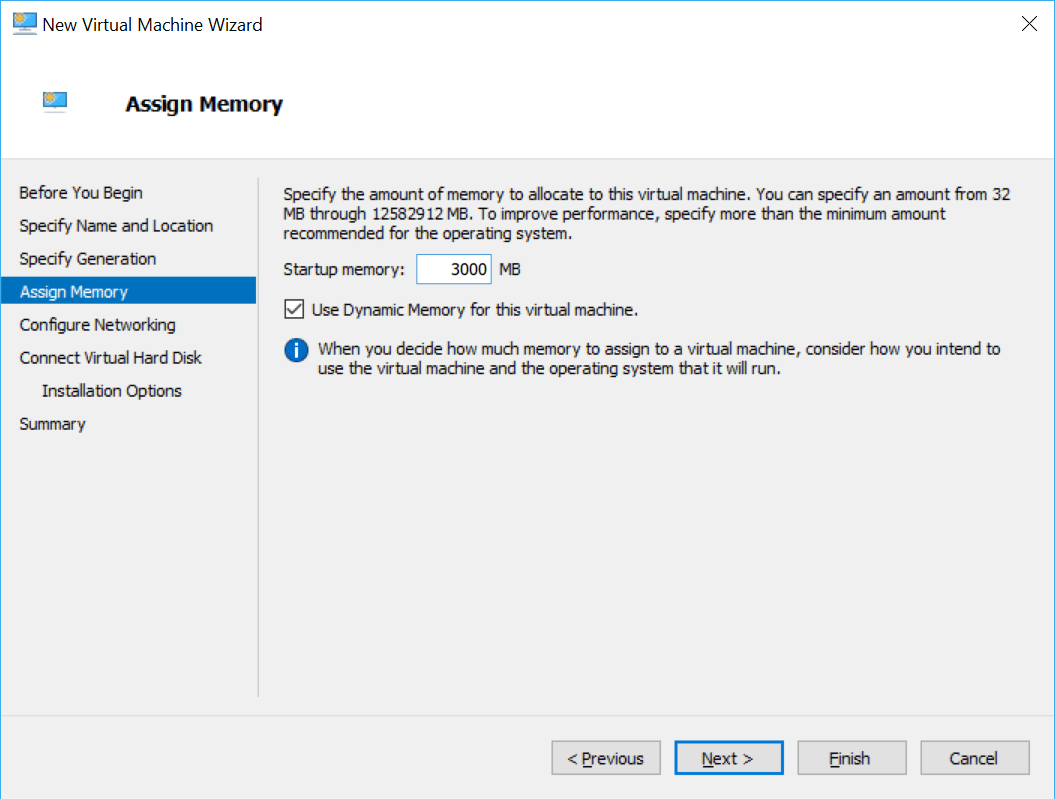
4. Enter the memory allocation amount.
5. Select a network connection (I’ll set this up later).

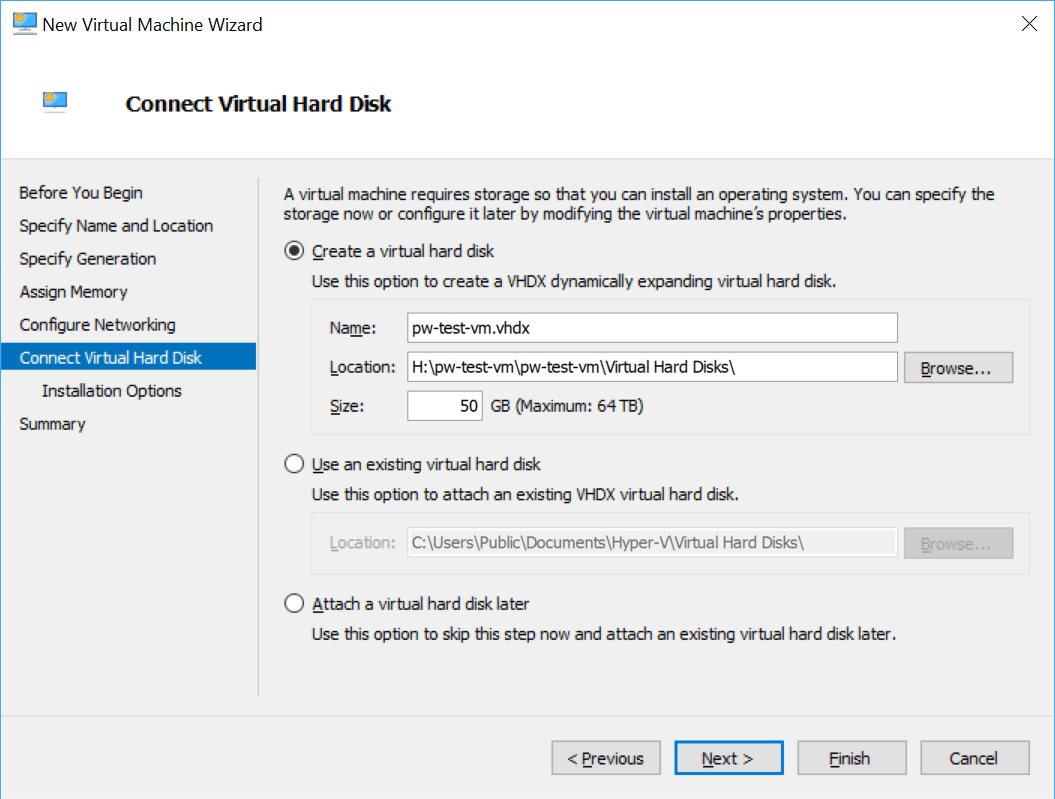
6. Enter the dynamic virtual hard disk limit, and for this tutorial, I’m leaving the vHD location as default (driven from the previous selection).
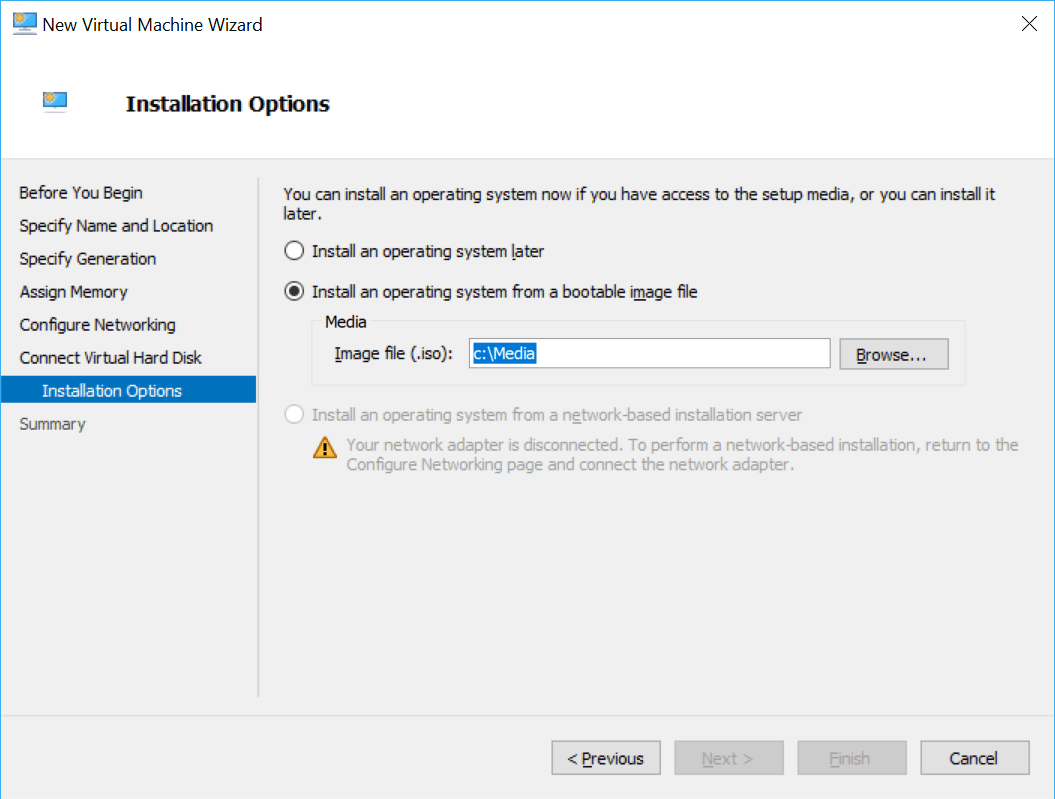
7. Select an Operating System ISO file.
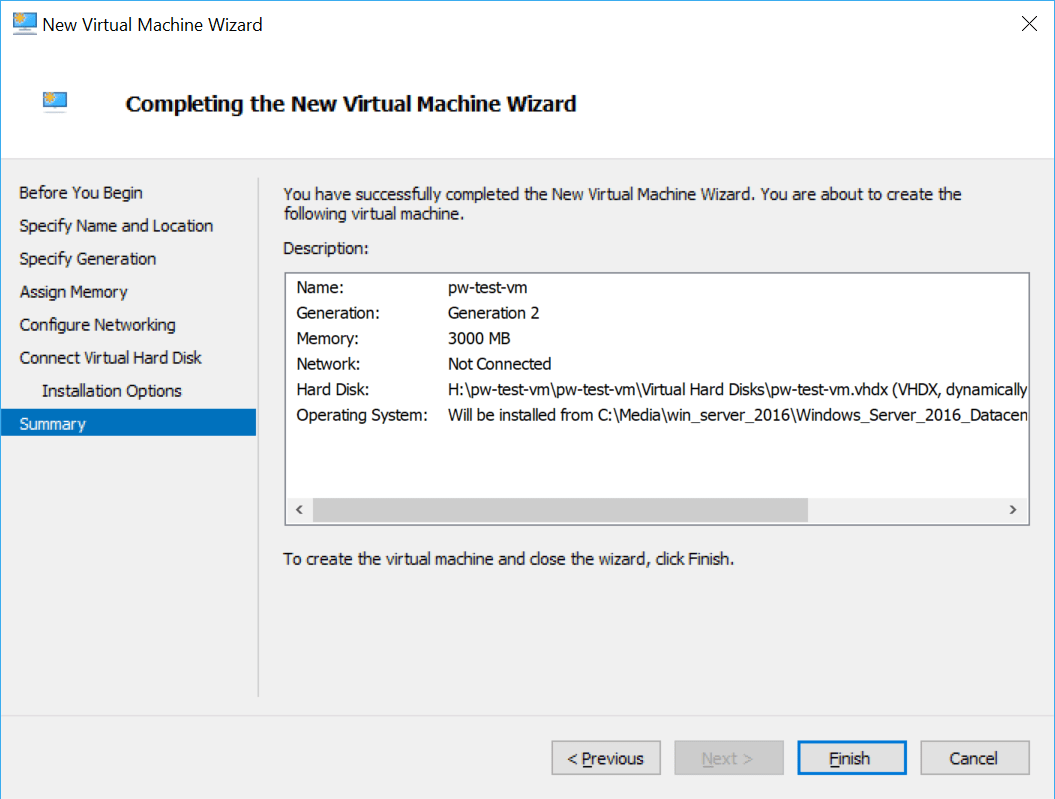
8. Review configuration and hit finish.
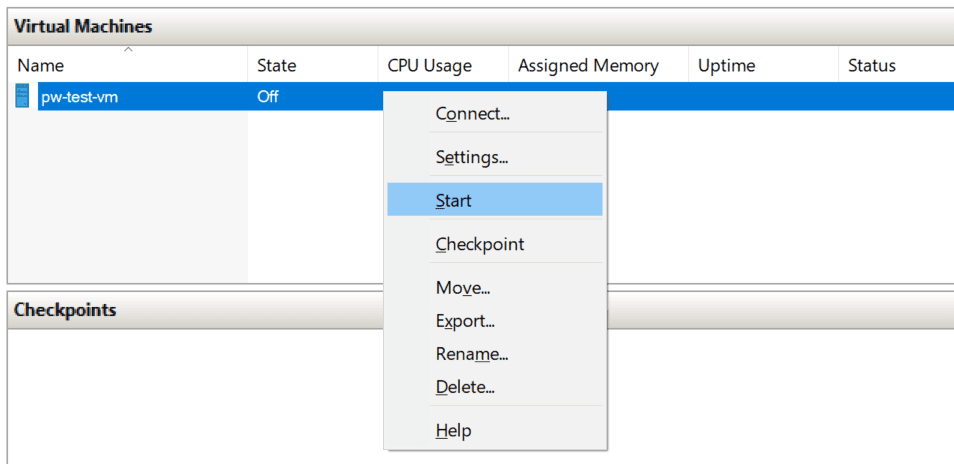
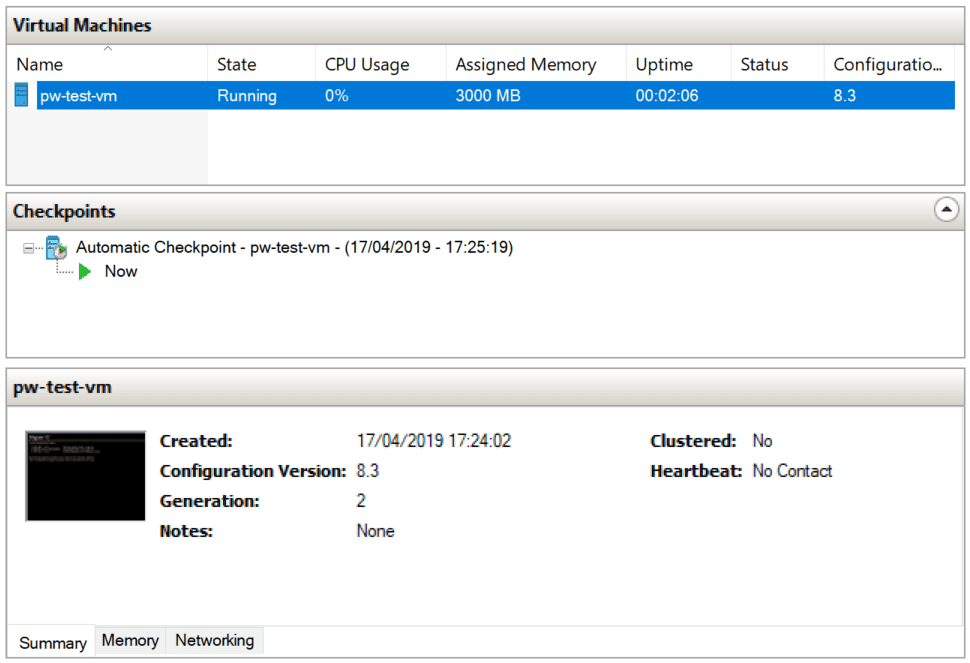
9. Power up the new VM!
2. Installing Windows Server (2016)
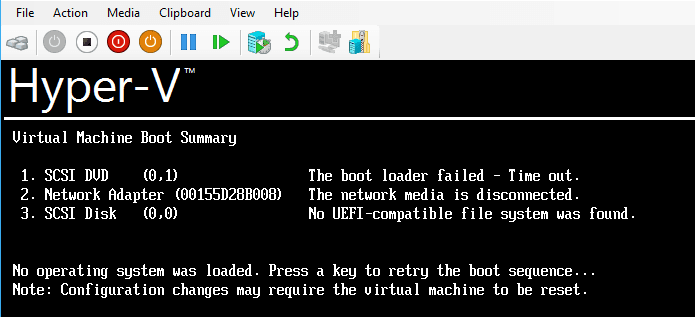
1. Connect to the new VM (ensuring step 7 above was followed).
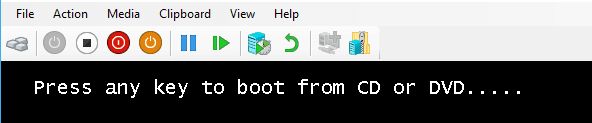
2. Hit any key.
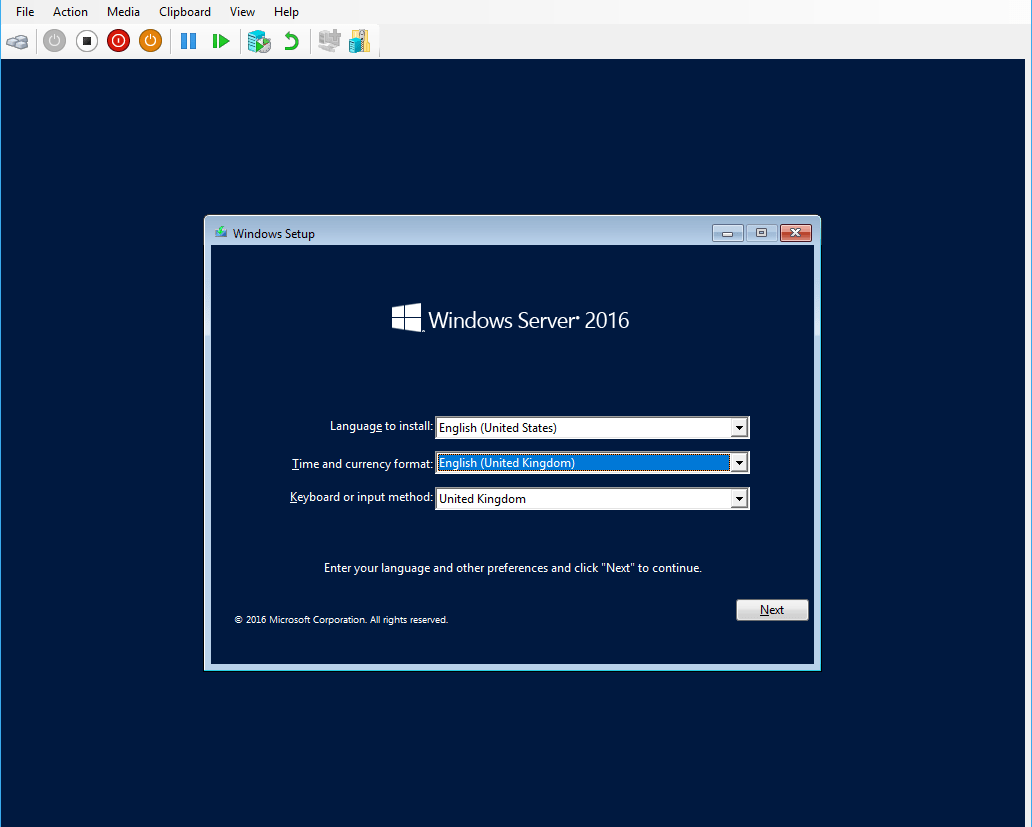
3. After 30 seconds or so of loading, select your location.
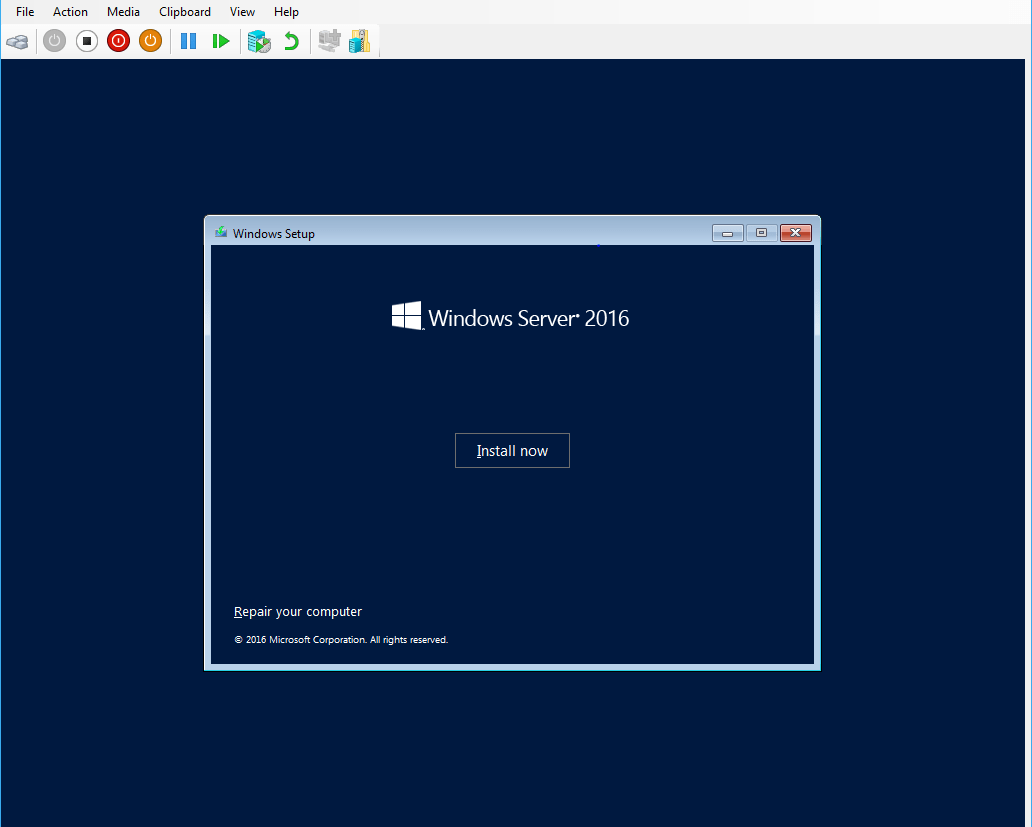
4. Click to start the Windows Server installation.
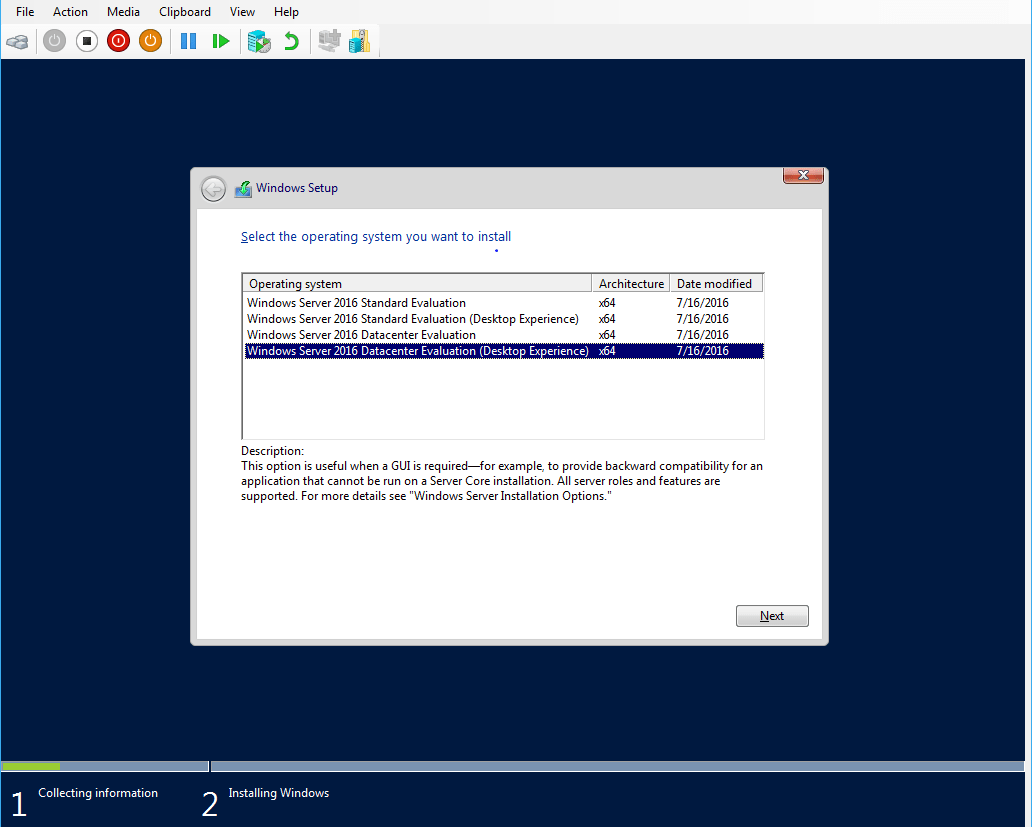
5. GUI this time around, and Datacenter Edition for the test environment.
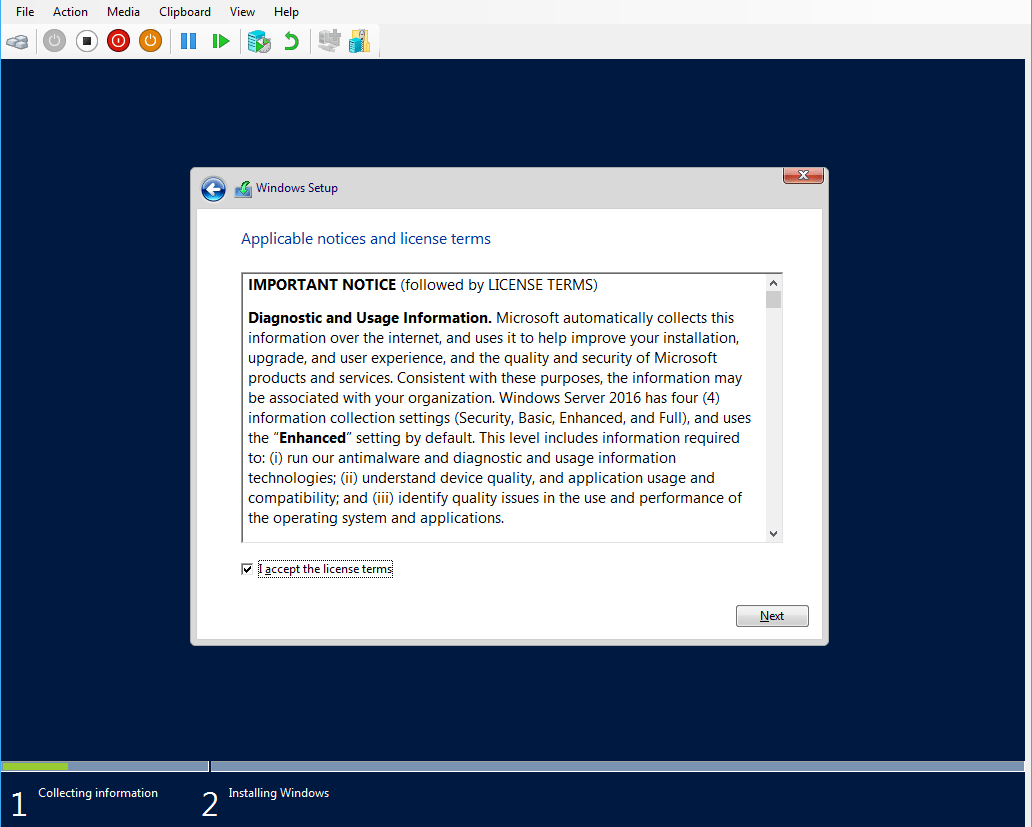
6. Accept the usual.
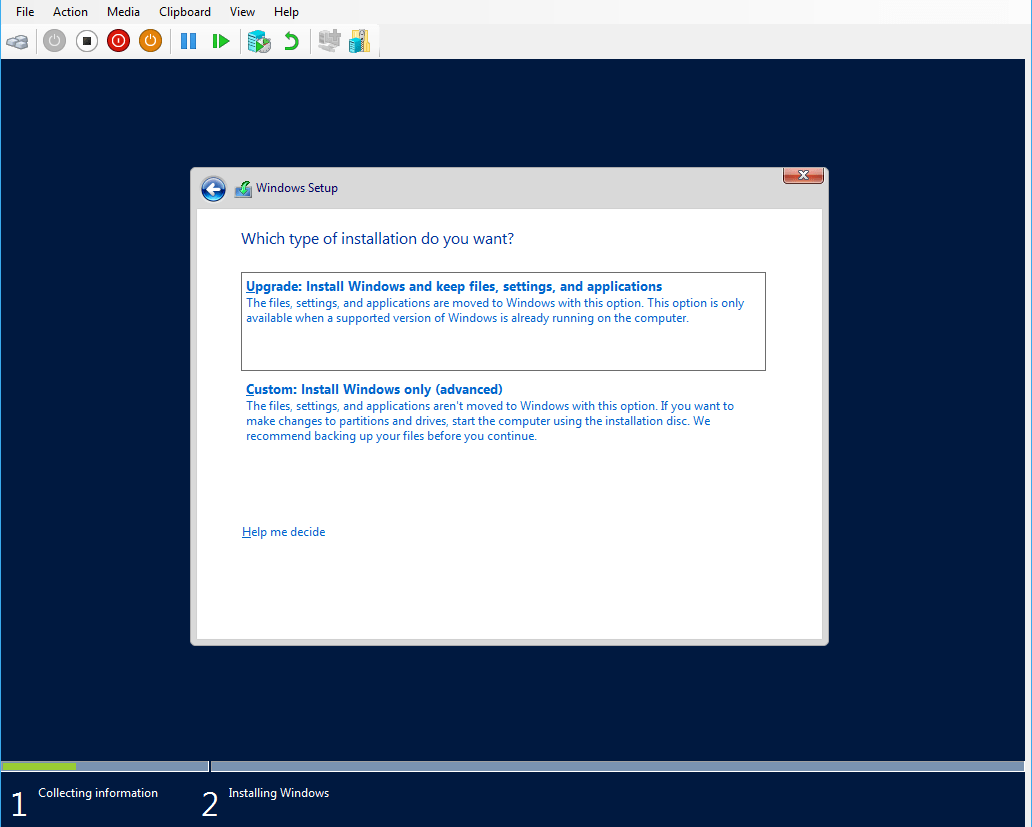
7. Check advanced options.
8. Install on the 50GB vHD.

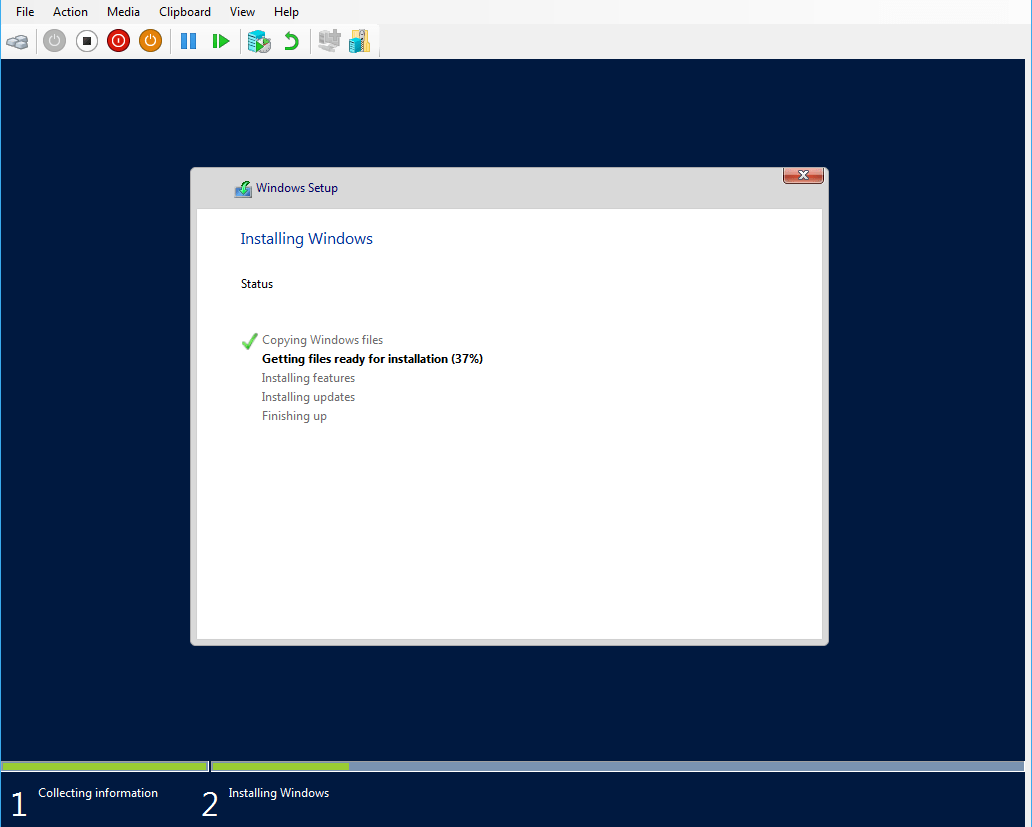
9. Hit next, and away it goes…
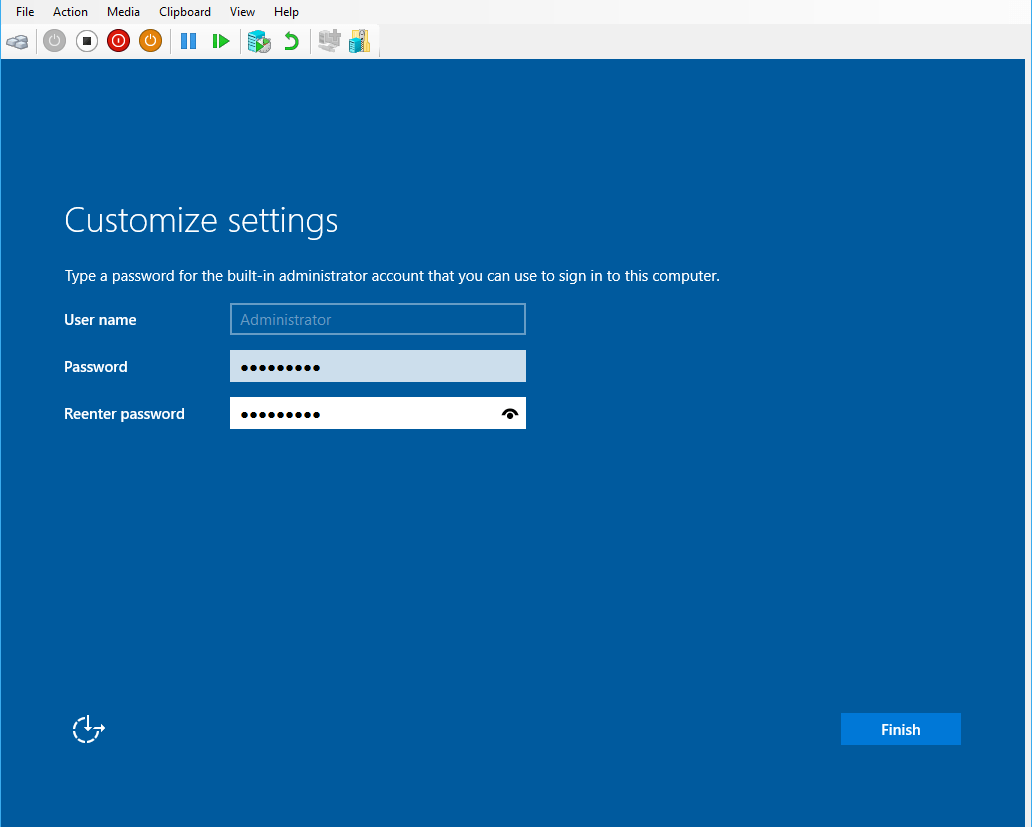
10. The installation will finish up and restart once it’s done. Before the Windows Server login screen is shown, the built-in administrator password needs to be set.
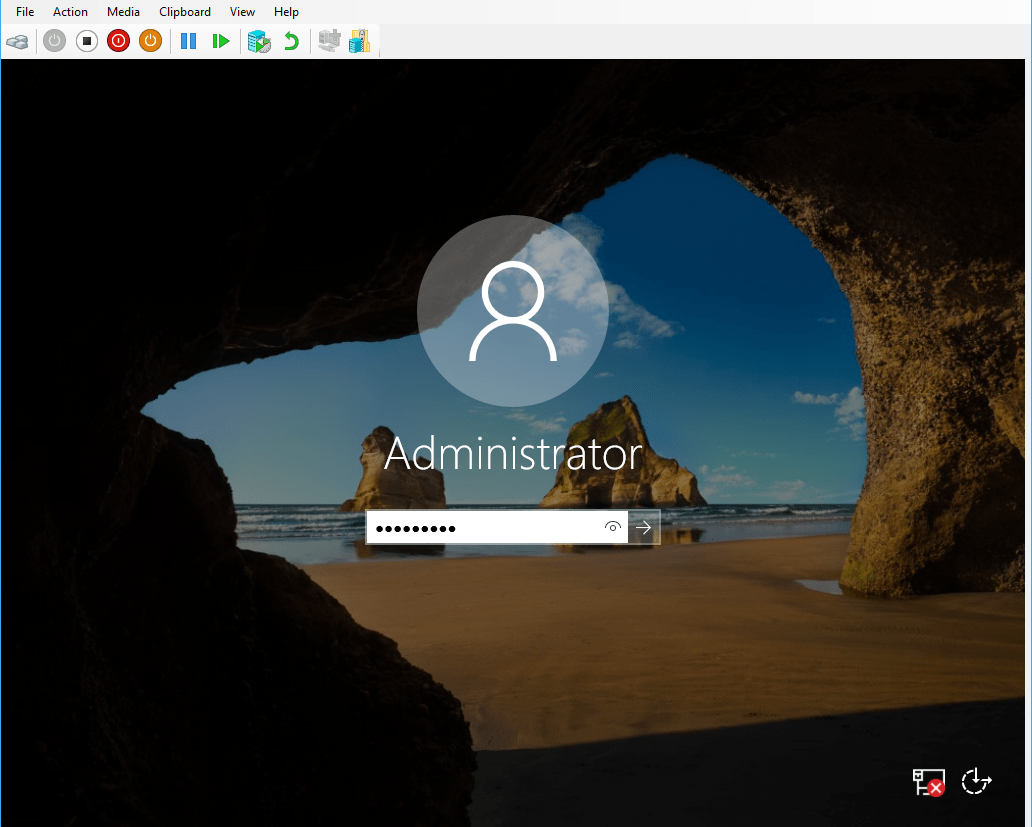
11. Login with the above password.
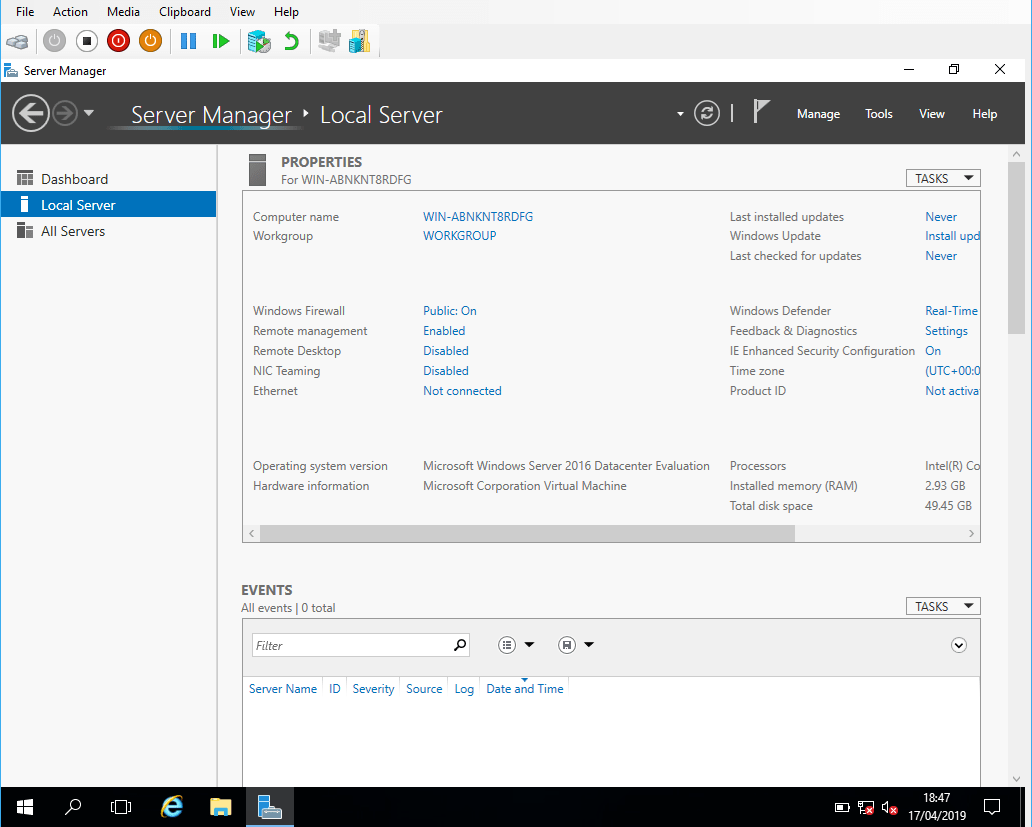
12. Hurray, it’s Windows 2016 everybody!
Now that your Windows Server VM on Hyper V is up and running, you can proceed with additional configurations, such as:
– Installing Active Directory (AD) for domain services. The post I’m linking is a direct follow-up of this with the HyperV focus.
– Configuring network settings and firewall rules. If you have Windows Firewall enabled, my blog tag as linked might be useful.
– Setting up roles and features based on your use case. I’m linking to my FCI feature blog tag which is the Windows feature I install as a Microsoft SQL DBA most commonly.
Leave a Reply