
When you need to setup Windows Server Core, it’s useful to first familiarize ourselves with the key PowerShell commands that configure the server.
Windows Server Core is a minimal installation option that provides a lightweight, command-line interface (CLI)-only environment, making it ideal for environments requiring lower resource usage and enhanced security. However, if you’re new to PowerShell, navigating this environment may seem challenging at first.
This guide provides a step-by-step walkthrough for configuring a new Windows Server 2016 Core host, covering the following:
> Installing Windows Server Core
> Changing a Windows Server Hostname via CLI
> Configuring TCP/IP & DNS Settings
> Joining a Windows Server to a Domain
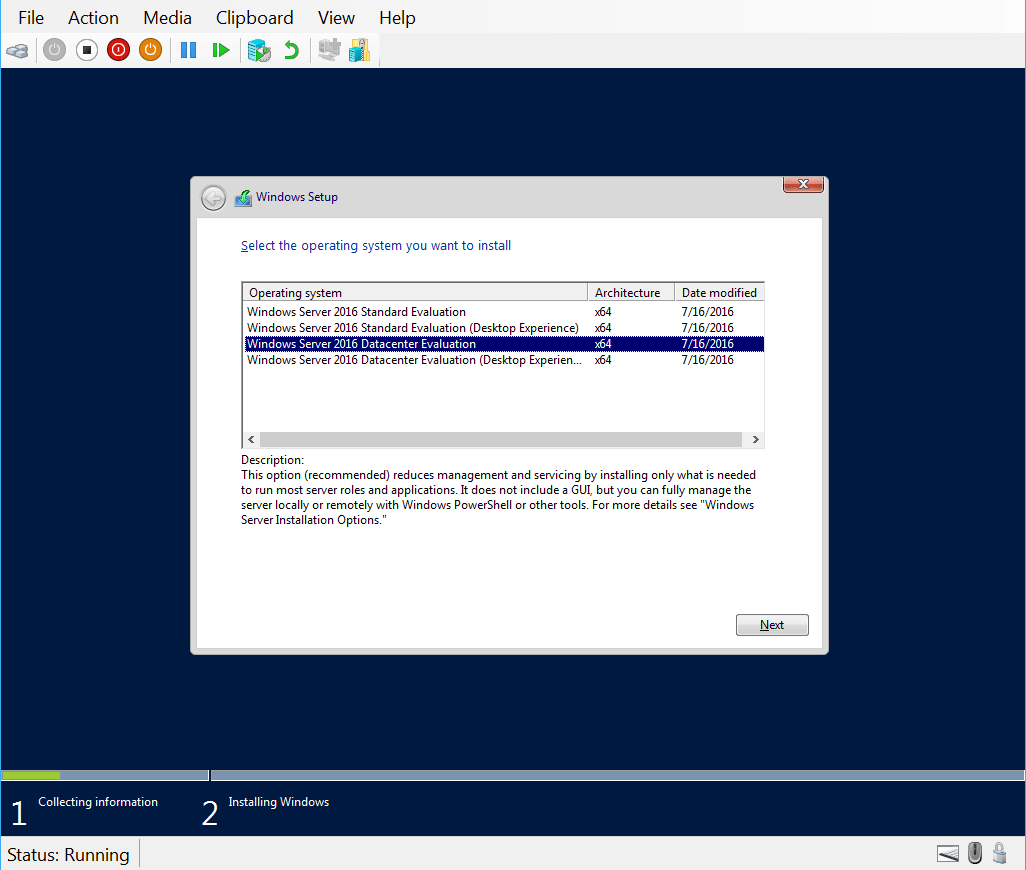
1. Installing Windows Server Core
During the Windows Server OS installation, select the Windows Server Core option:
Once the installation completes, you’ll be prompted to set an Administrator password:

Enter a secure password for the built-in Administrator user:

After logging in, you’ll see the CLI environment, ready for configuration:

2. Changing a Windows Server Hostname
To change the hostname, use the Rename-Computer cmdlet in PowerShell, followed by a reboot:

Tip: Always choose a meaningful hostname that reflects the server’s role in your environment.
3. Configuring TCP/IP & DNS Settings
To configure the server’s network settings, follow these steps:
Step 1: Check Current Network Interfaces
Use the Get-NetIPConfiguration cmdlet to display current IP configurations:

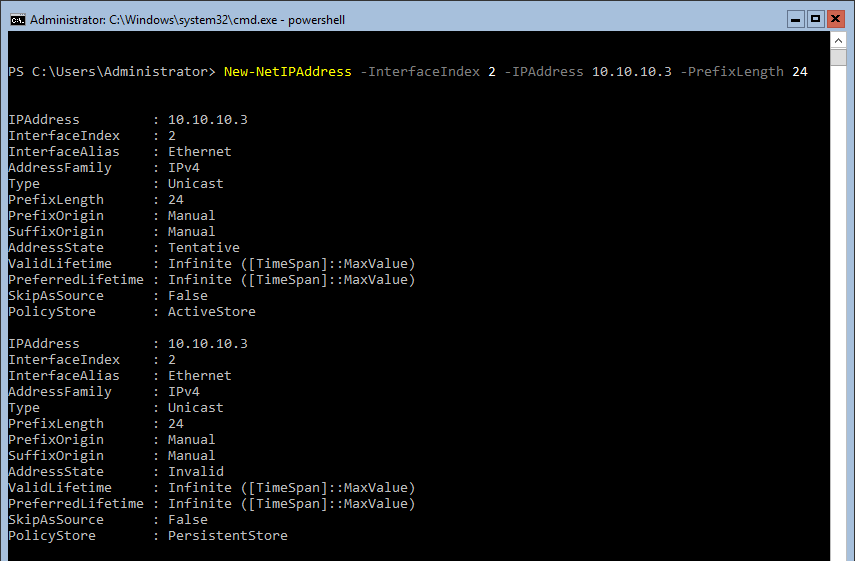
Step 2: Set a Static IP Address
Use the New-NetIPAddress cmdlet to configure a private IP address:
Step 3: Configure DNS Server
Set the DNS server address using the Set-DnsClientServerAddress cmdlet:

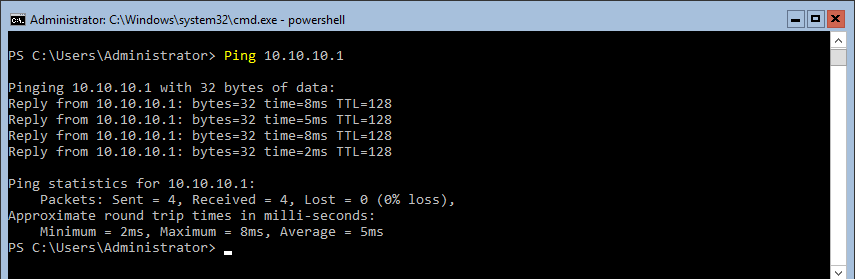
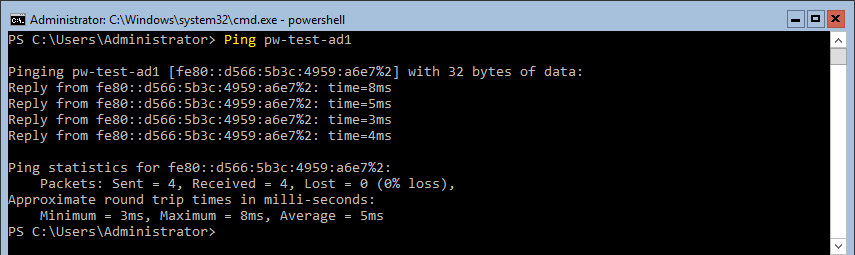
Step 4: Verify Network Connectivity
Ping the gateway and other hosts to confirm connectivity is good between servers:
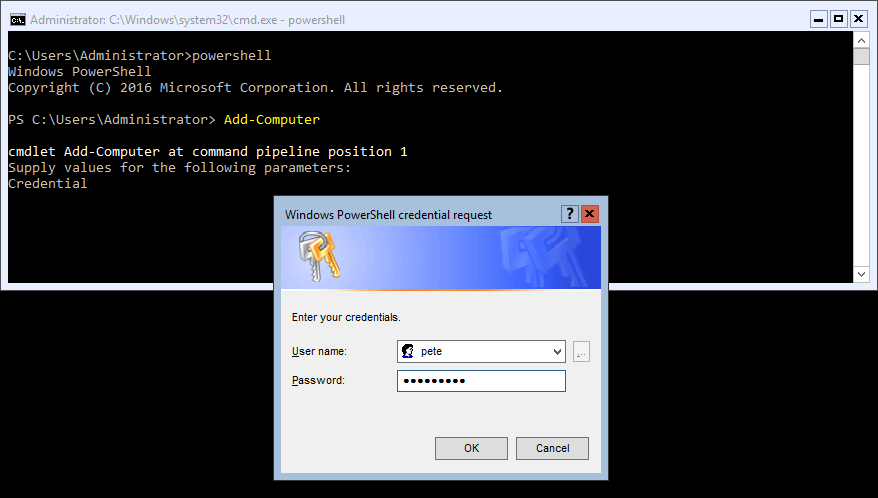
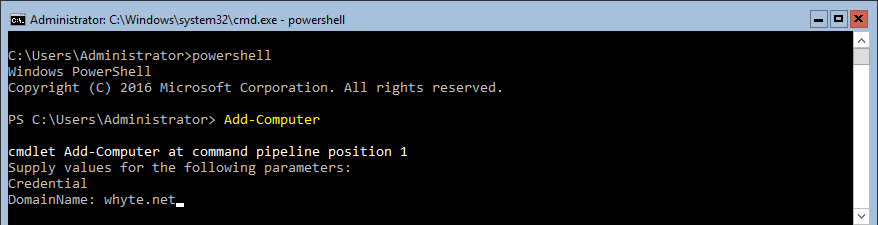
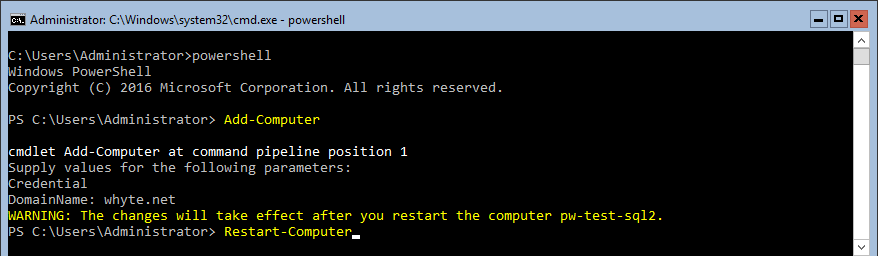
4. Joining a Windows Server to a Domain
To join a Windows Server to a Domain via CLI, use the Add-Computer PowerShell cmdlet:
# join computer to domain powershell
Add-Computer -DomainName "yourdomain.local" -Credential (Get-Credential)
Enter the domain name and credentials of an account with the necessary permissions.
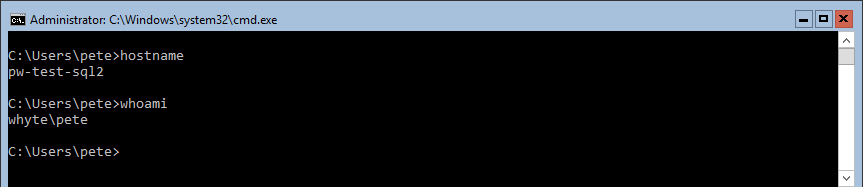
Reboot the server to complete the process:
After rebooting, you can log in with either the Local Administrator account or a domain user account:

For domain logins, select Other User and specify the domain credentials.

Hope this Windows Core configuration guide was useful for you!
Leave a Reply