
This guide walks you through installing Git, the version control system, on a Windows computer.
For the latest version, visit the official Git website to download the installer.
Although the installation wizard offers numerous configuration options, don’t worry, most settings can be adjusted later. Even if something goes wrong, reinstalling Git is quick and straightforward.
Installing Git on Windows (GUI)
1. Download Git
– Navigate to the Git for Windows download page.
– Download the latest installer for Windows.
– Run the installer and proceed through the setup wizard.
2. Install Git
The installation has many configuration options, all noted below:
Default Editor
Choose your preferred text editor (VS Code, Notepad++, Vim, etc.).
Line Endings
If working in a mixed Windows/macOS/Linux environment, choose “Checkout Windows-style, commit Unix-style line endings.”

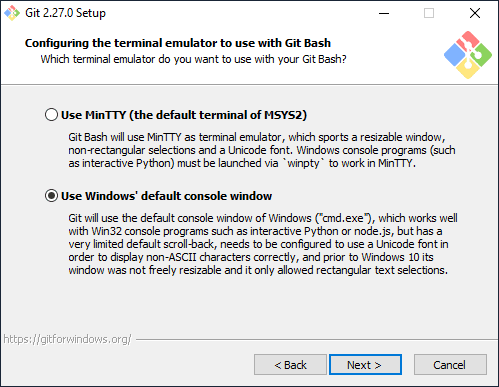
Default Console Window
You should configure git to use the default console window for Windows.
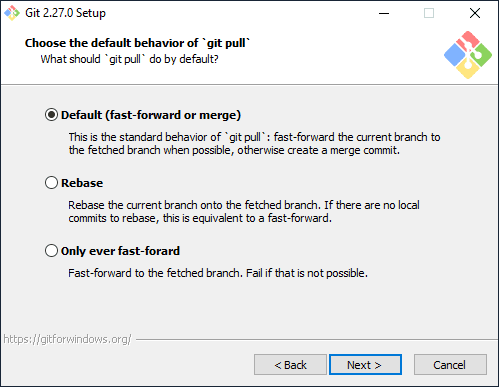
Git Behavior
Unless you are working on particular advanced Git projects, you can leave the Git Behavior as Default.
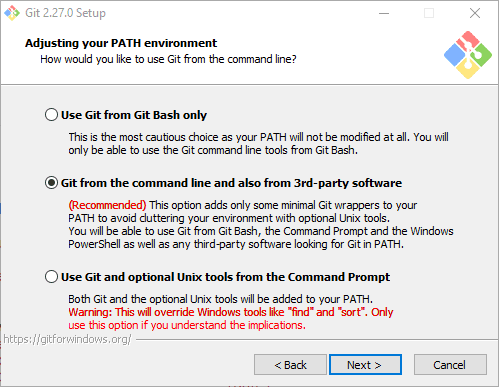
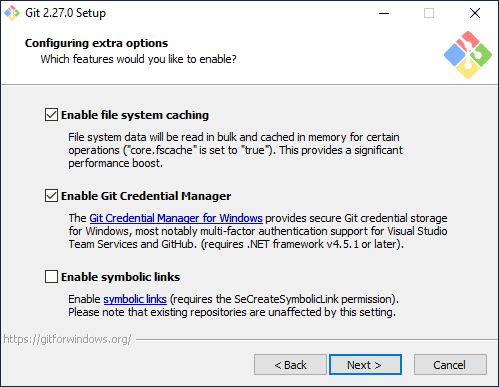
Extra Options
Enable Git Credential Manager for better authentication handling, and have file system caching enabled, because why not.
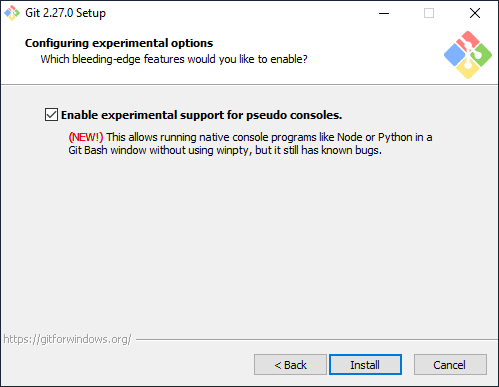
Experimental Options
Enable experimental options if you are not precious about you Git environment and experience.
3. Verify Git Installation
To confirm Git is installed correctly, run ‘git --version‘ in PowerShell:

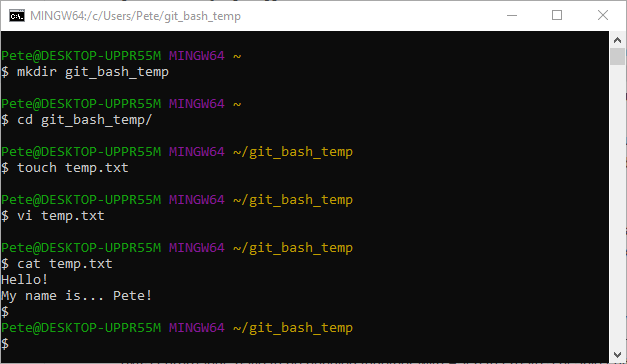
Git for Windows also includes Git Bash, a command-line tool that emulates a Linux-like terminal environment. Open Git Bash from the Start Menu:

In the example screenshot below, I’m creating a new folder and file within the Git Bash terminal:
Congratulations! You have successfully installed Git on Windows. You can now start using Git for version control!
Leave a Reply