
This blog post is here to help you for installing Chocolatey on Windows using command (PowerShell).
Chocolatey allows you to manage software packages on your system with simple ‘choco‘ commands. It also comes with the optional Chocolatey GUI app which helps manage local software versions making it easy to keep up to date.
Topics Covered:
– Installing Chocolatey using PowerShell
– Installing & Demoing Chocolatey GUI
Install Chocolatey using PowerShell
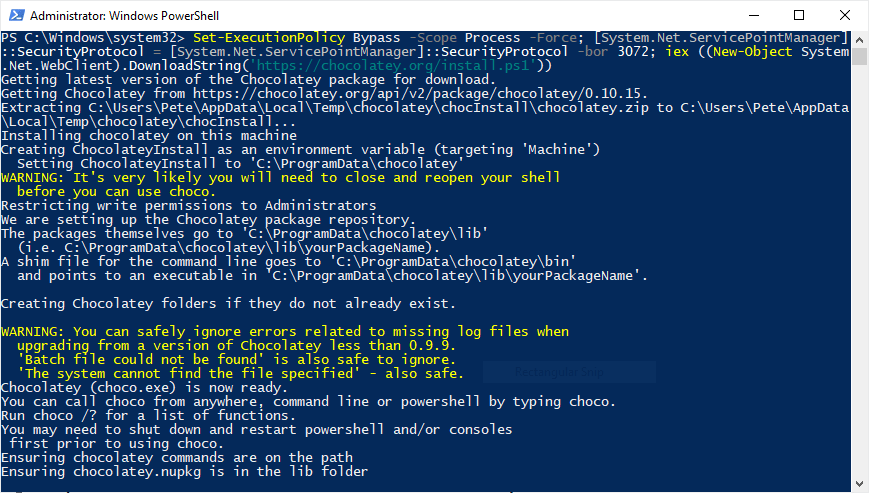
To install choco using command, first you will need to open PowerShell as Administrator and run the following command:
Set-ExecutionPolicy Bypass -Scope Process -Force; [System.Net.ServicePointManager]::SecurityProtocol = [System.Net.ServicePointManager]::SecurityProtocol -bor 3072; iex ((New-Object System.Net.WebClient).DownloadString('https://community.chocolatey.org/install.ps1'))
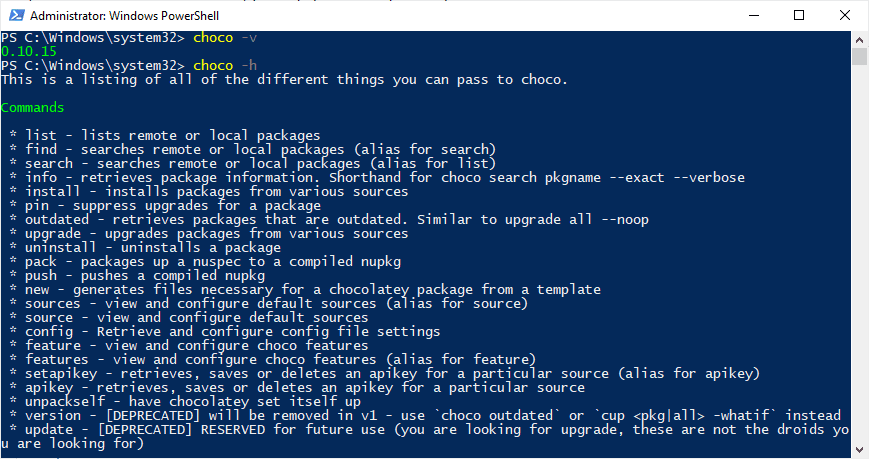
Once this has completed, check the version of choco to verify the installation, or go ahead and install a package:
# check choco version
choco -v

# install git using choco
choco install git
Installing & Demoing Chocolatey GUI
There’s about 10k packages maintained by choco. Some of the most popular packages include Chrome, Firefox, Java, Flash, Notepad++, 7zip, Git & Python. Installing a package is done using a standard command: ‘choco install <packagename>‘.
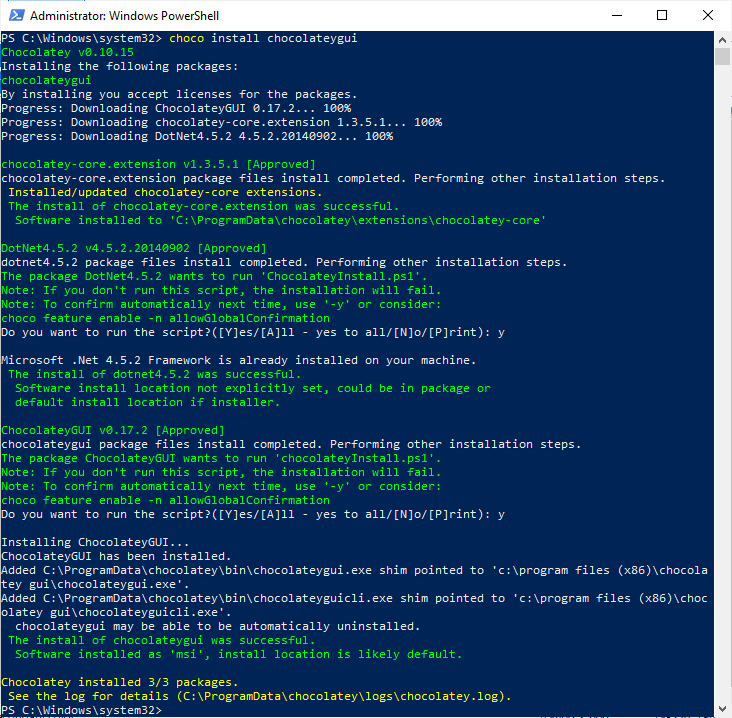
Now lets run the following to install the Choco GUI:
choco install chocolateygui
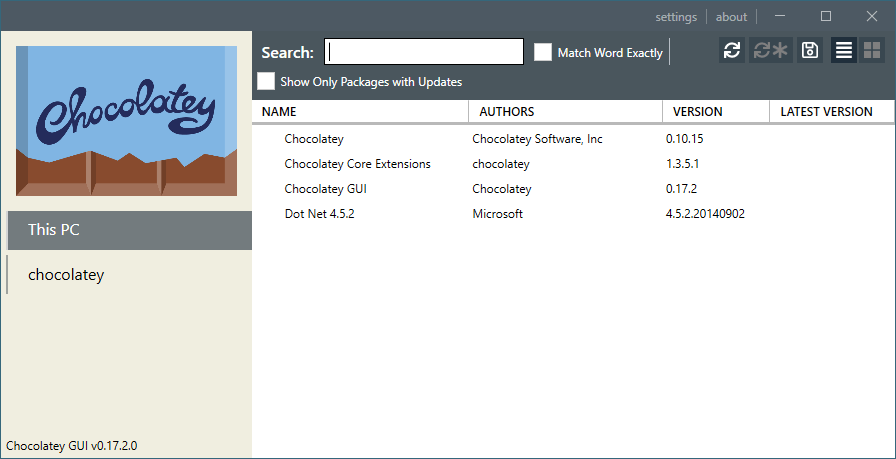
Now open the Chocolatey GUI application. There will be a shortcut for this in your Start Menu too.

You can uninstall/reinstall packages from the GUI.
Leave a Reply