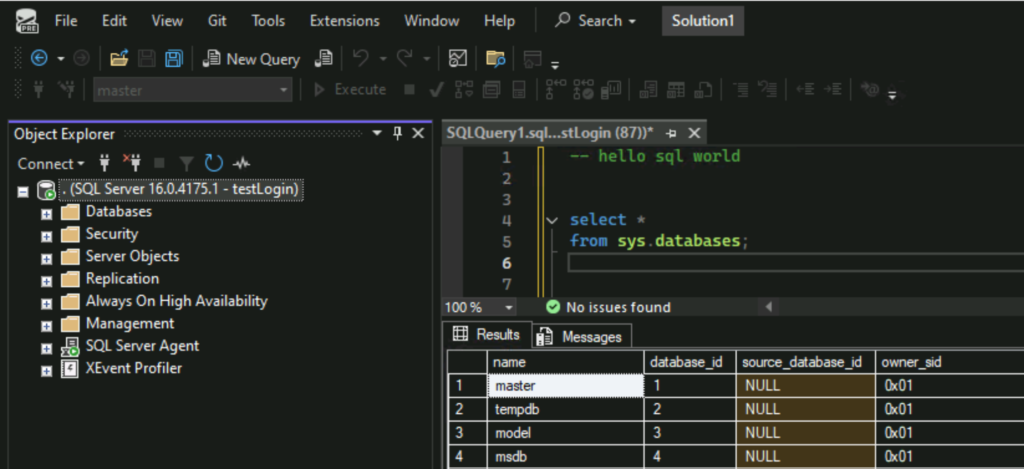
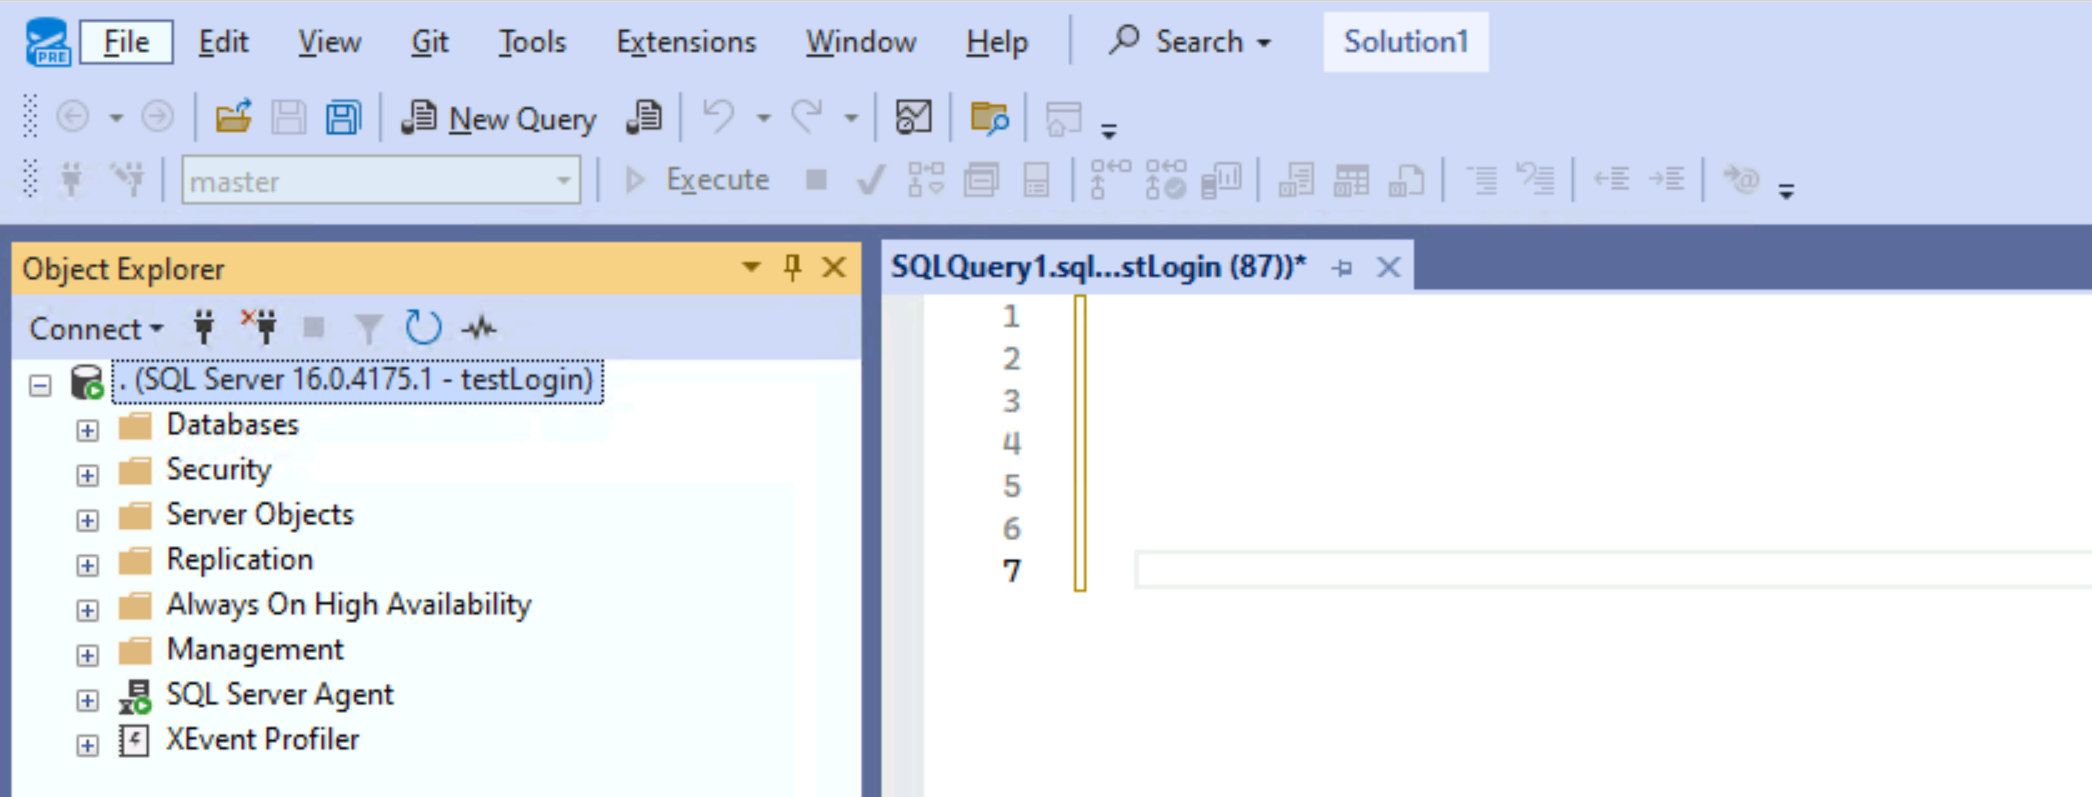
In this short post, I’ll share how to easily download and install SQL Server Management Studio (SSMS) on your Windows computer. I’ll include some tips to help improve your SSMS experience too!
Step 1: Download SSMS
Go to the official Microsoft website to download the latest version of SQL Server Management Studio (SSMS).
Step 2: Install SSMS
1. Locate the installer file you just downloaded.
2. Run the installer and follow the simple on-screen instructions.

That’s it! You now have SSMS ready to connect to your SQL Server. Search for ‘SSMS’ in your Start menu to launch the application.
Tips to Improve Your SSMS Experience
1. Enable the Dark Theme
This is a new feature as of SSMS v21 which is currently in preview release (coming soon!). There is another way enable Dark Mode in SSMS on older versions which needs a local config file edit.
To enable the SSMS Dark Mode:
1. Go to Tools > Options > General.
2. Under the Color theme dropdown, choose Dark Mode.

2. Use Keyboard Shortcuts
ALT+X : Alt + ‘x’ will run your query, I use that instead of F5. Ctrl+N : Open new Query Window. Ctrl+R : Toggle Results Pane (Hide/Show). Ctrl+L : Display Query Execution Plan. Ctrl+T : Results to Text (Output mode). Ctrl+Shift+F : Results to File. Ctrl+M : Include Execution Plan. Ctrl+K,Ctrl+C : Comment Selected Code. Ctrl+K,Ctrl+U : Uncomment Selected Code. Ctrl+F : Find Text in Query Window. Ctrl+H : Replace Text. Ctrl+Shift+U : Convert Selected Text to Uppercase. Ctrl+Shift+L : Convert Selected Text to Lowercase. Ctrl+G : Go to Specific Line Number. Ctrl+Shift+R : Refresh IntelliSense Cache.
3. Show Line Numbers in Query Window
Check out my other post, enabling line numbers in SQL Management Studio for more info.

4. Use 3rd Party Tools or Upcoming Features
Tools like Redgate SQL Toolbelt can prefill queries, tables, and objects, streamlining repetitive tasks. With the release of SQL Server 2025 and future SSMS versions, many of these capabilities will be built directly into the platform for improved efficiency.
5. Install SSMS via Command
We can install SSMS using software such as SCOM, or using custom scripts. My other post, How to Silently Install SSMS might help you get SSMS installed quickly.
Leave a Reply