
When you back up a SQL Server database, multiple backups can be stored in a single file. The WITH FILE = X option allows you to choose a specific backup version from a single backup file.
Here’s what happens:
– WITH FILE = 1: Restores the first backup stored in the file.
– WITH FILE = 2: Restores the second backup, and so on.
This can be useful when you run consecutive backups without changing the file path and want to restore a specific version later.
In the demo below, I’ll walk you through how the WITH FILE = X option functions when backing up or restoring a SQL Server database. This technique is particularly useful when dealing with multiple backups stored in a single media file. I’ll also inspect the backup file using RESTORE HEADERONLY to show how that works too.
Demo: Using WITH FILE to Restore Specific Backups
1. Create a Test Database and Insert Data

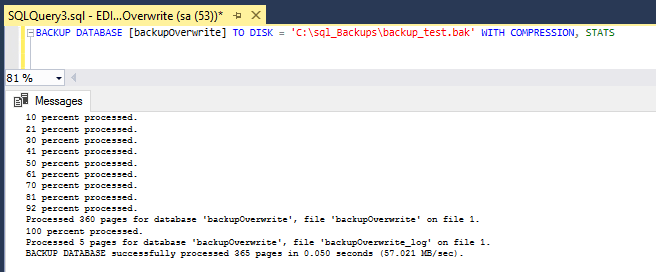
2. Perform the First Backup
-- backup database to file
BACKUP DATABASE TestDB TO DISK = 'C:\sql_Backups\backup_test.bak' WITH COMPRESSION, STATS;

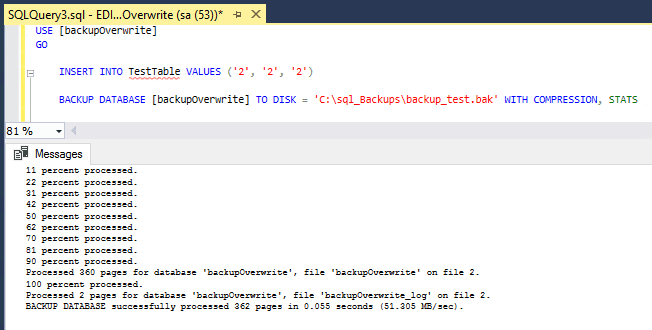
3. Insert More Data and Backup Again
INSERT INTO TestTable VALUES ('2', '2', '2');
BACKUP DATABASE backupOverwrite TO DISK = 'C:\sql_Backups\backup_test.bak' WITH COMPRESSION, STATS;

4. Inspect the Backup File
To see the backup versions inside the file, use RESTORE HEADERONLY:
Look for the Position column. This shows 1 for the first backup and 2 for the second:

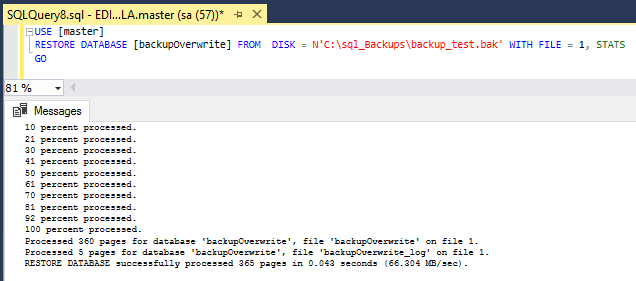
5. Restore the First Backup (WITH FILE = 1)
I’m doing this restore using an additional option, REPLACE, which means I don’t need to drop this test database before restoring.
-- restore test database, first file in backup
RESTORE DATABASE backupOverwrite FROM DISK = 'C:\sql_backups\backup_test.bak' WITH FILE = 1, REPLACE, STATS;
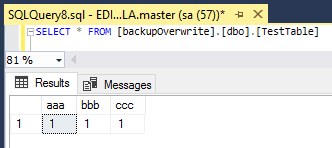
Verify the data:
6. Restore the Second Backup (WITH FILE = 2)
Again, doing with replace to overwrite the last restored db.
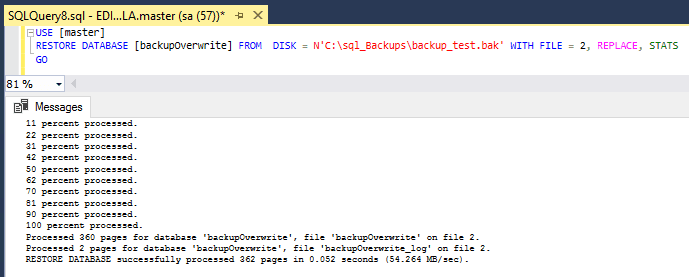
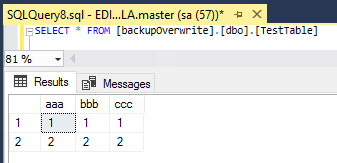
Verify the data again:
Conclusion
Using WITH FILE = X helps you target specific backups from a single file, providing greater flexibility during database restoration. The RESTORE HEADERONLY command is invaluable for identifying backup positions. Remember to use WITH REPLACE when restoring over an existing database without dropping it first.
Leave a Reply