
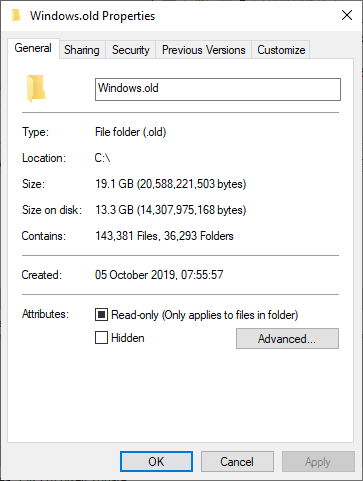
When your machine is upgraded to a newer version of Windows, it leaves behind the C:\Windows.old directory. This folder contains backups of the previous Windows version and can take up significant disk space.
Important Note:
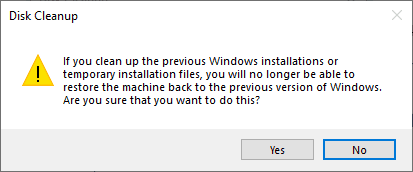
The Windows.old folder allows you to roll back to the previous Windows version. If you delete it, you lose this rollback option. Ensure you no longer need to revert before proceeding, especially in a workplace environment.
Steps to Delete Windows.old Files
To safely remove the Windows.old folder, follow these steps:
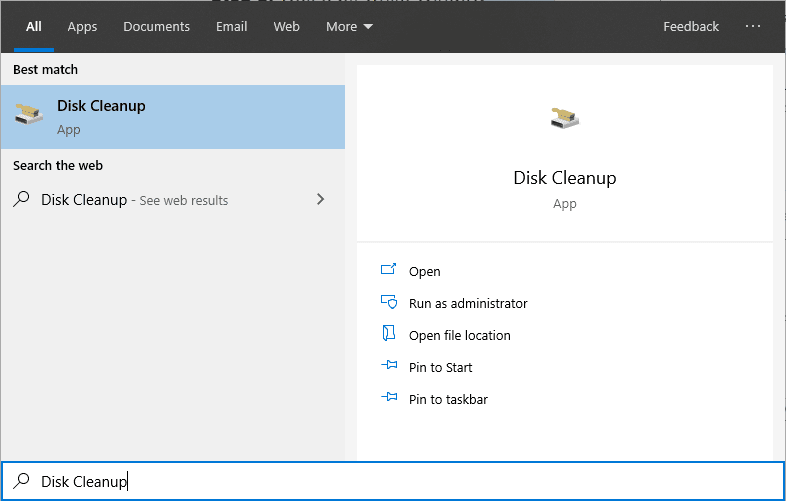
1. Open Disk Cleanup
Type Disk Cleanup in the Start Menu and open it.
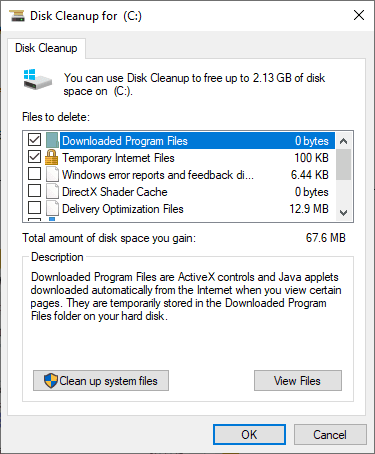
2. Select System Files
Click Clean up system files. This step might take a few moments.
3. Choose Previous Windows Installation
Check the box for Previous Windows installation(s) in the list.
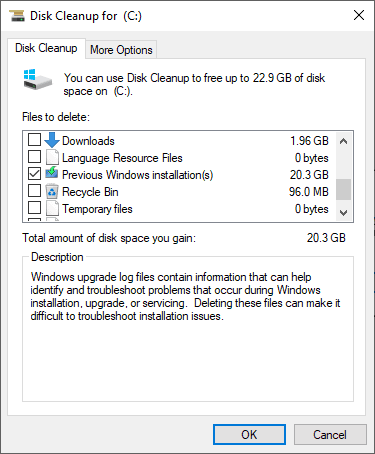
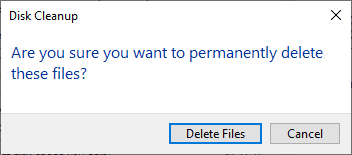
4. Confirm Deletion
Click OK, then confirm by selecting Delete Files on the prompt.
As mentioned above, by deleting this we will no longer be able to restore the machine back to the previous version of Windows.
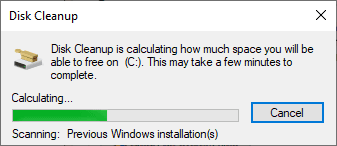
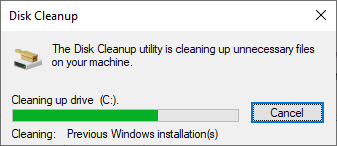
5. Wait for Cleanup
The cleanup process may take several minutes. Once completed, the Windows.old folder will be removed, freeing up disk space.
When it finishes, we can check the C:\ drive to verify leftover Windows installation files were removed.

Hope this guide was useful for you!
Leave a Reply