Want to run Linux directly on your Windows machine? Windows Subsystem for Linux (WSL) makes it easy! This guide provides a quick demo on how to get WSL enabled with a Linux distribution installed within minutes.
We’ll cover the simplest methods to install WSL by using the <wsl --install> command, and we can install WSL Linux Distro’s using the Microsoft Store. As well as this, I’ll be showing you the alternative options for setting up WSL on your computer, for example, situations where the Microsoft Store isn’t available, like on corporate networks.
For more information on WSL as a whole, have a look at the MS Docs: What is Windows Subsystem for Linux?https://aka.ms/wslinstall
Step 1: Enabling Windows Subsystem for Linux (WSL)
1. Open PowerShell as Administrator.
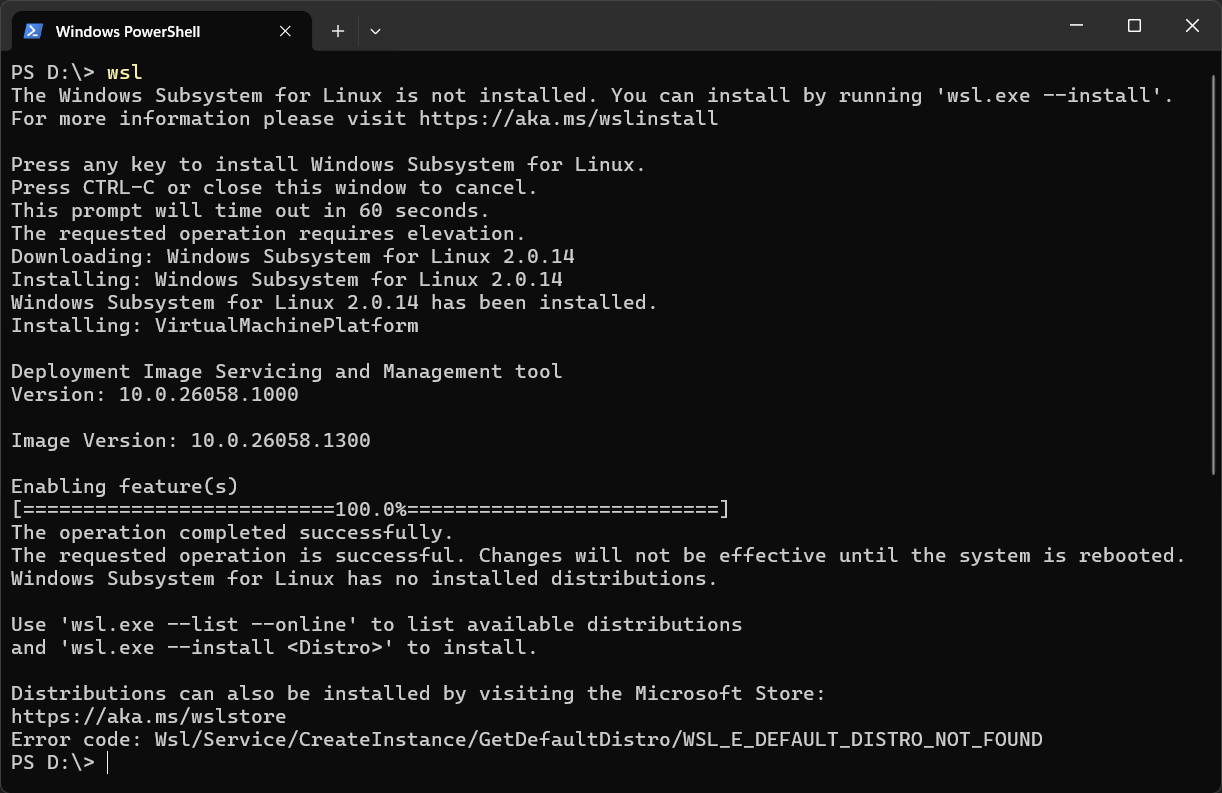
2. Run the following command to enable WSL:
# enable windows subsystem for linux
wsl --install

# alt method, simple run wsl on its own (this triggers cli output for installing)
wsl
If you are running an older version of Windows/PowerShell, try upgrade, otherwise you can try run the following to enable the WSL feature:
# enable wsl (old method)
Enable-WindowsOptionalFeature -Online -FeatureName Microsoft-Windows-Subsystem-Linux

3. You may need to restart your computer to apply the changes if doing the old method. Next up, we need to install a Linux Distro for our Linux Subsystem.
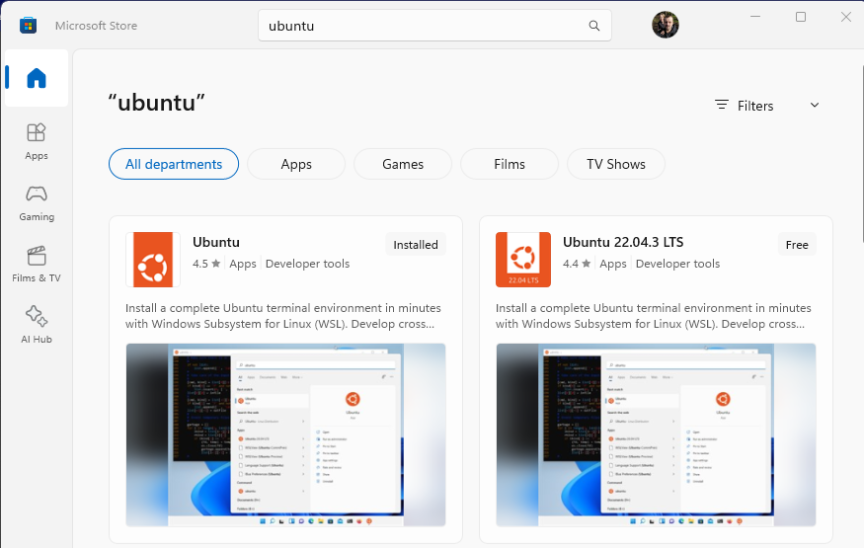
Step 2: Install a WSL Linux Distribution
You can download WSL Linux distributions from the Microsoft Store. The following distros are available for install:
> Ubuntu 20.04 (LTS / 18.04 LTS)
> openSUSE Leap 15.1
> SUSE Linux Enterprise Server (15 SP1 / 12 SP5)
> Kali Linux
> Debian GNU/Linux
> Fedora Remix for WSL
> Pengwin (+ Enterprise)
> Alpine WSL
> Raft (Free Trial)
If your system is managed by an organization with Group Policy restrictions, you can manually download distributions from the Microsoft WSL documentation.
Example: To download Ubuntu 18.04 manually using PowerShell, follow these steps:
1. Navigate to your preferred download folder: cd C:\your_download_folder
2. Use Invoke-WebRequest to download Ubuntu 18.04: Invoke-WebRequest -Uri https://aka.ms/wsl-ubuntu-1804 -OutFile Ubuntu1804.appx -UseBasicParsing
Once the .appx file is downloaded, follow these steps to install Ubuntu 18.04:
3. Rename the .appx file to .zip: Rename-Item .\Ubuntu1804.appx .\Ubuntu1804.zip
4. Extract the contents of the .zip file: Expand-Archive .\Ubuntu1804.zip .\Ubuntu1804
5. Run the installer: .\Ubuntu1804\ubuntu1804.exe
Entering WSL
Now that we have WSL installed, we can open the installed Linux terminal by running the following command:
# enter wsl from powershell terminal
wsl
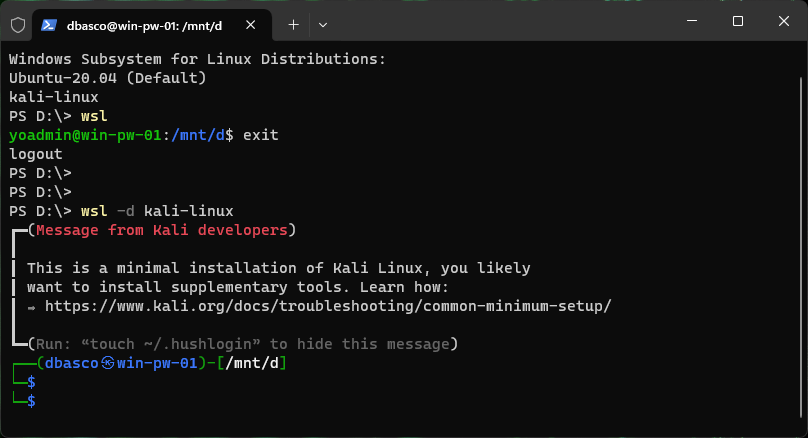
To exit back to PowerShell we can run the exit command.
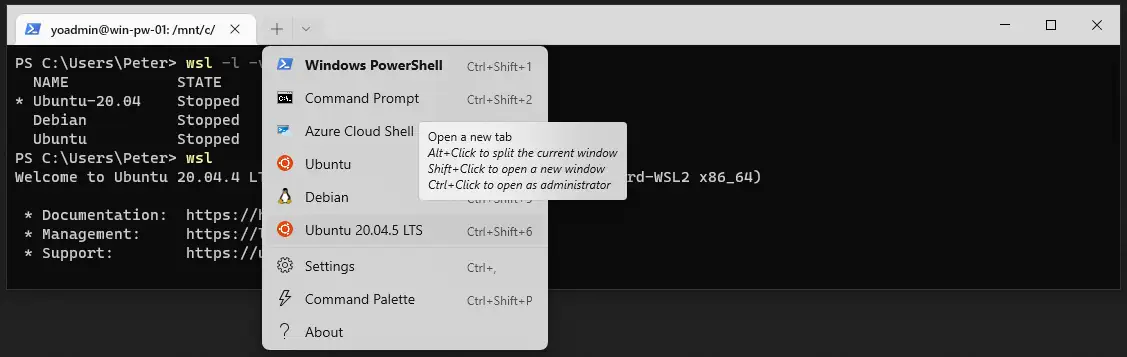
If you are using Windows Terminal, you can open any of your installed WSL distros simply by opening a new tab: