When changing the hostname of a computer that is running SQL Server, we have to update system metadata so that remote connections and applications do not lose connectivity.
This guide provides a clear, step-by-step approach to updating SQL Server metadata after a hostname change. This is more often needed for when you’ve installed SQL before naming the server correctly.
Why You Shouldn’t Change a SQL Server’s Hostname
> Failover Clusters:
The renaming process differs significantly for clusters.
> Replication:
If replication is configured, you should probably evaluate whether renaming is really necessary.
> Database Mirroring:
Disable mirroring before renaming and re-establish it afterwards, this carries inherent risks.
> SSRS:
Configuration changes may be required if SQL Server Reporting Services (SSRS) is running on the host.
> Hardcoded Hostnames:
Update all scripts, applications and DNS configurations referencing the old hostname.
Always refer to Microsoft’s Documentation for authoritative guidance and thoroughly test your changes in a non-production environment before applying them in live systems.
Steps to Rename SQL Server Host
1. Change the Windows Computer Name
To change the hostname, you can use either the graphical user interface (GUI) or PowerShell.
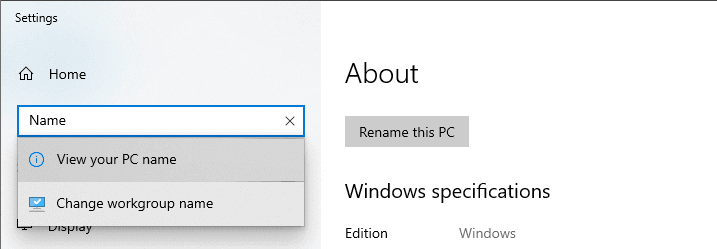
PowerShell Command:
The PowerShell cmdlet for this is Rename-Computer, ensure you are running PowerShell as Administrator:
# change name of server / computer
Rename-Computer -NewName "NewComputerName"

After executing the command, reboot the system to apply the change.
2. Update SQL Server Metadata with the New Hostname
After renaming the computer, attempting to log in to SQL Server with the old hostname will result in an error. You’ll need to connect using localhost or the new hostname.
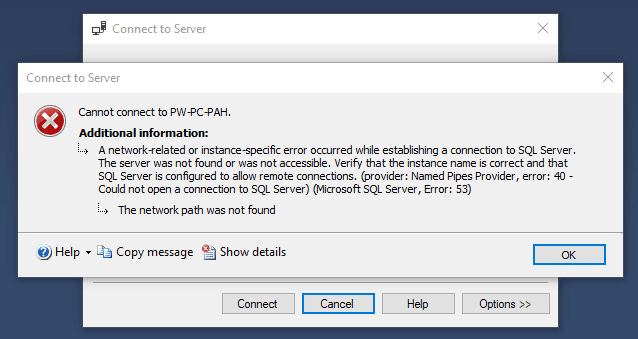
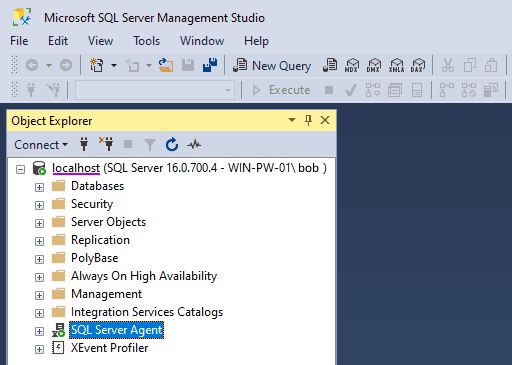
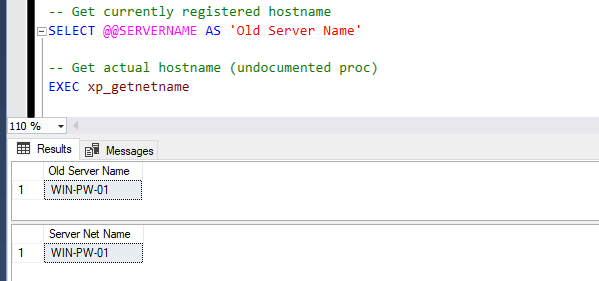
Check the Current and Actual Hostnames:
> The hostname system metadata is stored in sys.servers and reported by @@SERVERNAME.
> Run the following query to retrieve the registered and actual hostnames.
-- Get currently registered hostname
SELECT @@SERVERNAME AS 'Old Server Name'

-- Get actual hostname (undocumented proc)
EXEC xp_getnetname
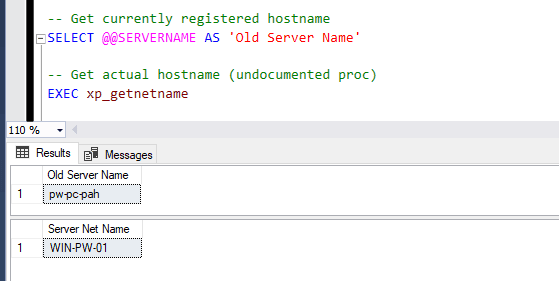
Drop the Old Server Name and Register the New One:
> The SQL commands being used here are sp_dropserver and sp_addserver.
> Execute these commands to update SQL Server with the new hostname.
-- Remove server from list of known remote and linked servers
EXEC sp_dropserver 'OldServerName';
GO

-- Register the new hostname as the local instance
EXEC sp_addserver 'NewServerName', local;
GO

Replace 'OldServerName' and 'NewServerName' with the appropriate values.
Restart the SQL Server service for changes to take effect.
3. Verify the Hostname Change
After restarting the SQL Server service, run the following query to confirm the update:
-- check servername for SQL Server
SELECT @@SERVERNAME AS 'New Server Name';
Verify that all applications and features function correctly, and update any connection strings referencing the old hostname.
If you followed these steps, your system should now reflect the correct hostname without connectivity issues. Feel free to add a comment if any troubles I’ll try help you.