
This guide contains a demo on how to set the default Windows Subsystem for Linux (WSL) distribution on a Windows computer.
This is particularly useful if you have multiple WSL distributions installed and need to manage various Linux environments on Windows.
Contents:
> Check Installed WSL Distros.
> Set Default WSL Distro.
Check Installed WSL Distros
To view the currently installed WSL Linux distributions, run the following command:
# Check installed WSL distros
wsl -l -v
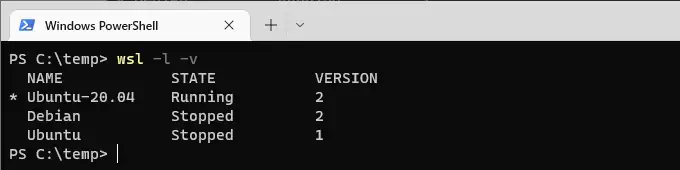
This command will display a list of installed distributions, with the star (*) next to the current default. For example, if Ubuntu 20.04 is marked with a star, it’s the default distro that will open when you run wsl without specifying a distro.
Change Default WSL Distro
To set a new default distribution, use the wsl -s command followed by the desired distribution’s name. Make sure to get the exact distro name from the list displayed in the previous step.
# change default linux distro in windows subsystem
wsl -s <distro_name>
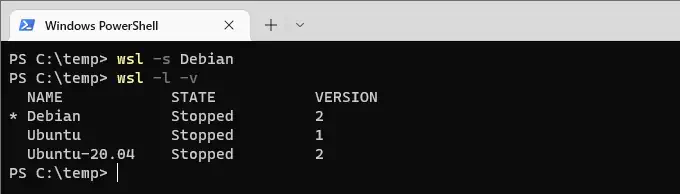
For example, to set Debian as the default, the command would look like this:
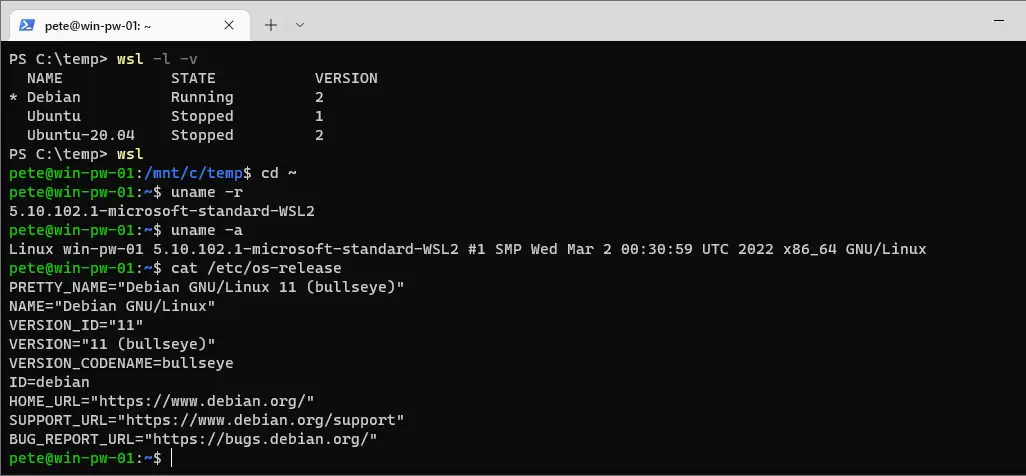
This change won’t interrupt any active WSL session you have open. Once set, the new default distribution will open automatically when running wsl from the command line.