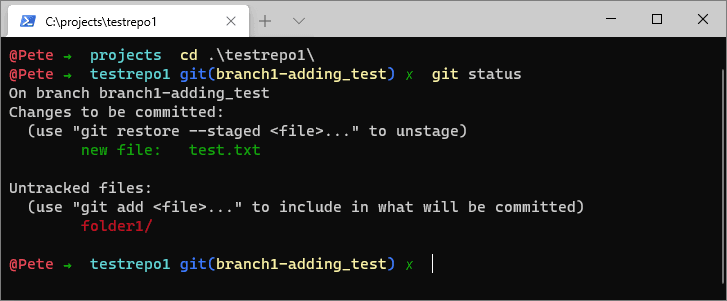
Oh-my-posh is a theme engine for PowerShell that enhances your terminal with custom themes. It integrates with posh-git to display useful indicators for Git repositories, failed commands, and admin status.
This quick guide will walk you through installing Oh My Posh and setting a theme using Choco on Windows.
Steps to Install oh-my-posh
1. Install oh-my-posh using Chocolatey
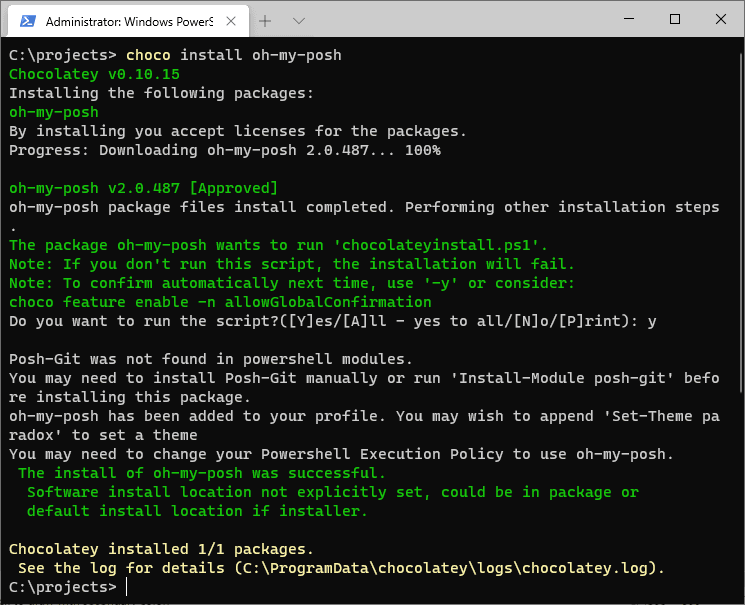
The easiest way I find to install oh-my-posh is using Chocolatey. Make sure you have Chocolatey installed on your system first if doing this way. Then, run this command:
choco install oh-my-posh

There’s other ways to install, including winget or manually – have a look at the oh my posh docs for more info.
2. Install posh-git
Oh-my-posh requires posh-git to function properly.
If you don’t already have it installed, check out my step-by-step guide to installing posh-git for more detailed instructions. The simple/short description for this is to run choco install poshgit.
3. Setup a Posh Theme
Once oh-my-posh is installed, you’ll need to choose a theme. The configuration in oh-my-posh is based on building blocks called segments that display information, and these are grouped into blocks.
You can select from several predefined themes. For example, to apply the Zash theme, run:
Set-Theme Zash


To explore available themes with screenshots, visit the official oh-my-posh theme gallery.
Tips for Using oh-my-posh
> Windows Terminal:
For the best experience, use oh-my-posh with Windows Terminal. If you don’t have it yet, install it from the Microsoft Store.
> Customize Themes:
Modify existing themes or create your own to suit your style.
> Persistent Configuration:
To keep your theme active across sessions, add the Set-Theme command to your PowerShell profile script ($PROFILE).
Leave a Reply