
In this post I’m sharing a demo of restoring a Full database backup using the SQL Server Management Studio (SSMS) Restore Database Wizard.
I often find myself running through the SSMS Restore Database Wizard and scripting out the SQL to a new query window when running an ad-hoc database restore. This makes it easier particularly for when databases are split into multiple data files across many different drives.
Full Backups in SQL Server capture the entire database, including all data and the transaction log necessary for restoring the database to its exact state at the time of backup. They form the foundation of any good backup strategy, and are needed for reliable disaster recovery of your SQL Server data.
Restore using SSMS Restore Database Wizard
1. Open SQL Server Management Studio (SSMS) and connect to the SQL Server instance.
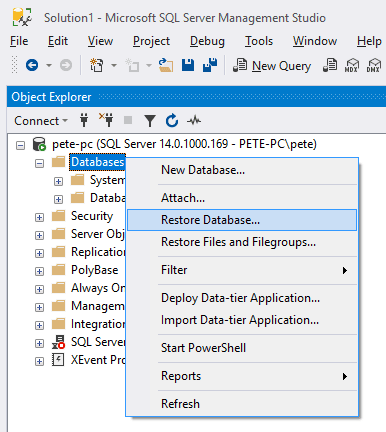
2. Start the Restore: Right-click on Databases and select Restore Database.
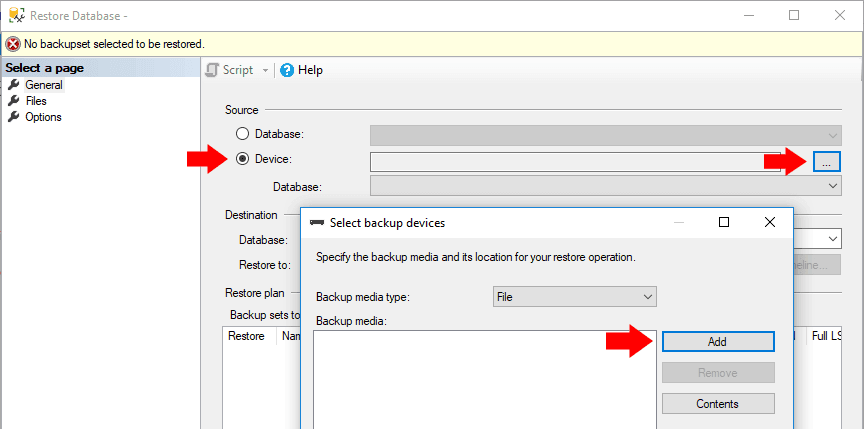
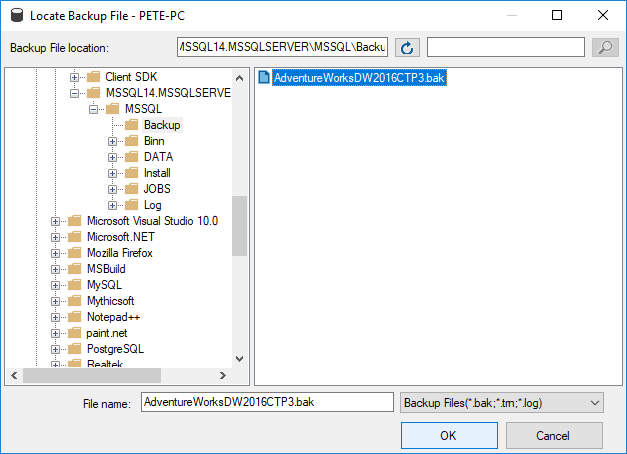
3. Select Backup Source: Choose Device, click the ellipsis (…), and locate your backup file.
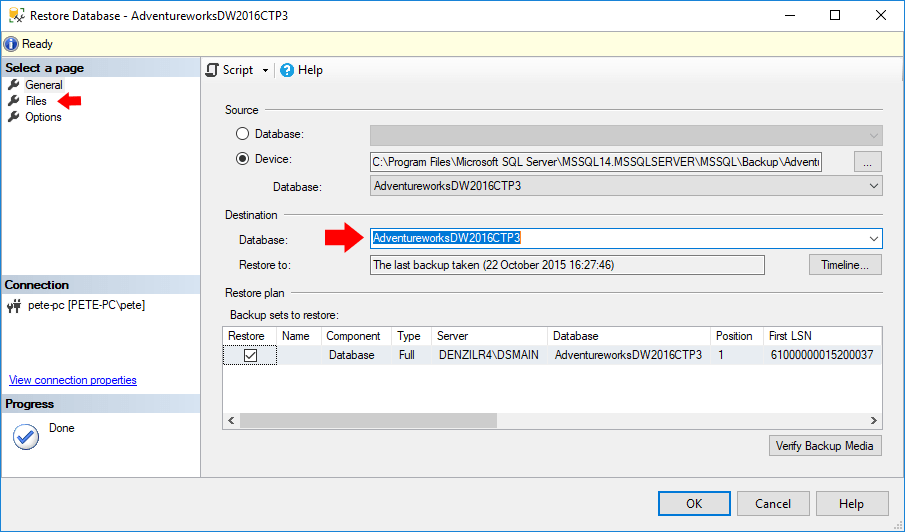
4. Verify Backup Options: Check the database name and modify it if necessary under the General tab.
5. Define File Locations: Use the Files tab to specify paths for your data (.mdf) and log (.ldf) files. I’m often checking the relocate all files to folder option for restores.
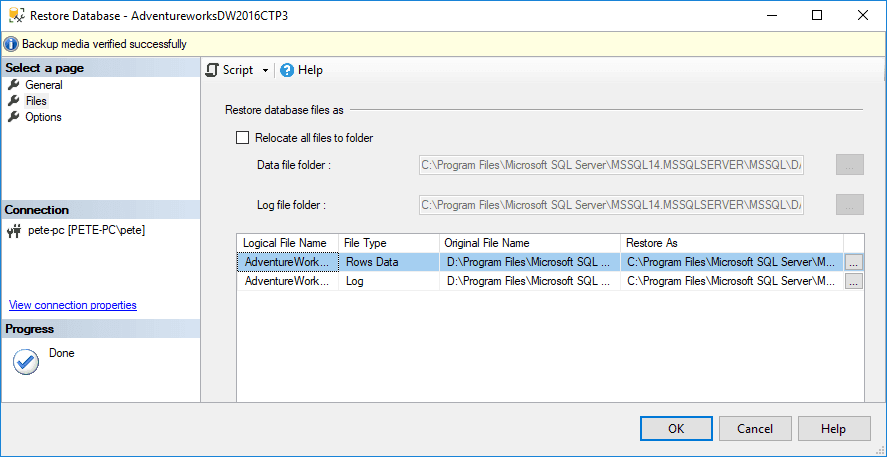
6. Set Recovery Options: On the Options tab, choose the appropriate recovery state:
– STANDBY: Keep the database in read-only mode.
– WITH RECOVERY: Make the database ready for immediate use.
– NORECOVERY: Allow additional restores.
7. Generate T-SQL Scripts: Before execution, click Script to create a T-SQL restore script for version control and automation.

>

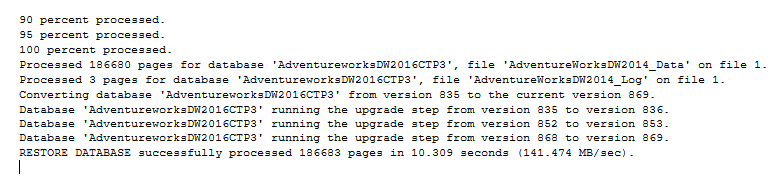
8. Execute the Restore: Click OK or execute the generated script.
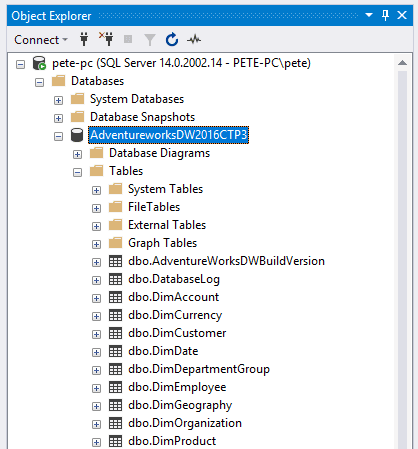
9. Verify the Restore: Refresh the Object Explorer to confirm the restored database exists.
Leave a Reply