
Installing and uninstalling SQL Server via command line can be useful, especially in environments without a GUI.
In this guide, I’ll walk through installing SQL Server on Windows Server Core, in a local Hyper-V test environment. At the end I’ll also uninstall SQL Server from a PowerShell terminal window.
There’s 4 parts to this one:
> 1, Download a SQL Server ISO
> 2. Mount the ISO on a Hyper-V Virtual Machine
> 3. Install SQL Server via Command Line
> 4. Uninstall SQL Server via Command Line
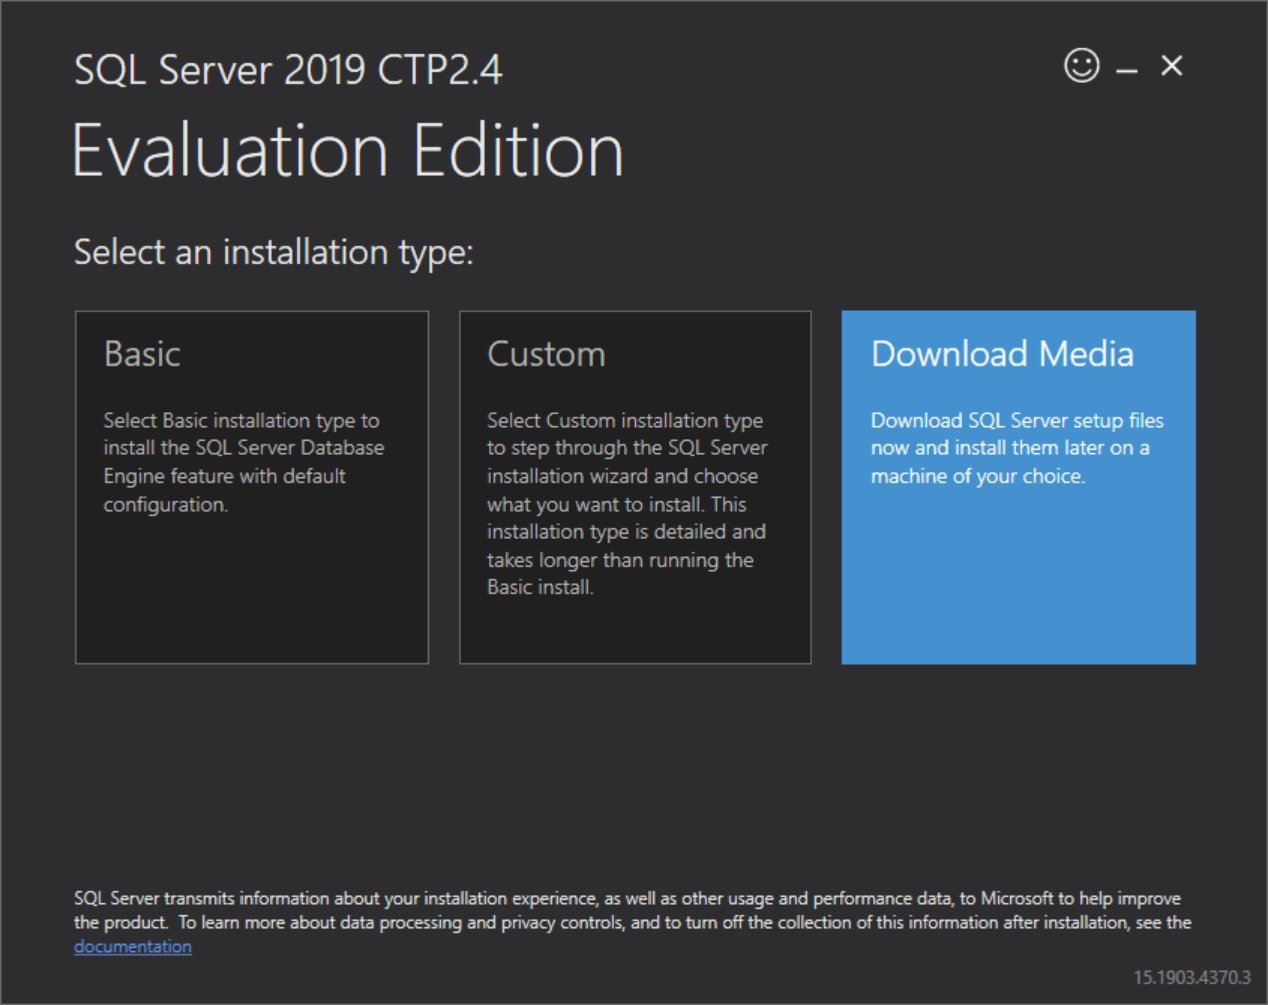
1. Download a SQL Server ISO
For my test environment, I’m using SQL Server 2019 CTP 2.4, the latest version available at the time.
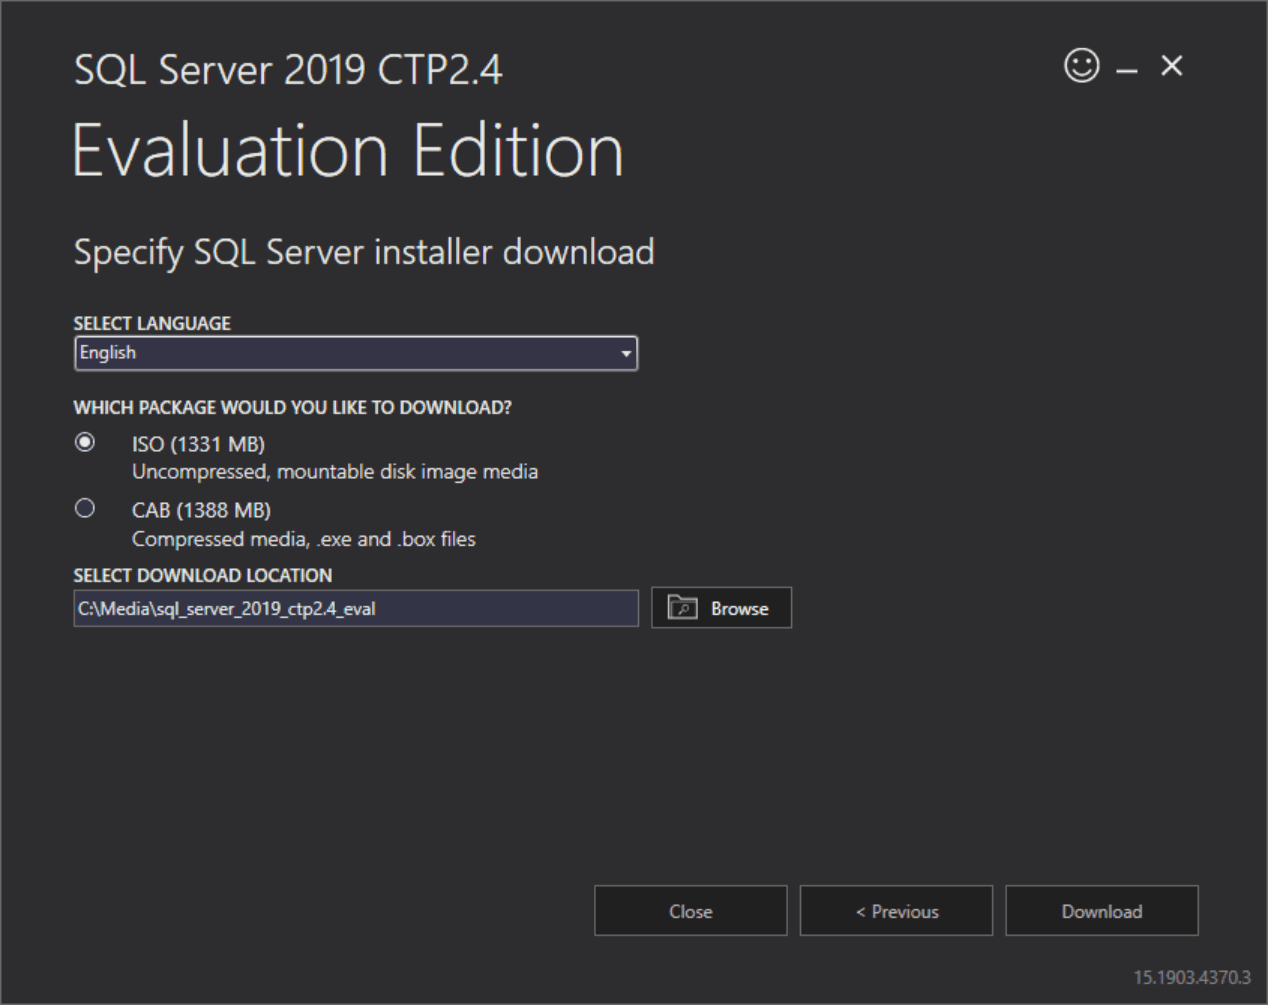
You can download SQL Server 2019 from Microsoft’s official site. Choose the media type that suits your setup, ISO files work well for virtual environments like Hyper-V.
Select ISO within this setup menu, and select a download location:
2. Mount the ISO on a Hyper-V Virtual Machine
In Hyper-V, navigate to Media > Insert Disk…

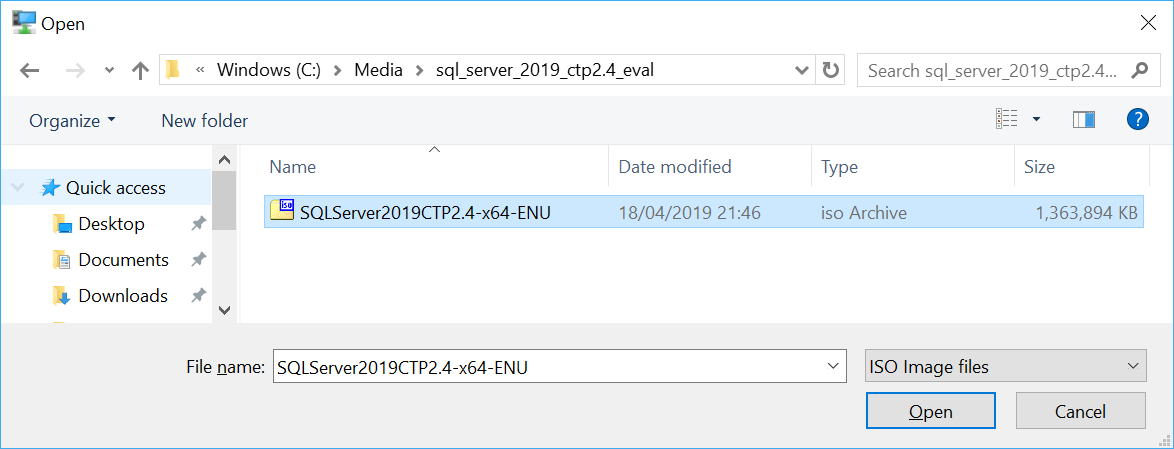
Select the downloaded SQL Server ISO file.
3. Install SQL Server via Command Line
1. First, check available drives using the following PowerShell command:
# Show mounted drives (includes ISO's)
Get-PSDrive

# List contents of directory
ls

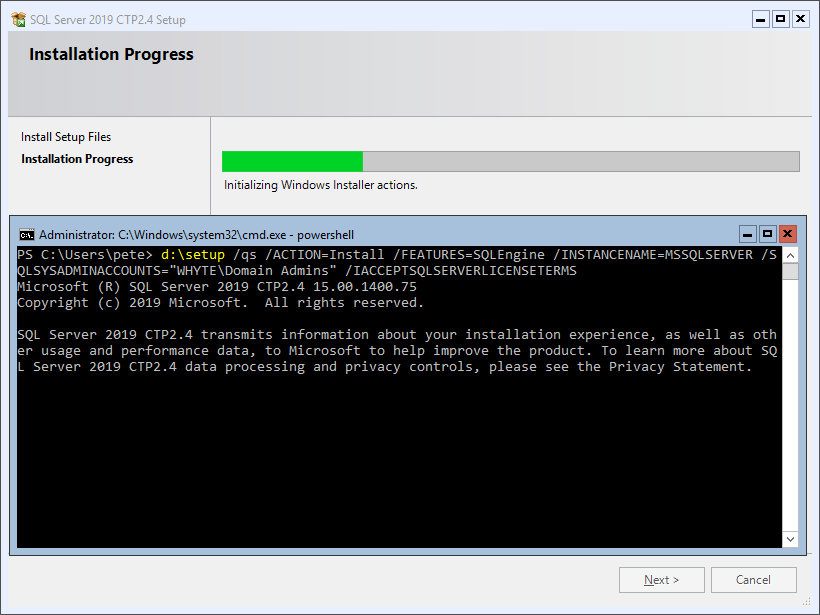
2. Install SQL Server using your preferred parameters. Here’s an example where I add the Domain Admins group as sysadmins for quick access:
# Start SQL Server install via command
d:\setup.exe /qs /ACTION=Install /FEATURES=SQLEngine /INSTANCENAME=MSSQLSERVER /SQLSYSADMINACCOUNTS="WHYTE\Domain Admins" /IACCEPTSQLSERVERLICENSETERMS
3. Verify the installation by checking the Summary.txt file:
# Check SQL installation/upgrade log file
Get-Content "C:\Program Files\Microsoft SQL Server\150\Setup Bootstrap\Log\Summary.txt"
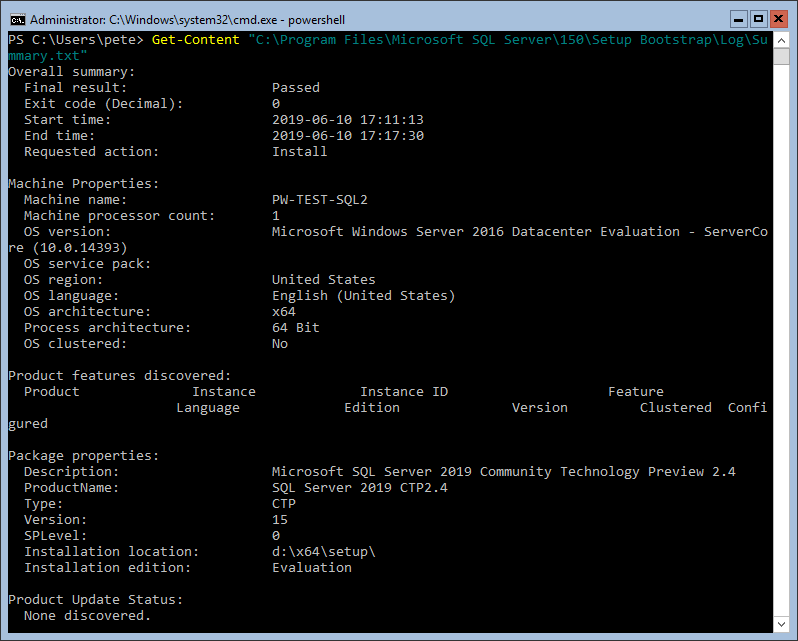
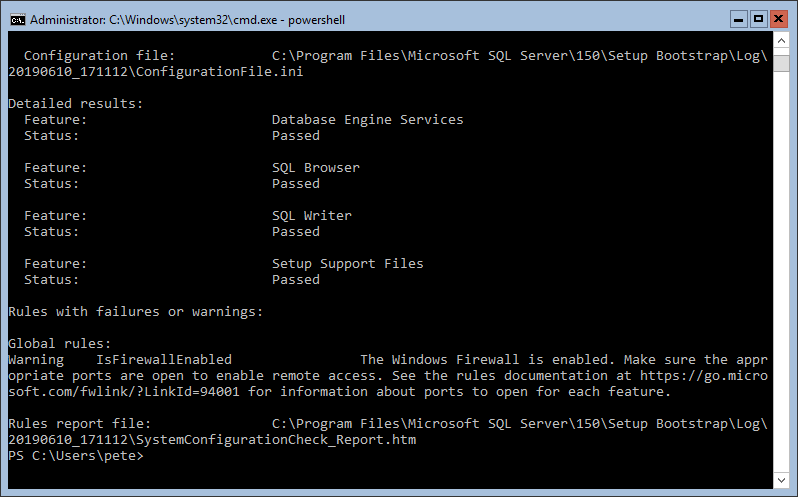
This file provides installation details, including the configuration INI file used for unattended installs.
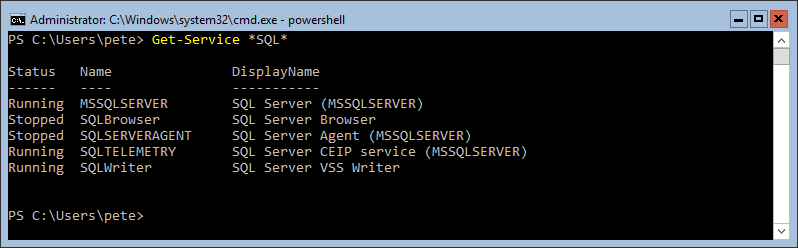
4. Finally, confirm that SQL Server services are running:
# Show running SQL Services
Get-Service | Where-Object { $_.Name -like "*SQL*" }
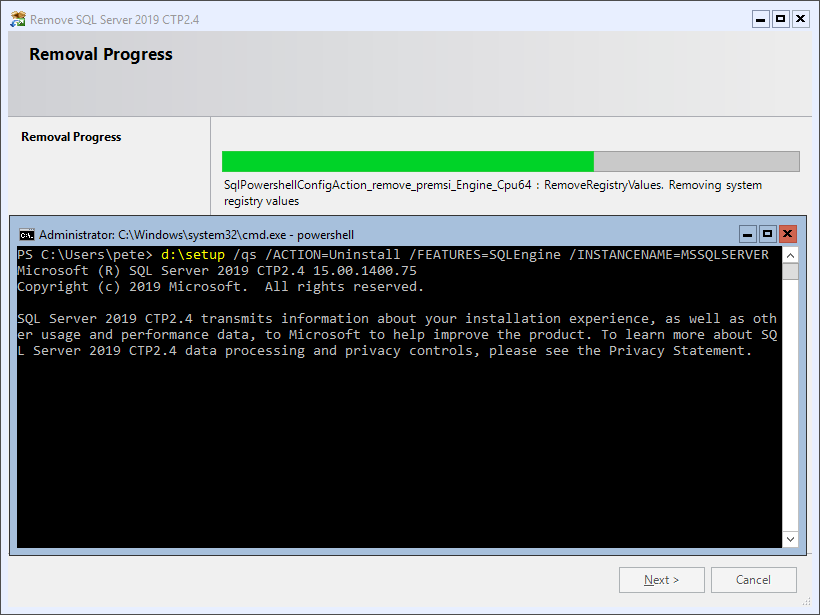
4. Uninstall SQL Server via Command Line
Uninstalling SQL Server via CLI is just as straightforward:
# Uninstall SQL Server via command
d:\setup.exe /qs /ACTION=Uninstall /INSTANCENAME=MSSQLSERVER
Once completed, check the Summary.txt file as we done post install, and verify that all SQL services have been removed:
# Show any running SQL Services
Get-Service | Where-Object { $_.Name -like "*SQL*" }
With these commands, you can efficiently manage SQL Server installations in a non-GUI environment. Hope this was useful for you!
Leave a Reply