
Some network protocols, like TCP/IP, are disabled by default in SQL Server. To allow TCP connections, you need to enable them and restart the SQL Server service.
Here’s a simple guide to do this via GUI & command: :
> Option 1: Enable TCP/IP via SQL Server Configuration Manager.
> Option 2: Enable TCP/IP using PowerShell.
Option 1: Enable TCP/IP via SQL Server Configuration Manager
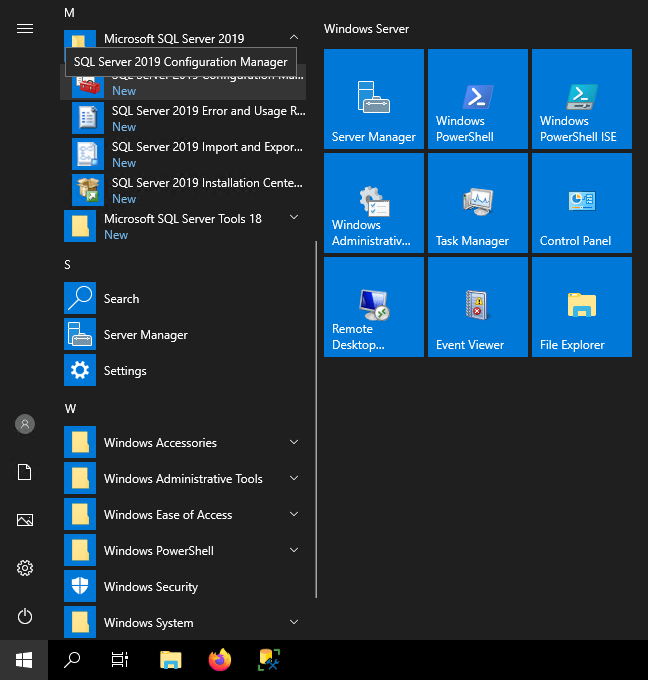
1. Open SQL Server Configuration Manager.
Use the Start Menu to locate and open it.
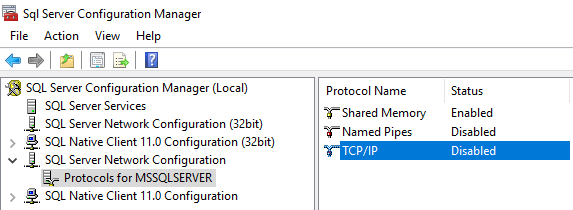
2. Access the TCP/IP Protocols.
Navigate to SQL Server Network Configuration > Protocols for MSSQLSERVER and double-click TCP/IP.
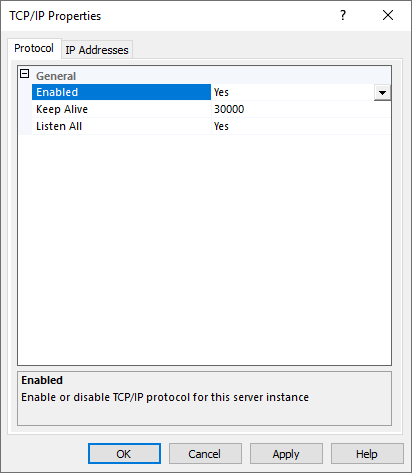
3. Enable the Protocol.
In the Protocol tab, set Enabled to Yes.
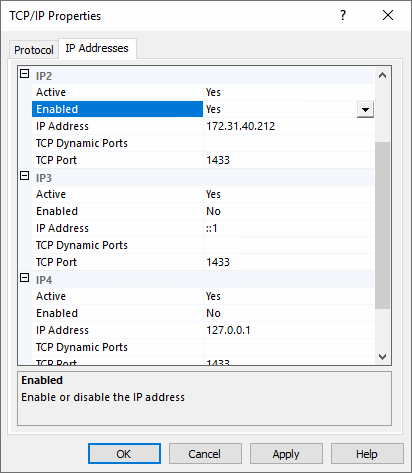
4. Adjust IP Settings.
Under the IP Addresses tab, configure the required IPs (e.g., IPv4).
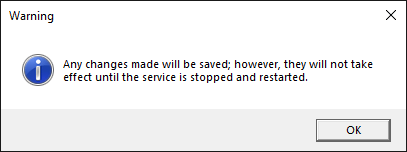
5. Apply Changes.
Click Apply and close the properties window.
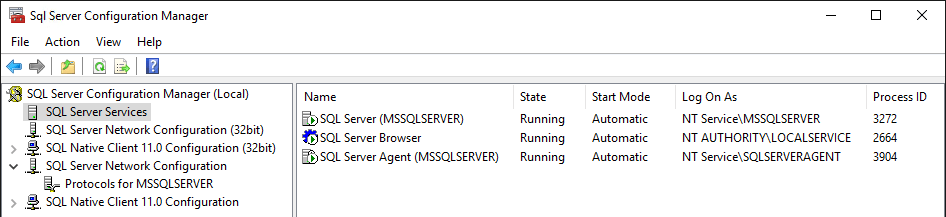
6. Restart the SQL Server Service.
Go to SQL Server Services in the Configuration Manager. Right-click the SQL Server service and select Restart.
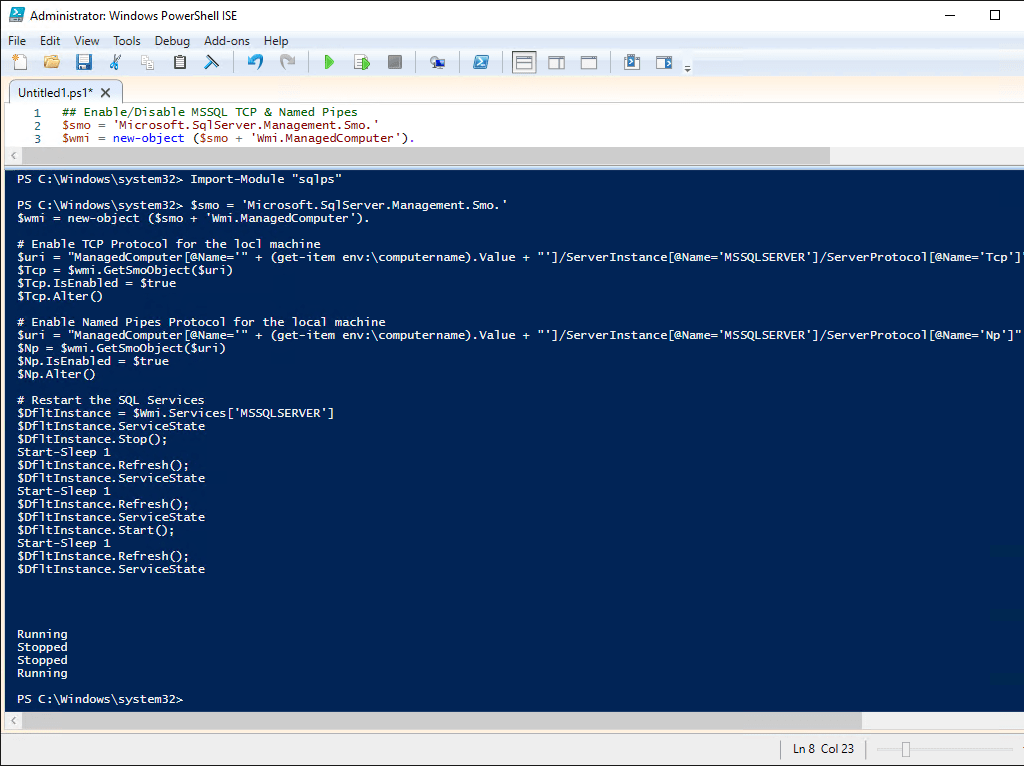
Option 2: Enable TCP/IP Using PowerShell
If you prefer scripting, you can use PowerShell to enable TCP/IP and restart the service.
The script below will enable TCP IP for a SQL Server Instance, including Named Pipes.
Prerequisite: Install SQL Server PowerShell module
## Enable/Disable MSSQL TCP & Named Pipes
$smo = 'Microsoft.SqlServer.Management.Smo.'
$wmi = new-object ($smo + 'Wmi.ManagedComputer').

# Enable TCP Protocol for the locl machine
$uri = "ManagedComputer[@Name='" + (get-item env:\computername).Value + "']/ServerInstance[@Name='MSSQLSERVER']/ServerProtocol[@Name='Tcp']"
$Tcp = $wmi.GetSmoObject($uri)
$Tcp.IsEnabled = $true
$Tcp.Alter()

# Enable Named Pipes Protocol for the local machine
$uri = "ManagedComputer[@Name='" + (get-item env:\computername).Value + "']/ServerInstance[@Name='MSSQLSERVER']/ServerProtocol[@Name='Np']"
$Np = $wmi.GetSmoObject($uri)
$Np.IsEnabled = $true
$Np.Alter()

# Restart the SQL Services
$DfltInstance = $Wmi.Services['MSSQLSERVER']
$DfltInstance.ServiceState
$DfltInstance.Stop();
Start-Sleep 1
$DfltInstance.Refresh();
$DfltInstance.ServiceState
Start-Sleep 1
$DfltInstance.Refresh();
$DfltInstance.ServiceState
$DfltInstance.Start();
Start-Sleep 1
$DfltInstance.Refresh();
$DfltInstance.ServiceState
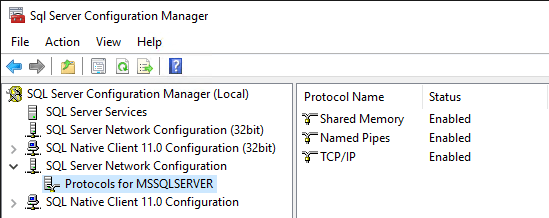
After enabling TCP/IP, you can check the status using SQL Server Configuration Manager to give some confidence it’s applying the change correctly.
Leave a Reply