
As from SQL Server 2017, we now have support for running our favorite RDMS on Linux, as well as Windows!
This guide walks you through installing SQL Server 2019 on Red Hat Linux, setting up command-line tools, and connecting both locally and remotely. Hope it helps!
Topics Included:
1. Installing SQL Server on Linux
2. Installing the SQL Server Command-Line Tools
3. Connecting to SQL Server from Linux
1. Installing SQL Server on Linux
First, ensure your system is up to date:
sudo curl -o /etc/yum.repos.d/mssql-server.repo https://packages.microsoft.com/config/rhel/8/mssql-server-2019.repo
Step 1: Add the SQL Server Repository
Download and configure the Microsoft SQL Server 2019 repository for Red Hat:
sudo curl -o /etc/yum.repos.d/mssql-server.repo https://packages.microsoft.com/config/rhel/8/mssql-server-2019.repo

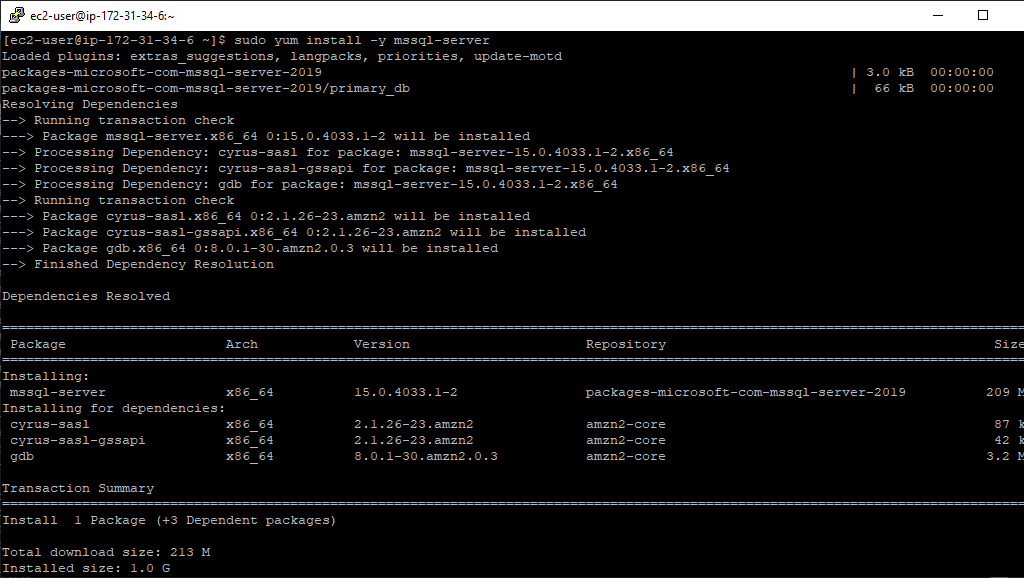
Step 2: Install SQL Server
Run the following command to install SQL Server:
sudo yum install -y mssql-server
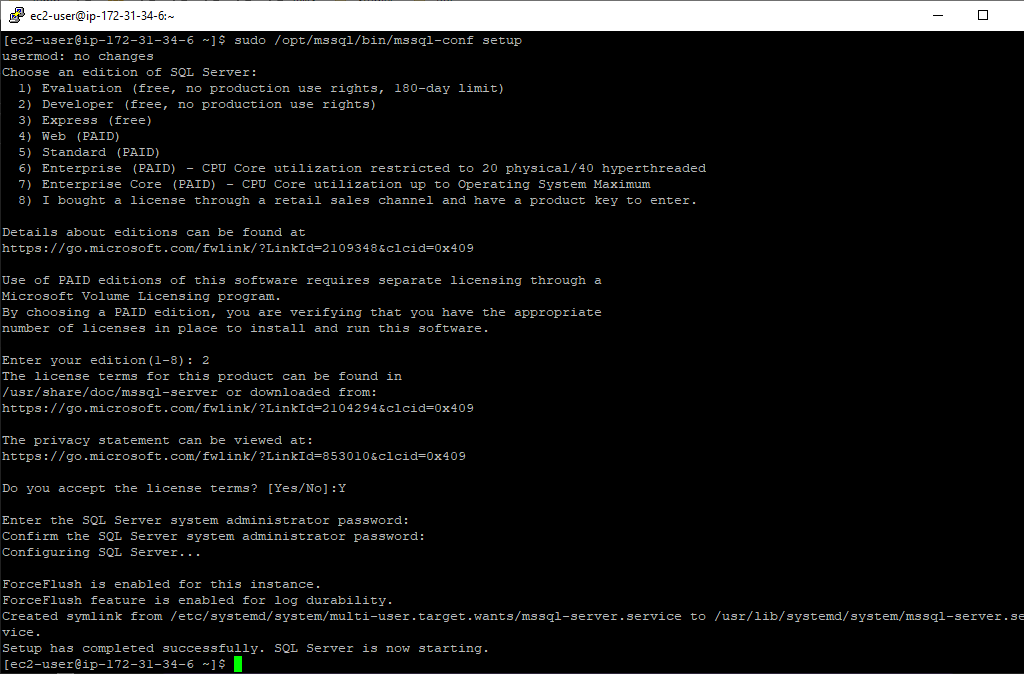
Step 3: Configure SQL Server
Once installed, run the setup tool to choose the edition, set the SA (System Administrator) password, and accept the license agreement:
sudo /opt/mssql/bin/mssql-conf setup
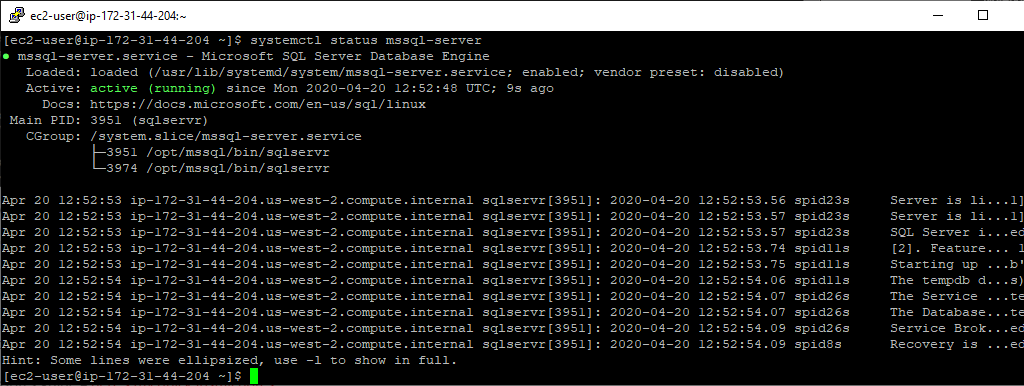
Step 4: Verify SQL Server is Running
Check the service status to confirm that SQL Server is up and running:
systemctl status mssql-server
If it’s not running, start the service, and we should ensure SQL Server is enabled for start at boot:
sudo systemctl start mssql-server
sudo systemctl enable mssql-server
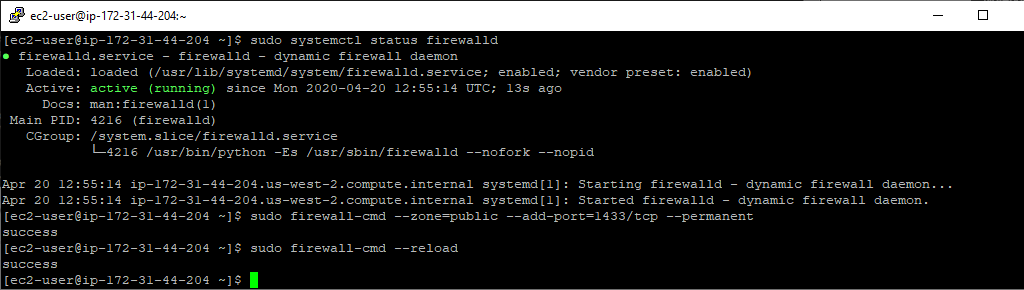
Step 5: Allow Remote Connections
To install firewalld which I’m using here, you can follow my other guide: How to Install Firewalld on Linux
sudo firewall-cmd --zone=public --add-port=1433/tcp --permanent
sudo firewall-cmd --reload
2. Installing the SQL Server Command-Line Tools
The command-line tools (SQLCMD & BCP) allow you to interact with SQL Server from the terminal.
Step 1: Add the Microsoft Repository
Download and configure the Microsoft Red Hat repo:
sudo curl -o /etc/yum.repos.d/msprod.repo https://packages.microsoft.com/config/rhel/8/prod.repo

Step 2: Install SQL Server Command-Line Tools
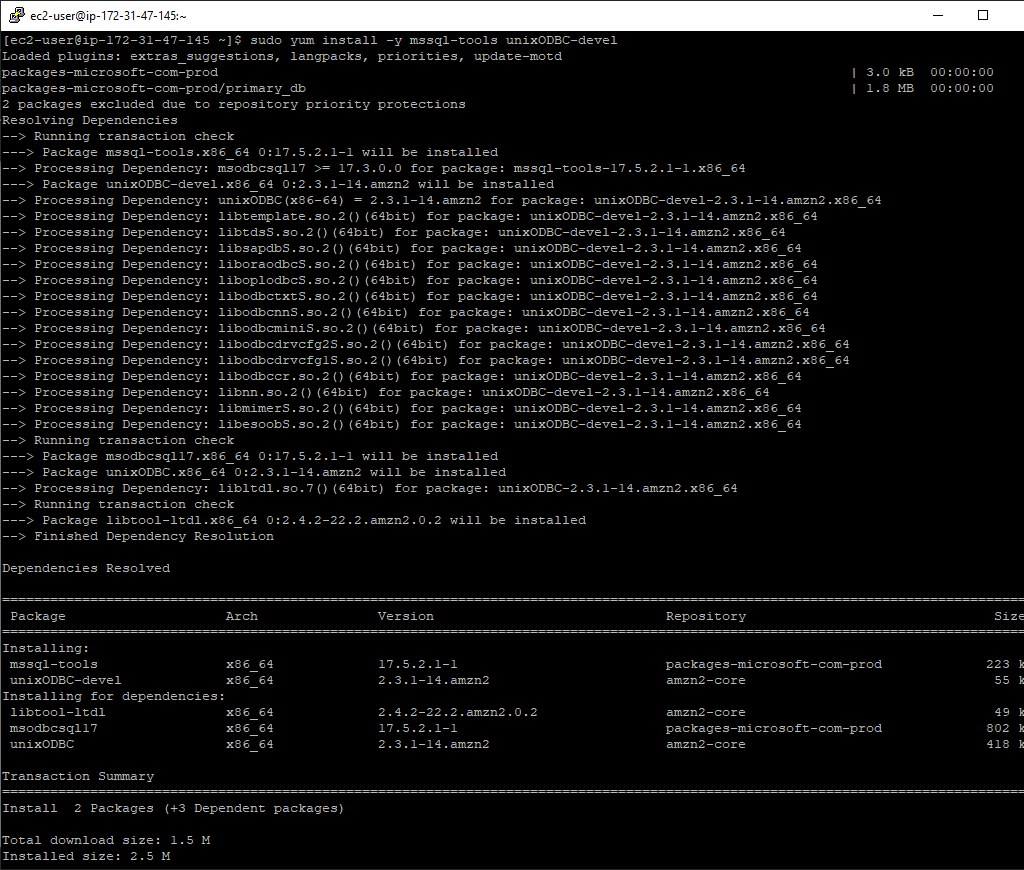
Run the following command to install the ODBC driver for SQL Server on Linux:
sudo yum install -y mssql-tools unixODBC-devel
Step 3: Add SQL Server Tools to PATH
To use sqlcmd and bcp without specifying the full path, update your PATH environment variable:
echo 'export PATH="$PATH:/opt/mssql-tools/bin"' >> ~/.bash_profile
echo 'export PATH="$PATH:/opt/mssql-tools/bin"' >> ~/.bashrc
source ~/.bashrc

3. Connecting to SQL Server from Linux
Once you have SQL Server along with the command-line tools installed, we can connect using sqlcmd by running the following:
sqlcmd -S localhost -U SA -P '<YourStrongPassword>'

If connected successfully, you’ll see a 1> prompt, indicating the SQL environment is ready.
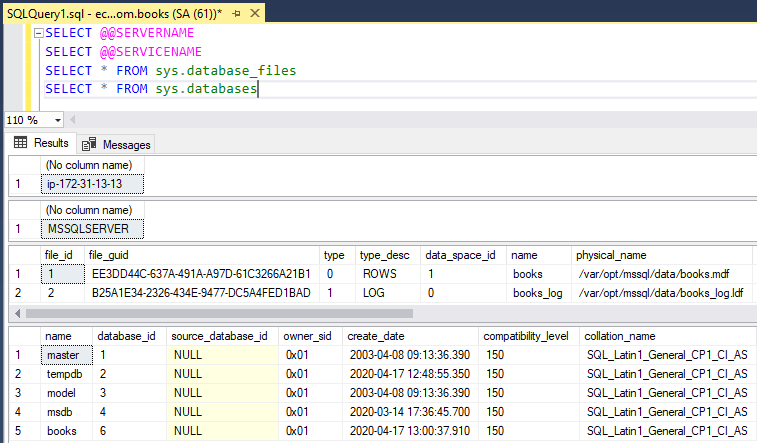
Alternatively we can be connecting from a Windows computer running SSMS:
Leave a Reply