
When you need to schedule tasks in Windows, Task Scheduler is the tool for the job. Running PowerShell (.ps1) scripts as Scheduled Tasks differs from running standard batch (.bat) scripts. I often find myself needing a refresher on the process, so I decided to document it in this post.
Below, I outline the steps to create a Scheduled Task that runs a PowerShell script to perform a daily reboot on a Windows Server system. Hope this is useful for you!
Creating a Scheduled Task to Run a PowerShell Script
1. Open Task Scheduler.
Launch Task Scheduler from the Start menu or by running taskschd.msc in the Run dialog (Win + R).
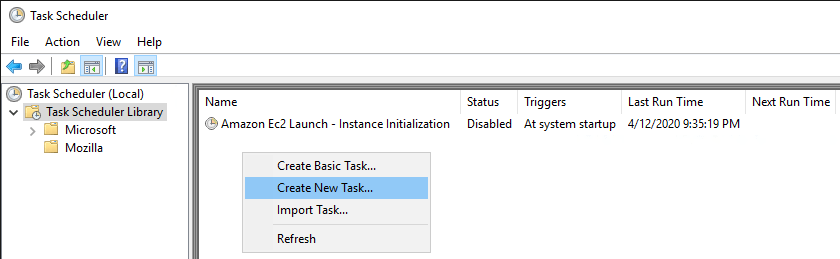
2. Create a New Task.
– In Task Scheduler, right-click on Task Scheduler Library and select Create New Task.
– In the General tab, provide a Name and Description.
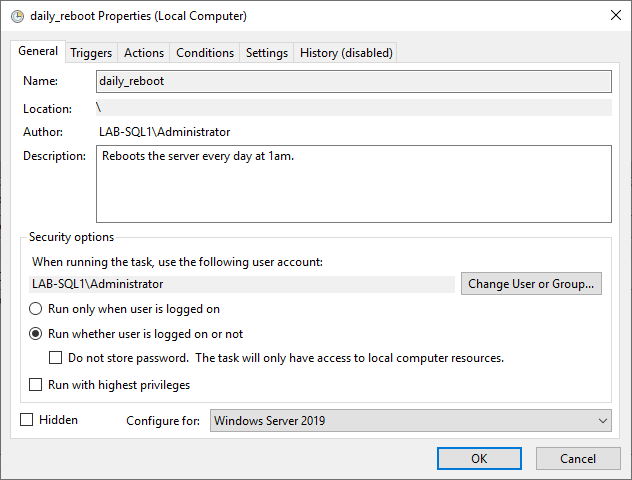
📌 If running in a professional environment, consider using an Active Directory (AD) service account for execution. If the script is local and security settings allow, you may not need to store a password under the Security options.
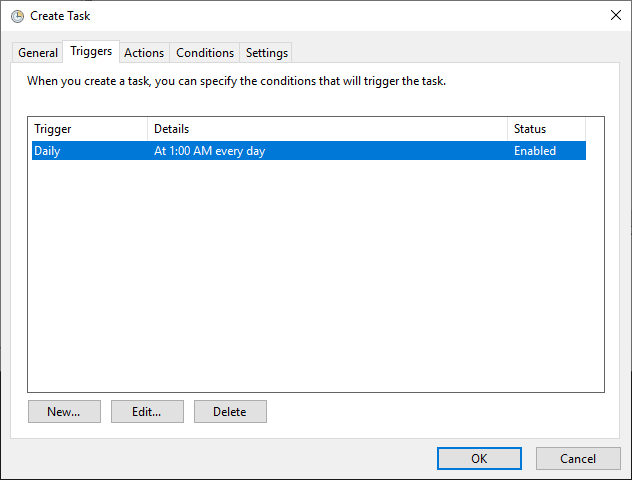
3. Configure the Trigger.
– Navigate to the Triggers tab and create a new schedule.
– Set the frequency and timing as needed (e.g., Daily at a specified time).
– You can also configure triggers based on Windows Events, system idle time, or logon events.
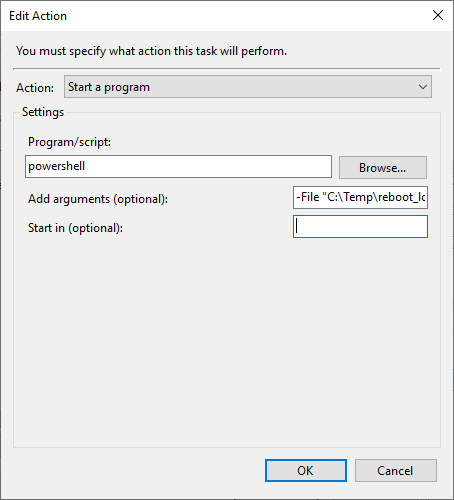
4. Set the Action.
– Go to the Actions tab and create a new action.
– Choose Start a program as the action.
– In the Program/script field, enter: powershell.exe.
– In the Add arguments field, specify the script path:
-File "C:\Temp\powershell_script.ps1"

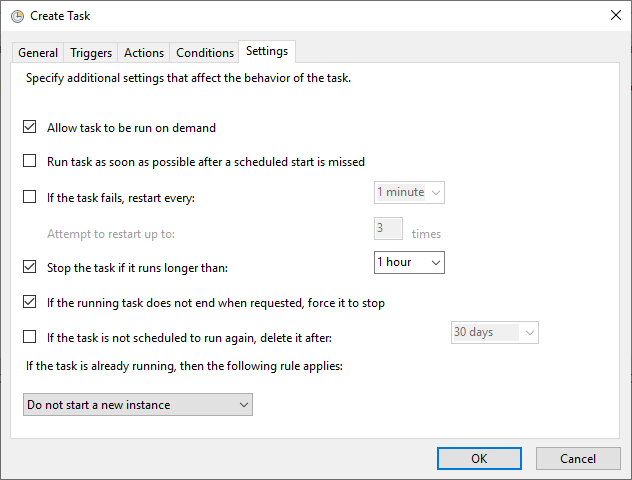
5. Configure Conditions and Settings.
– Under the Conditions and Settings tabs, review options that best suit your needs.
– A useful setting is to stop the task if it runs longer than 1 hour to prevent stuck processes.
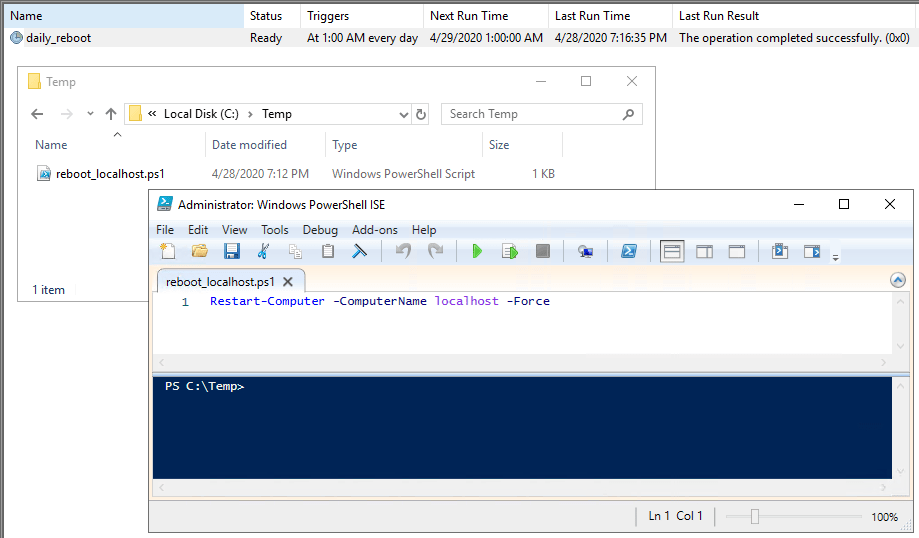
6. Test and Verify.
– Run the task manually to ensure it executes correctly.
– For tasks that impact connectivity (such as a server reboot), verify by checking event logs or monitoring system status.
Leave a Reply