
This guide walks you through reinstalling a WSL (Windows Subsystem for Linux) distribution via command line. This can be useful if you want to reset your WSL environment for a fresh start.
Before proceeding, ensure you back up any important work to Git or another storage solution.
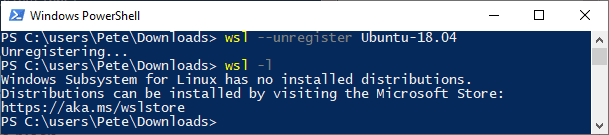
1. List Installed WSL Distributions
To see the names of installed WSL distributions, run:
wsl -l

This command displays a list of available WSL distros on your system, which you’ll need for uninstallation.
2. Uninstall or Unregister a WSL Distro
Caution: Unregistering a WSL distribution will permanently delete all its data, settings, and software. Reinstalling the distribution from the store will provide a clean instance.
To unregister (uninstall) a specific distribution, replace <distro-name> with the name of your distro:
wsl --unregister <distro-name>

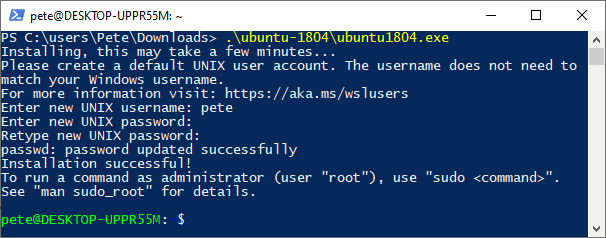
3. Reinstalling a WSL Distribution
To reinstall Ubuntu (or any other distro) on WSL:
Via Command Line:
– Download and install the distribution using its .exe file.
– Run the command and follow the prompts to enter a new username and password.
Example for Ubuntu installation:
Via Microsoft Store:
Search for and install your desired Linux distribution.
Leave a Reply