
This post is a how-to for installing & configuring AWS CLI (Version 2) on Windows.
In this guide, we’re going to download the AWS Command Line Interface installation media and run through the simple installation. Once done we’ll configure AWS CLI, which you’ll need an AWS Account to do so.
> Install AWS CLI V2 on Windows
> Configure AWS CLI V2
Install AWS CLI V2
Download AWS CLI V2 and run through the MSI installer. Run the .msi file you downloaded, and click next, next & done to complete the installation.
Alternatively, we can install AWS CLI using the PowerShell commands below.
# Download AWS CLI msi file, output to current directory
Invoke-WebRequest -Uri https://awscli.amazonaws.com/AWSCLIV2.msi -UseBasicParsing -OutFile 'AWSCLIV2.msi'

# Run AWS CLI install
.\AWSCLIV2.msi
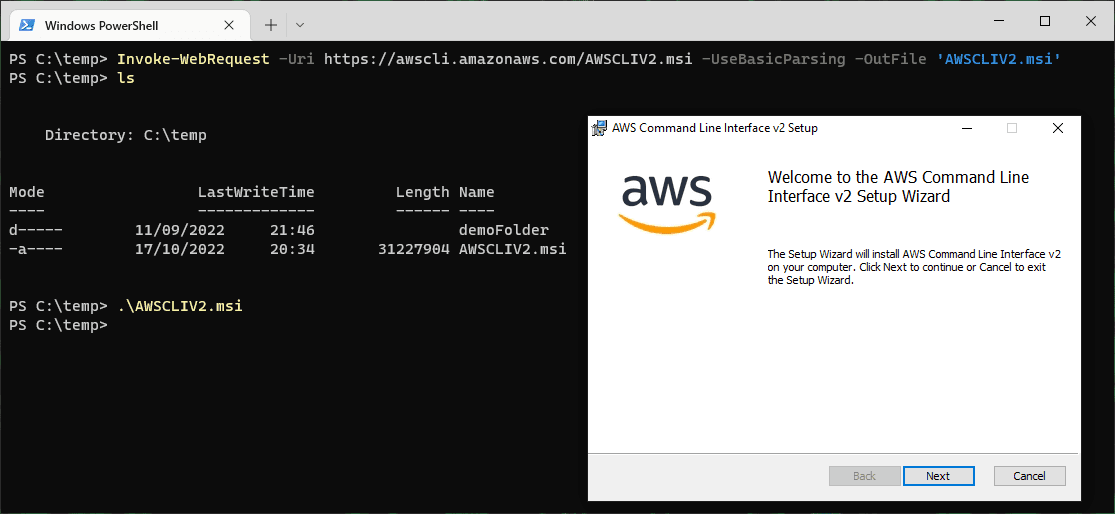
When the installation completes, close and re-open any terminals you have open. You should remember/consider doing this every time you install a package for development, close/reopen your VS Code or Windows Terminal.
Open your command terminal and verify the AWS CLI install by checking the version. Run ‘aws –version‘ as shown in the example below.

Configure AWS CLI V2
Now that we have AWS CLI installed on our machine, we need to open a web browser for the next steps, and head to the AWS Console.
Open AWS IAM and create/select a user with appropriate permissions. My ‘pete‘ login has full Admin (AdministratorAccess Policy) in this case.
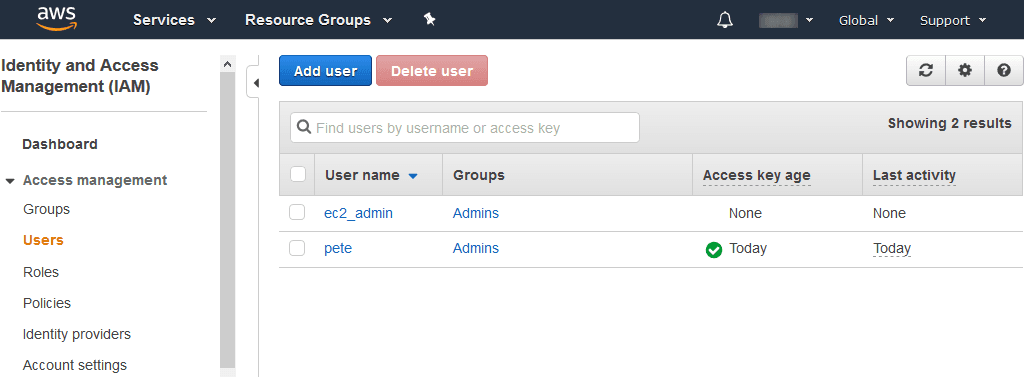
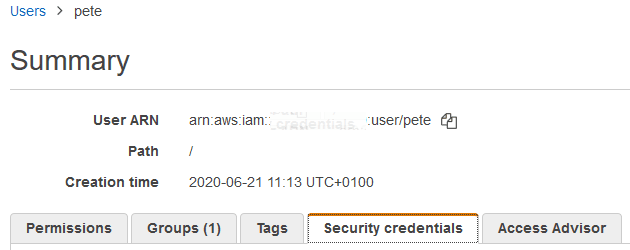
Click on the Security Credentials tab within the user properties.
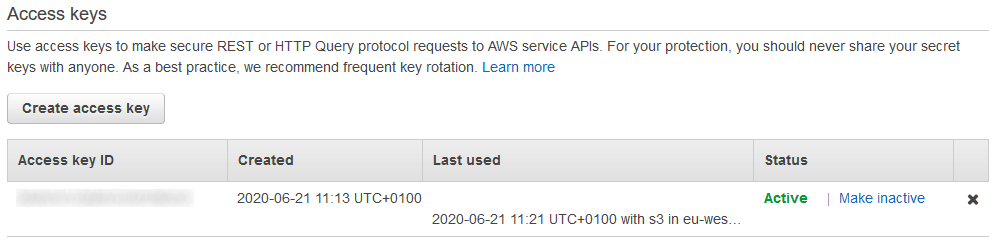
Scroll down to view & create Access Keys. Click to create a new key to see both the Access key ID and Secret Access Key of existing keys.
Open PowerShell and run ‘aws configure‘. You’ll be prompted for:
– AWS Access Key ID (above)
– AWS Secret Access Key (above)
– Default Region Name
– Default Output Format

Once you’ve entered these details for the first time it’ll save your details, so for me above I’m just hitting enter at each prompt.
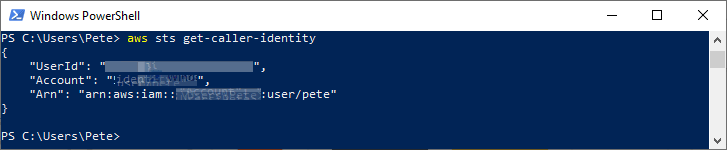
Run ‘aws sts get-caller-identity‘ to confirm what you’re logged in as.
Related
- How to Install & Configure AWS CLI on Ubuntu
- AWS CLI: List All Users in Account
- How to Manage S3 Buckets with AWS CLI
- List all Tables & Columns in Redshift or Postgres
If SQL Server is part of your day job, my current work lives over at sqldba.blog: production DBA scripts, an error library and the SSMS guide.
Why get-caller-identity Is Not the Proof It Looks Like
Running aws sts get-caller-identity and getting an ARN back feels like confirmation that everything is set up. It is worth knowing exactly what it confirms, because it is less than most people assume.
The AWS API reference for that call states plainly that no permissions are required to perform the operation. It answers “who am I”, and it answers it for a user with no policies attached at all. So the check passes, you move on, and the first command that does real work returns AccessDenied.
It proves authentication. It does not prove authorization. If you want a check that means something, call something the account is actually supposed to be able to do:
aws sts get-caller-identity     # are my keys valid at all
aws s3 ls                        # can I actually do anything
When aws configure Appears Not to Take
You run aws configure, enter the right keys, and the CLI keeps behaving as somebody else. The credentials file is almost never the problem. The CLI resolves credentials in a documented order of precedence, and environment variables beat the files:
- Command line options
- Environment variables:
AWS_ACCESS_KEY_ID,AWS_SECRET_ACCESS_KEY,AWS_PROFILE - The credentials and config files that
aws configurewrites
A stale AWS_PROFILE or key pair set during an earlier experiment silently wins over everything you just typed, and get-caller-identity then reports an identity you did not expect. Check before you debug the file:
Get-ChildItem Env:AWS_*
Two other failures wear the same disguise:
aws configurevalidates nothing. It writes what you paste. A typo in a key produces no error at all until the first real call, which is why the error always seems to arrive from somewhere unrelated.- A drifted clock reads as bad credentials. Signed requests are only valid within a fifteen minute window of their timestamp. A VM restored from a snapshot, or a laptop that has been hibernating, produces signature errors while the keys are perfectly fine. Check the clock before you regenerate anything.
The Two Traps Immediately After a Working Setup
The default region silently scopes everything. The region you entered at aws configure becomes the region every later command targets. Resources you created in the console in another region simply do not appear, and nothing tells you why. “The bucket does not exist” is very often “the bucket is not in this region”.
The pager freezes scheduled scripts. AWS CLI v2 pipes output through a pager by default. Interactively that is a convenience. In a scheduled task or a build step there is no terminal to page to, and the job appears to hang. Set it off where the script runs:
$env:AWS_PAGER = ""
What This Setup Leaves on the Machine
Worth being clear about, because it is easy to do once and forget.
The access keys are stored in plain text. aws configure writes them to %USERPROFILE%\.aws\credentials as an ordinary file. Anything running as that user can read it, and it travels in profile backups and disk images.
Long lived keys on an admin user is the pattern AWS now steers away from. When this post was written it was the normal route. Current AWS guidance is to avoid long term access keys where there is an alternative and to use short lived credentials instead. On the CLI that is:
aws configure sso
It is more setup on the first day and it means no permanent secret sits on the laptop. If you are configuring a machine you will still be using in a year, it is the one worth choosing.
If v1 was ever installed, check which one you are running. Both can be present, and PATH order decides which aws wins. They differ in real ways, the pager above being one of them:
aws --version
Leave a Reply