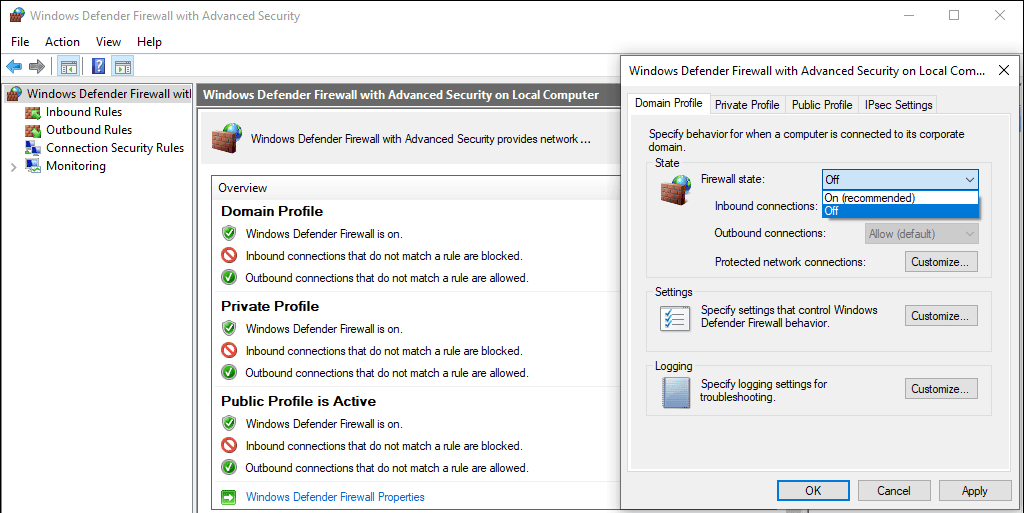
This post provides a demo on how to disable Windows Firewall with PowerShell on a Windows computer.
⚠ Important: Disabling the Windows Firewall is not recommended as it reduces your system’s security. However, there are scenarios, such as troubleshooting, where temporarily disabling the firewall may help identify if it is the root cause of a specific issue. Before turning it off entirely, try add some open rules on specific ports or adjusted IP’s on rules to avoid unintended vulnerabilities.
Anyhow, disabling Windows Firewall with PowerShell can be done by going through the following steps:
> Understanding Firewall Profiles in Windows
> Get Status of Windows Firewall with PowerShell
> Disable Windows Firewall with PowerShell
Understanding Firewall Profiles in Windows
Before running any command or script on your machine, it’s important for us to understand the 3 Firewall Profiles. In the command below we are disabling all 3 profiles:
– Domain: For networks connected to a Domain Controller (typically found in corporate environments).
– Private: For your home or private networks.
– Public: For untrusted networks like coffee shops or public Wi-Fi.
💡 Tip: While PowerShell is great for this, you can also manage firewall settings through the Windows GUI.
To do this, search for “Windows Firewall” in the Search / Start menu:

Get Status of Windows Firewall with PowerShell
PowerShell cmdlets follow a consistent verb-noun structure where the verb describes the action and the noun specifies the target.
To check the status of all firewall profiles, use the following command:
# get local firewall status
Get-NetFirewallProfile | Format-Table Name, Enabled

In the above screenshot, we’re running Get-NetFirewallProfile with Format-Table.
Disable Windows Firewall with PowerShell
To disable the firewall for all profiles, you’ll modify the cmdlet verb from Get to Set.
This requires elevated permissions, so open PowerShell or Windows Terminal as an administrator.
Set-NetFirewallProfile is being executed below, which disables all Profiles of the Local Windows Firewall:
# disable local firewall ps1
Set-NetFirewallProfile -Profile Domain,Public,Private -Enabled False

# get local firewall status ps1
Get-NetFirewallProfile | Format-Table Name, Enabled

After running the command, we can verify the changes by rechecking the firewall status, as displayed in the screenshot above.
As an experienced admin, it’s always better to implement rule-based actions, even during testing, by creating specific rules for ports and subnets. However, there are times when temporarily disabling the Windows Firewall helps rule it out completely as a blocker. If you need to re-enable the firewall after testing, simply run the command:
# enable windows firewall cmd
Set-NetFirewallProfile -Profile Domain,Public,Private -Enabled True
This ensures you can easily roll back the change while keeping the system secure.
Hope this helps!
Leave a Reply