This guide explains how to upgrade your Windows Subsystem for Linux (WSL) distribution from Version 1 (WSL 1) to Version 2 (WSL 2).
WSL supports two versions: the original WSL 1 and the more advanced WSL 2. You can install multiple Linux distributions on your system and easily switch their WSL versions. Upgrading to WSL 2 is recommended for most users as it offers better performance and additional features.
If you’re unsure which WSL version your system is using, refer to my guide How to Check Installed WSL Versions. For users looking to downgrade from WSL 2 to WSL 1 instead, see my post How to Downgrade from WSL Version 2 to WSL Version 1.
Steps to Upgrade WSL 1 to WSL 2
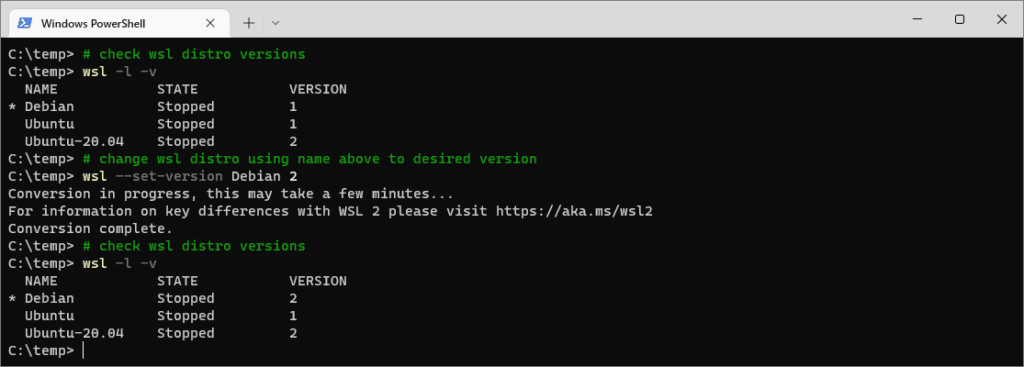
1. Open a terminal and run wsl -l -v to list all installed WSL distributions and their versions.
2. Identify the distribution you want to upgrade. For example, if the distribution is named Debian, use the following command to upgrade it to WSL 2:
# check wsl distro versions
wsl -l -v

# change wsl distro using name above to desired version
wsl --set-version Debian 2

The upgrade will be applied immediately, and the selected distribution will now run on WSL 2.
If you need to switch back to WSL 1, simply replace the 2 with a 1 in the --set-version command.
Hope this guide was what you needed. Feel free to browse around for more tips like this.