
This post is a how-to for installing & configuring AWS CLI (Version 2) on Windows.
In this guide, we’re going to download the AWS Command Line Interface installation media and run through the simple installation. Once done we’ll configure AWS CLI, which you’ll need an AWS Account to do so.
> Install AWS CLI V2 on Windows
> Configure AWS CLI V2
Install AWS CLI V2
Download AWS CLI V2 and run through the MSI installer. Run the .msi file you downloaded, and click next, next & done to complete the installation.
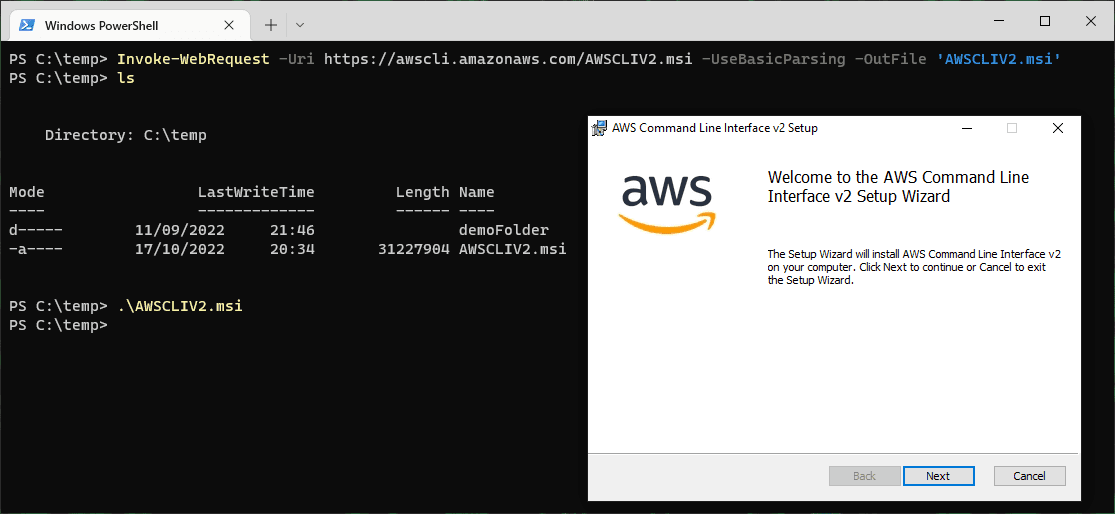
Alternatively, we can install AWS CLI using the PowerShell commands below.
# Download AWS CLI msi file, output to current directory
Invoke-WebRequest -Uri https://awscli.amazonaws.com/AWSCLIV2.msi -UseBasicParsing -OutFile 'AWSCLIV2.msi'

# Run AWS CLI install
.\AWSCLIV2.msi
When the installation completes, close and re-open any terminals you have open. You should remember/consider doing this every time you install a package for development, close/reopen your VS Code or Windows Terminal.
Open your command terminal and verify the AWS CLI install by checking the version. Run ‘aws –version‘ as shown in the example below.

Configure AWS CLI V2
Now that we have AWS CLI installed on our machine, we need to open a web browser for the next steps, and head to the AWS Console.
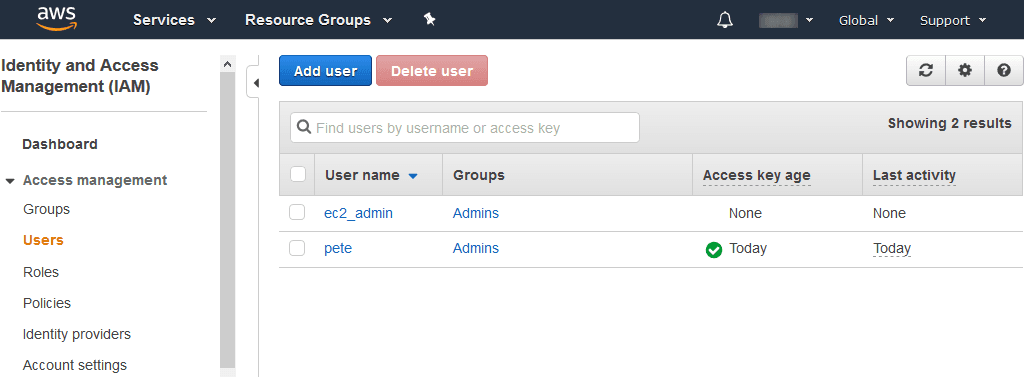
Open AWS IAM and create/select a user with appropriate permissions. My ‘pete‘ login has full Admin (AdministratorAccess Policy) in this case.
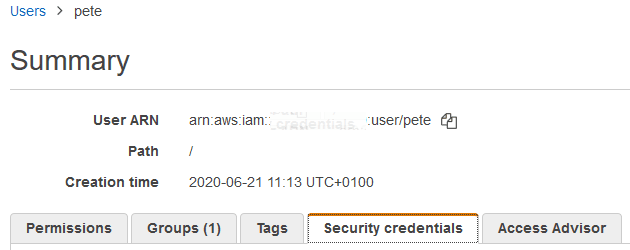
Click on the Security Credentials tab within the user properties.
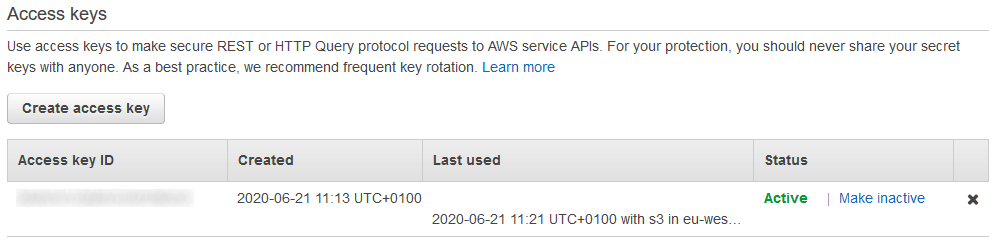
Scroll down to view & create Access Keys. Click to create a new key to see both the Access key ID and Secret Access Key of existing keys.
Open PowerShell and run ‘aws configure‘. You’ll be prompted for:
– AWS Access Key ID (above)
– AWS Secret Access Key (above)
– Default Region Name
– Default Output Format

Once you’ve entered these details for the first time it’ll save your details, so for me above I’m just hitting enter at each prompt.
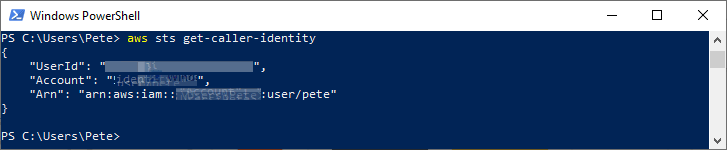
Run ‘aws sts get-caller-identity‘ to confirm what you’re logged in as.
Leave a Reply