
Installing SQL Server is relatively straightforward, but ensuring proper configuration from the outset helps avoid issues later. This guide walks through the key steps and best practices for setting up SQL Server 2017, highlighting essential pre-installation considerations and post-installation tasks.
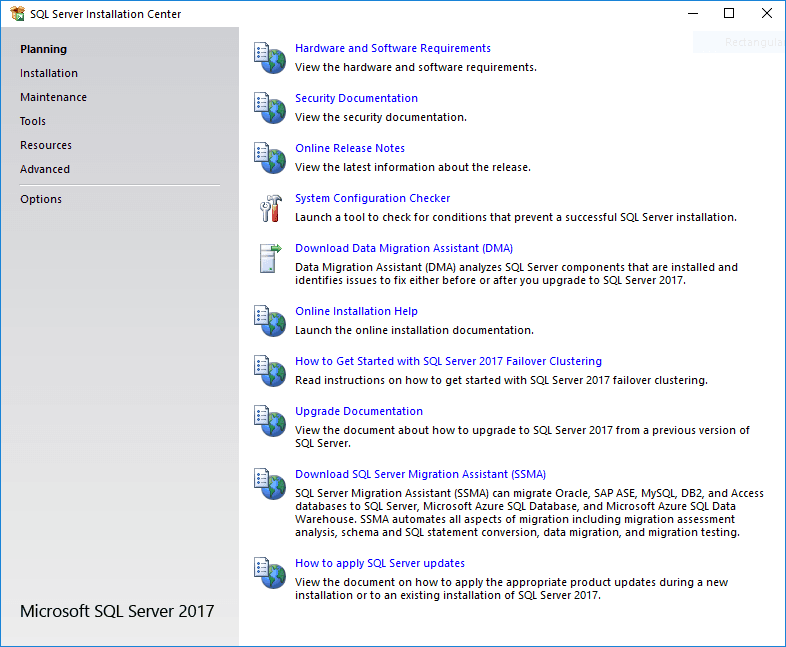
Before starting, consult Microsoft’s official docs: Planning a SQL Server Installation and SQL Server Installation Guide. For testing purposes we can use SQL Server Developer Edition along with SSMS for a free test environment.
How to Install SQL Server 2017
1. Launch Setup
Run Setup.exe from the SQL Server installation files or mount and run the ISO.
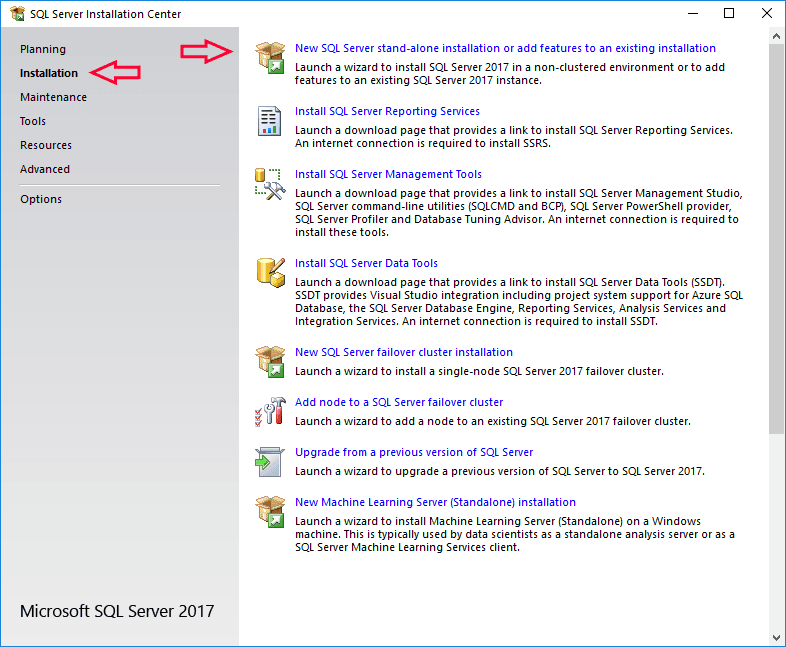
2. Start Installation
Navigate to the Installation tab and select the top option to begin.
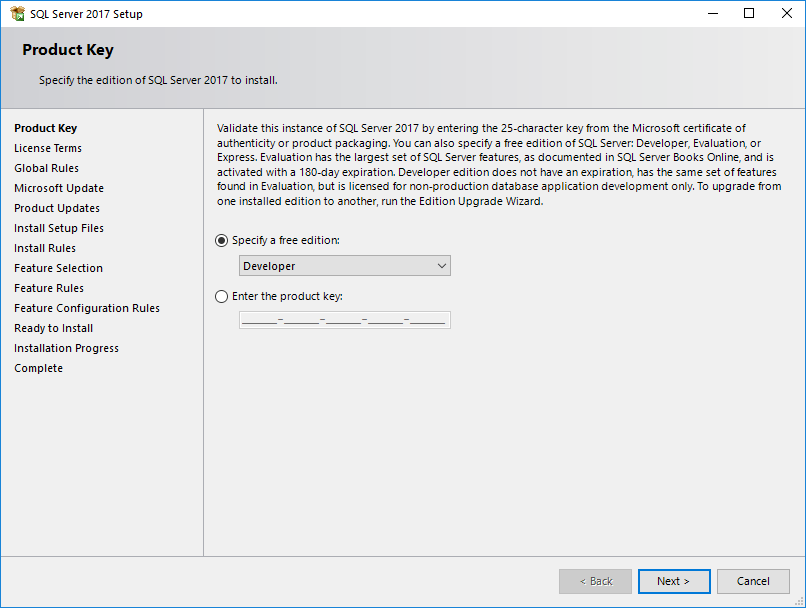
3. Select Edition
The edition should be automatically selected based on your installation media. Click to continue.
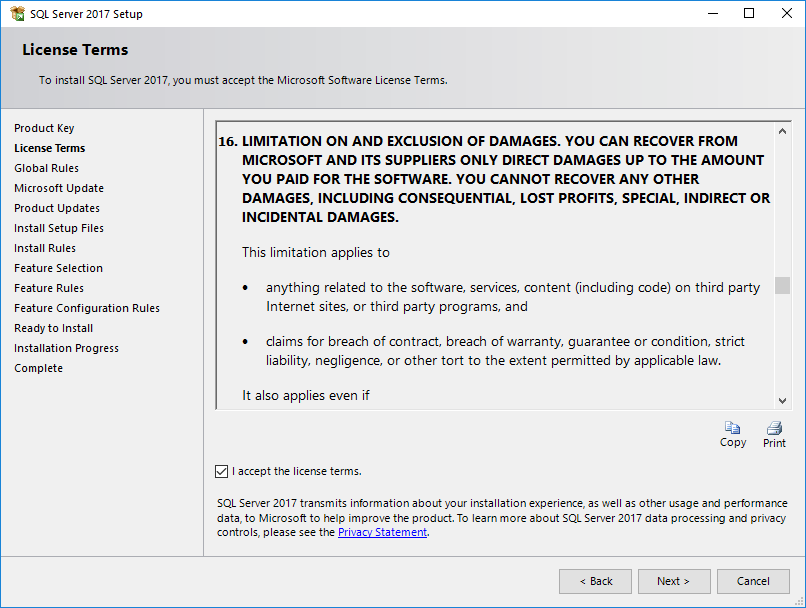
4. Accept License Terms
Agree to the terms and proceed.
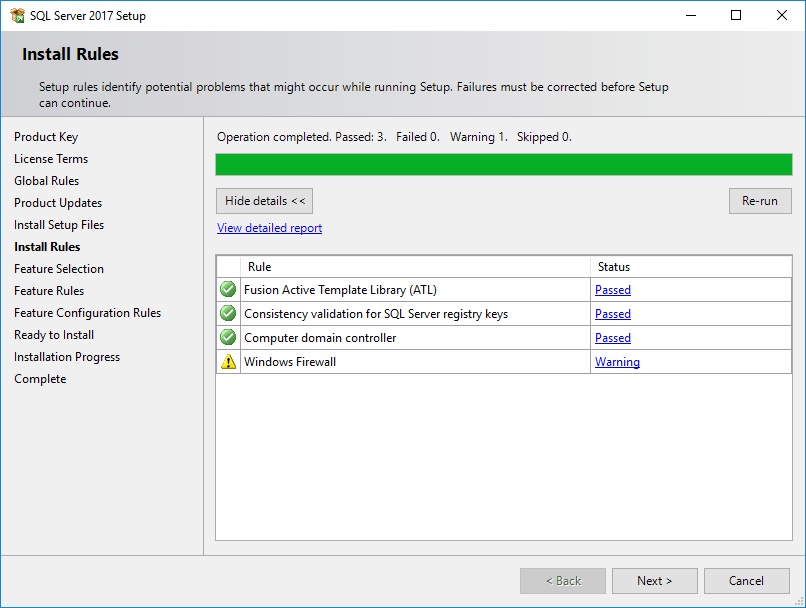
5. Address Firewall Warning
Continue past the warning; you may have already rebooted before reaching this point.
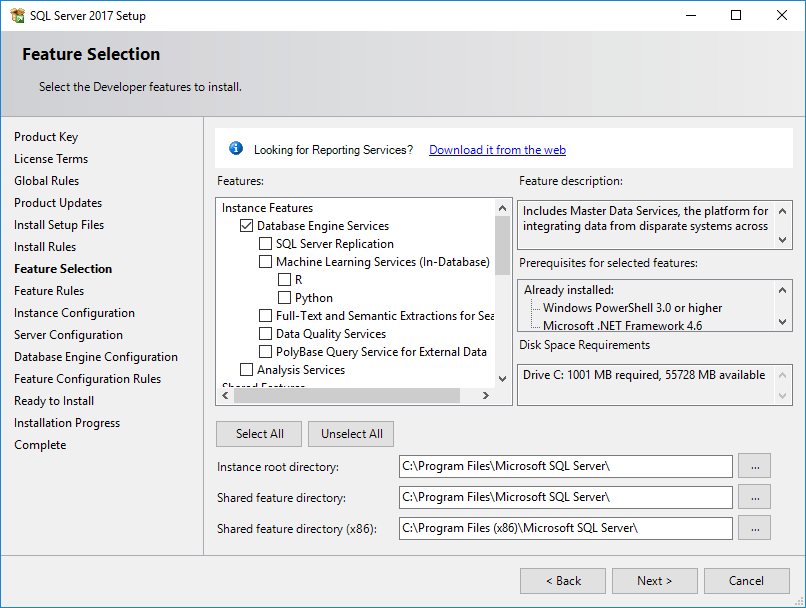
6. Choose Features
Select required features. A general rule: if you’re unsure about a feature, skip it for now. Features such as SSRS can be added later if needed. Minimizing unnecessary features helps optimize performance, especially in licensed environments.
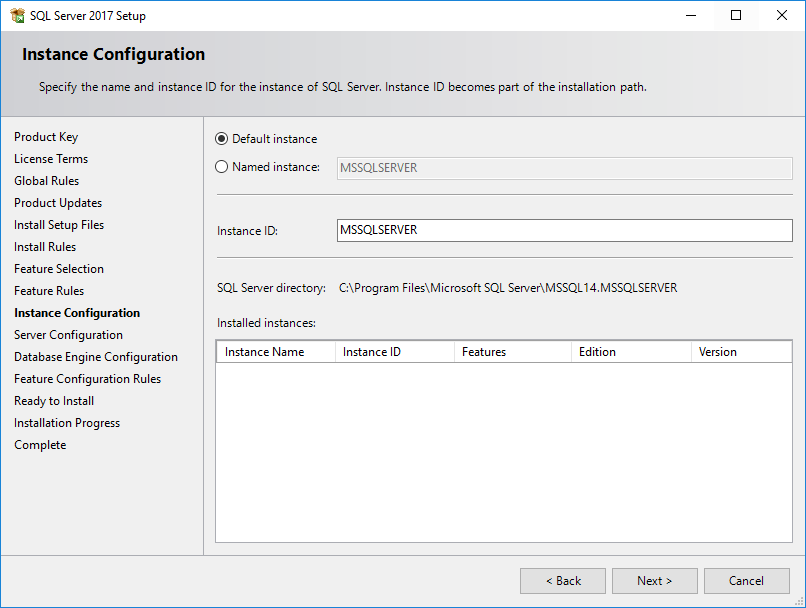
7. Instance Configuration
Choose between a default instance (MSSQLSERVER) or named instances for multiple instance setups.
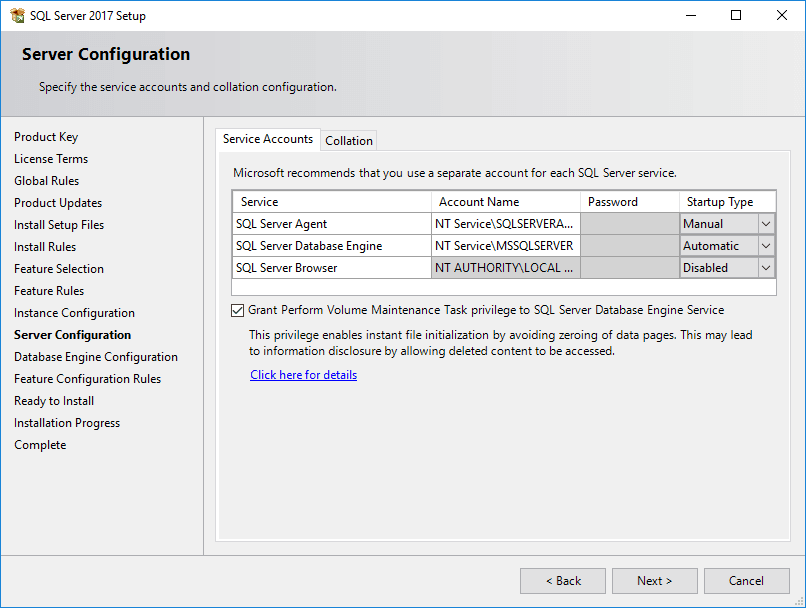
8. Set Service Accounts
Use domain service accounts if SQL Server will need to authenticate with other network locations (e.g., for backups).
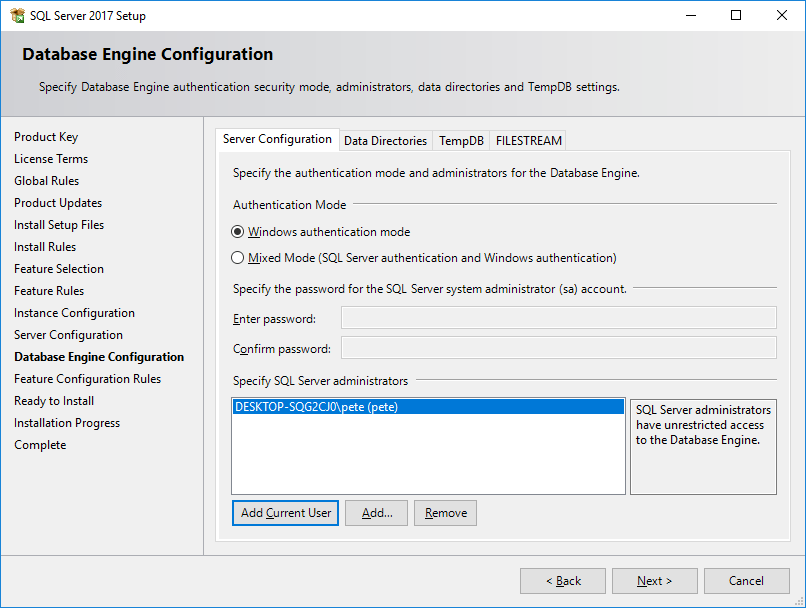
9. Select Authentication Mode
Choose your authentication method and set a password for the sa account if using Mixed Mode.
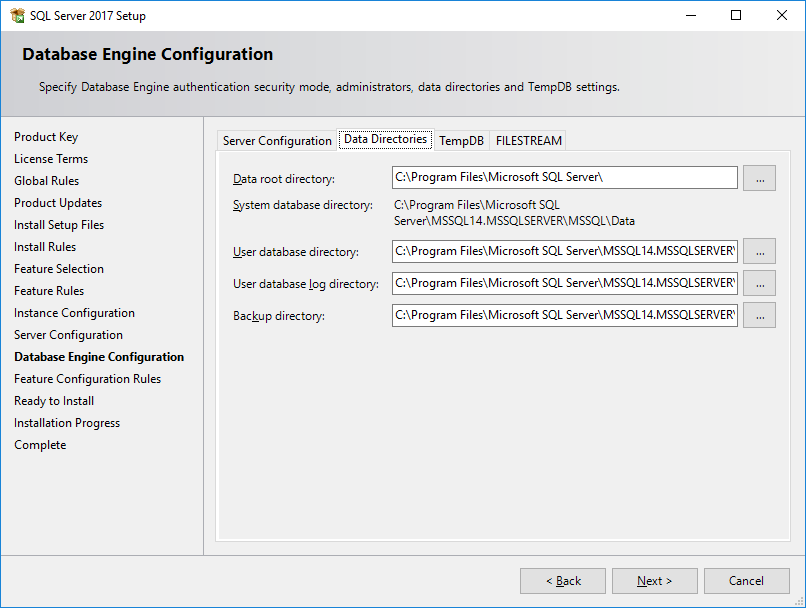
10. Configure Data Directories
Under the Data Directories tab, ensure:
– Data, log, and temp db files are stored on separate drives for performance and reliability.
– The root directory is on C:\ if sufficient space is available.
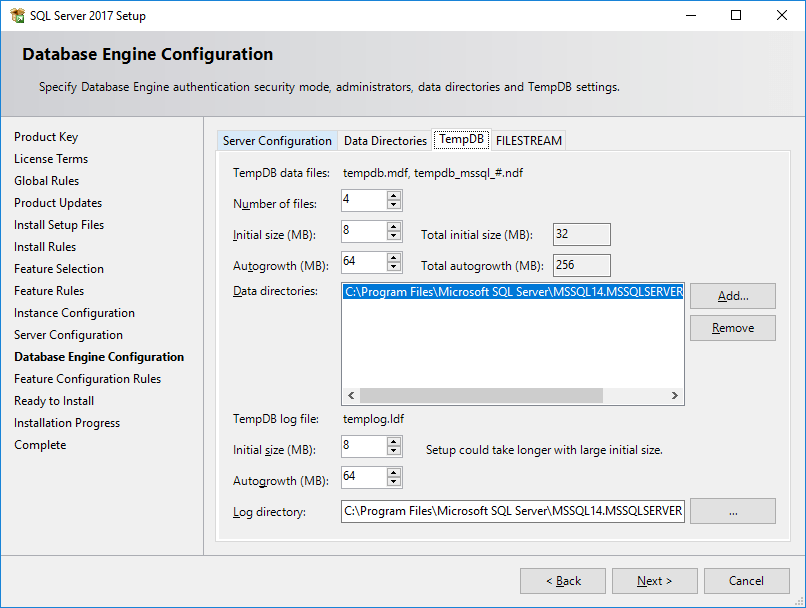
11. Configure Temp DB
In SQL Server 2016 and later, specify the number of Temp DB files during installation. The system typically defaults this value based on the number of CPU cores. Managing Temp DB configurations effectively can greatly impact system performance.
The FILESTREAM tab is for storing files in SQL – not required in a standard SQL install and is optional.
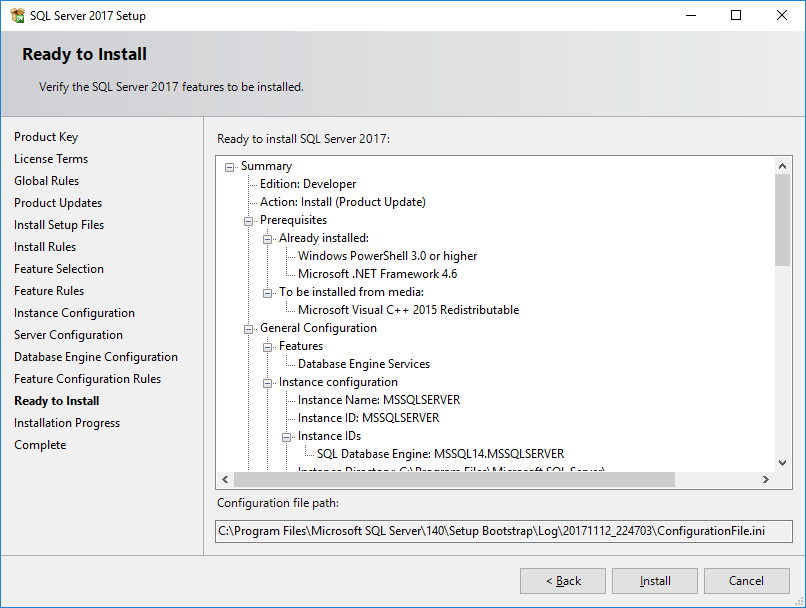
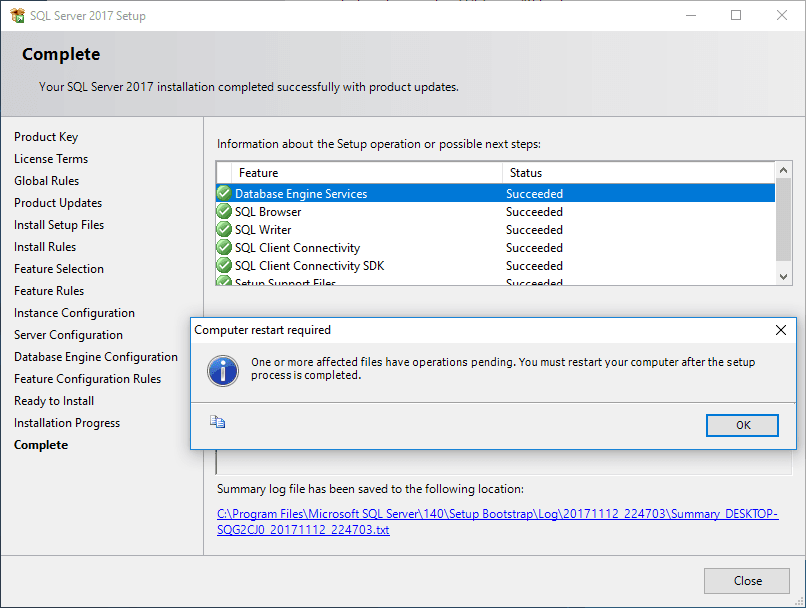
12. Finalize Installation
Review the generated ConfigurationFile.ini for unattended installations if needed. Save it for documentation purposes.
14. Complete Installation
Click Install and wait for the process to finish.
Post-Installation
Your SQL Server services should now be running, ready for database creation.
Note that starting with SQL Server 2016, SQL Server Management Studio (SSMS) is not included in the installation package. Download and install SSMS separately to manage your SQL Server environment.
Once you have SSMS installed we can try connect to the newly installed SQL Server.
Hope this guide was all useful!
Leave a Reply