This post contains a script that will help count rows within multiple CSV files using PowerShell. If you have a directory containing many CSV files, this’ll help you count the rows of each CSV file within the folder.
Counting rows within CSV files may be useful for verifying data from source to destination. For example, if you’re importing CSV files into SQL Server and you want to verify all rows were imported, by counting the rows in each CSV file and comparing it with the table row counts in the SQL table.
We’ll cover the following here:
1. Count Rows in Multiple CSV Files
2. Checking for Data Issues
1. Count Rows within Multiple CSV Files
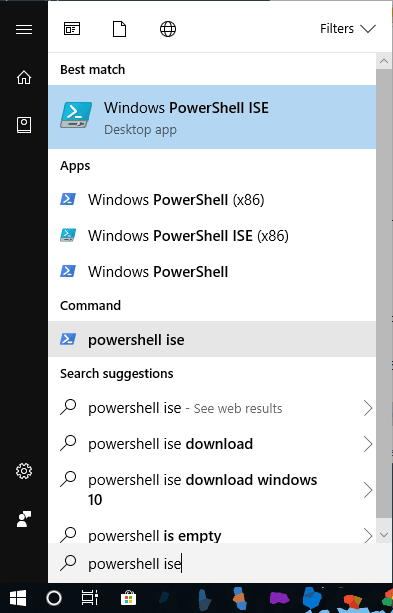
First, open PowerShell ISE or any other terminal window so we have a place to paste the PowerShell command:
To count rows within CSV files, run the PowerShell below, but first amend to your specific directory:
# PowerShell Script to Count Rows in CSV Files
# Update the folder path to where your CSV files are stored
Get-ChildItem "C:\myfolder\" -Recurse -Filter "*.csv" |
ForEach-Object {
    $fileStats = Get-Content $_.FullName | Measure-Object -Line
    $linesInFile = $fileStats.Lines - 1 # Exclude the header row
    Write-Host "$($_.Name): $linesInFile rows"
}
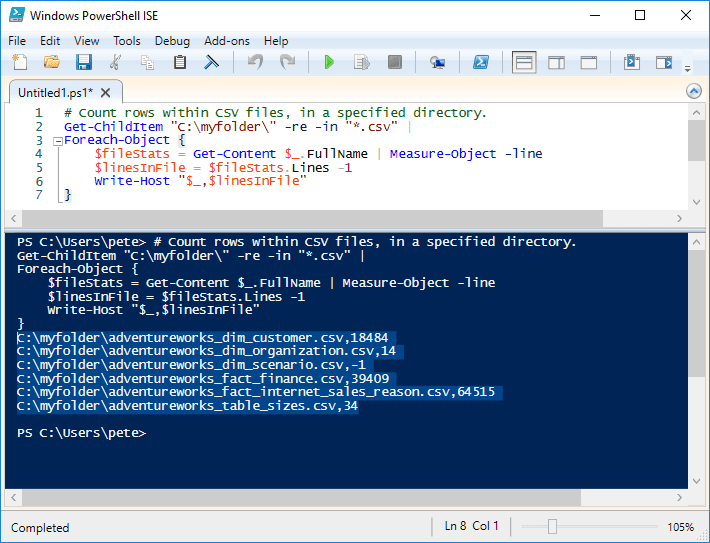
This script checks each CSV file in the specified folder, counts the number of rows, and subtracts 1 to exclude the header row. It will then display the file name along with the row count.
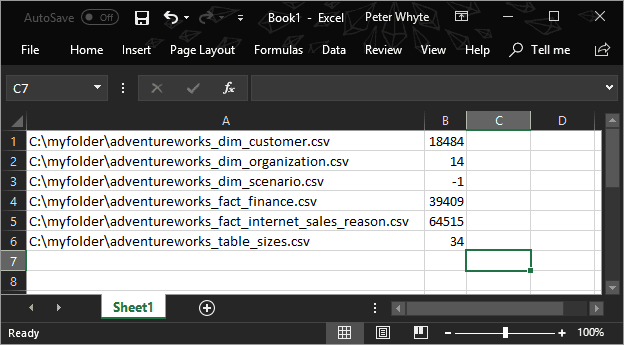
You can easily copy this output into Excel for further analysis. If needed, you can use the Text to Columns feature in Excel to format the data properly:
2. Checking for Data Issues
While running this script, you might come across issues that need attention. For example, if a file shows -1 rows, it likely means the file is empty or something went wrong with a process. In such cases, you can disregard these files or investigate them further.
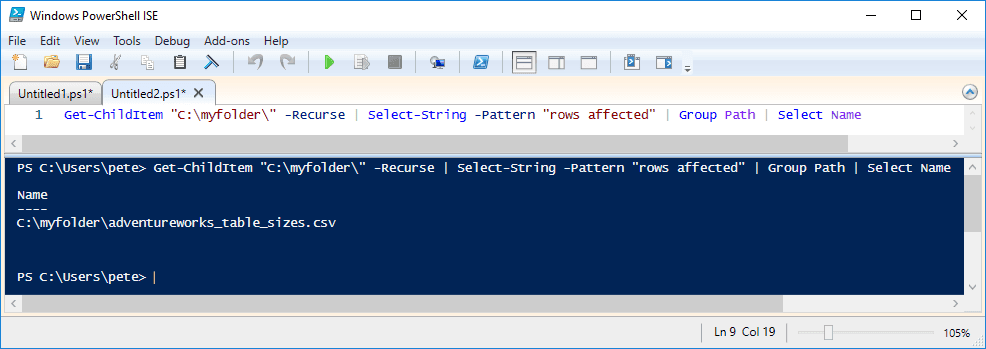
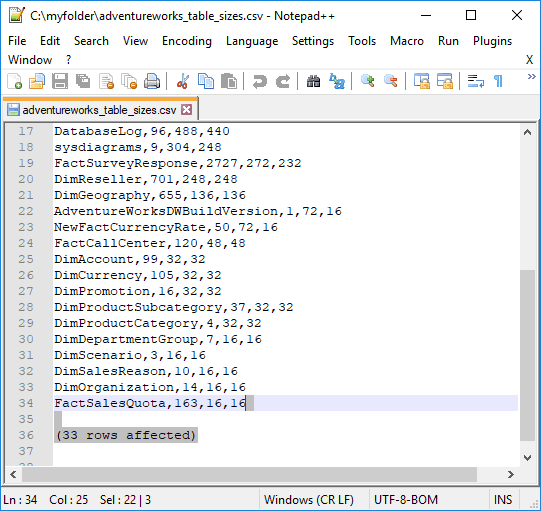
Another common issue occurs when exporting data from SQL Server. Sometimes, files will include the phrase “rows affected” at the end of the data, which could cause problems during import. The reason for this is that we need to include SET NOCOUNT within the SQL query when we use Results to Text option in SSMS.
We can search for a particular phrase in a file using PowerShell by running the following:
Search for the phrase "rows affected" in all CSV files
Get-ChildItem "C:\myfolder\" -Recurse | Select-String -Pattern "rows affected" | Group-Object Path | Select Name
This will identify any CSV files that contain the “rows affected” string, allowing you to clean them up before importing the data.
One more tip to add, is that we can check for blank lines in a CSV file by running the following:
# check for blank lines in a csv file
Get-Content "C:\myfolder\yourfile.csv" | Where-Object {$_ -ne ""}
This will display only empty rows in the CSV file, helping you identify any unnecessary blanks. It could throw an error on data import processes. You could also amend this query to run for all CSV files, it’ll be similar to the command above in this post.
Hope all this is useful for you. Tune in for more tips like this, by clicking one of the links you see around you!
Leave a Reply