
Installing and uninstalling SQL Server via command line can be useful, especially in environments without a GUI.
In this guide, I’ll walk through installing SQL Server on Windows Server Core, in a local Hyper-V test environment. At the end I’ll also uninstall SQL Server from a PowerShell terminal window.
There’s 4 parts to this one:
> 1, Download a SQL Server ISO
> 2. Mount the ISO on a Hyper-V Virtual Machine
> 3. Install SQL Server via Command Line
> 4. Uninstall SQL Server via Command Line
1. Download a SQL Server ISO
For my test environment, I’m using SQL Server 2019 CTP 2.4, the latest version available at the time.
You can download SQL Server 2019 from Microsoft’s official site. Choose the media type that suits your setup, ISO files work well for virtual environments like Hyper-V.
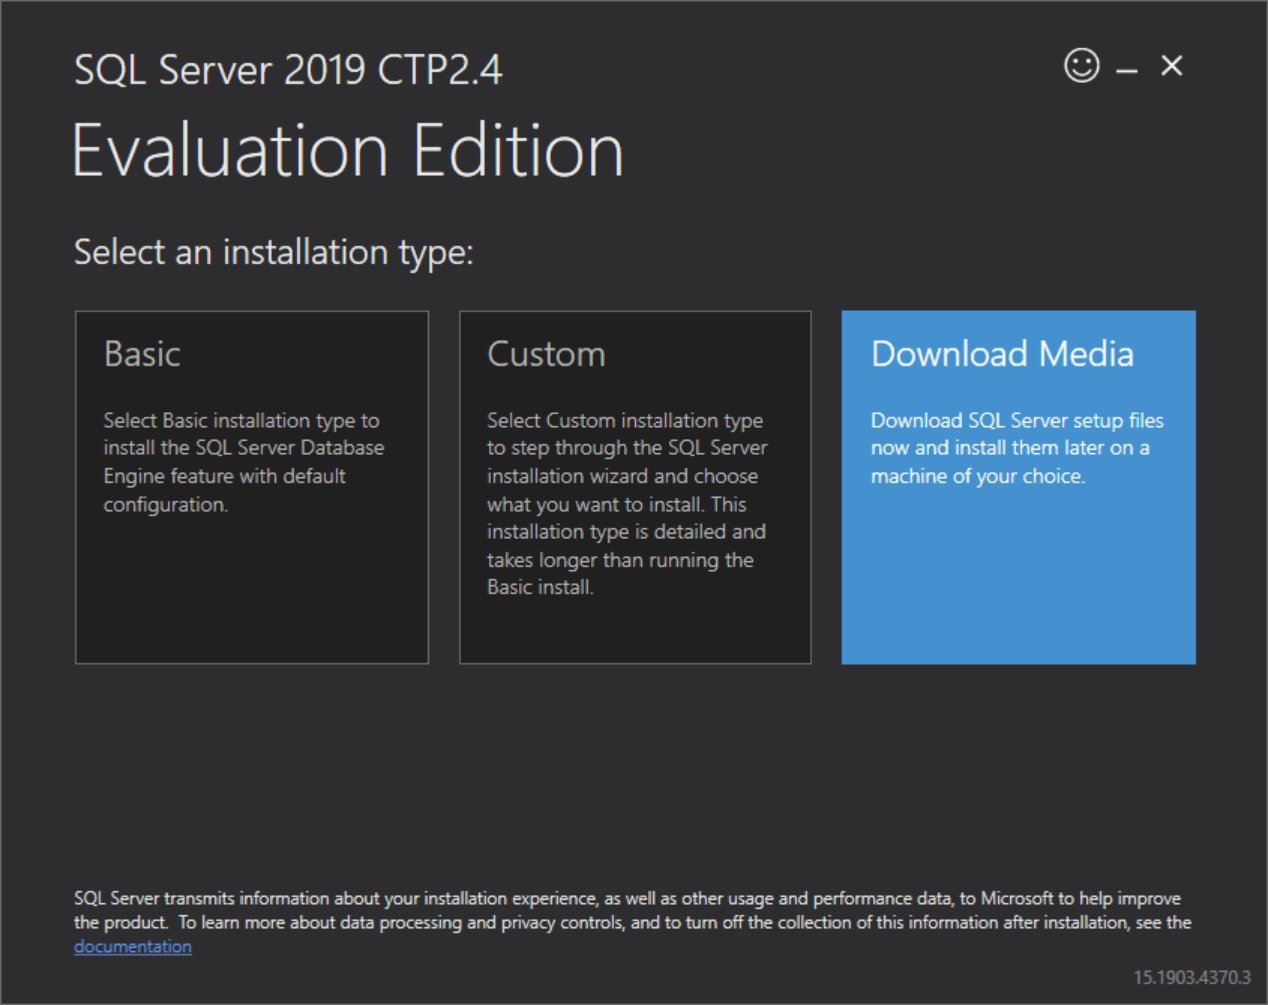
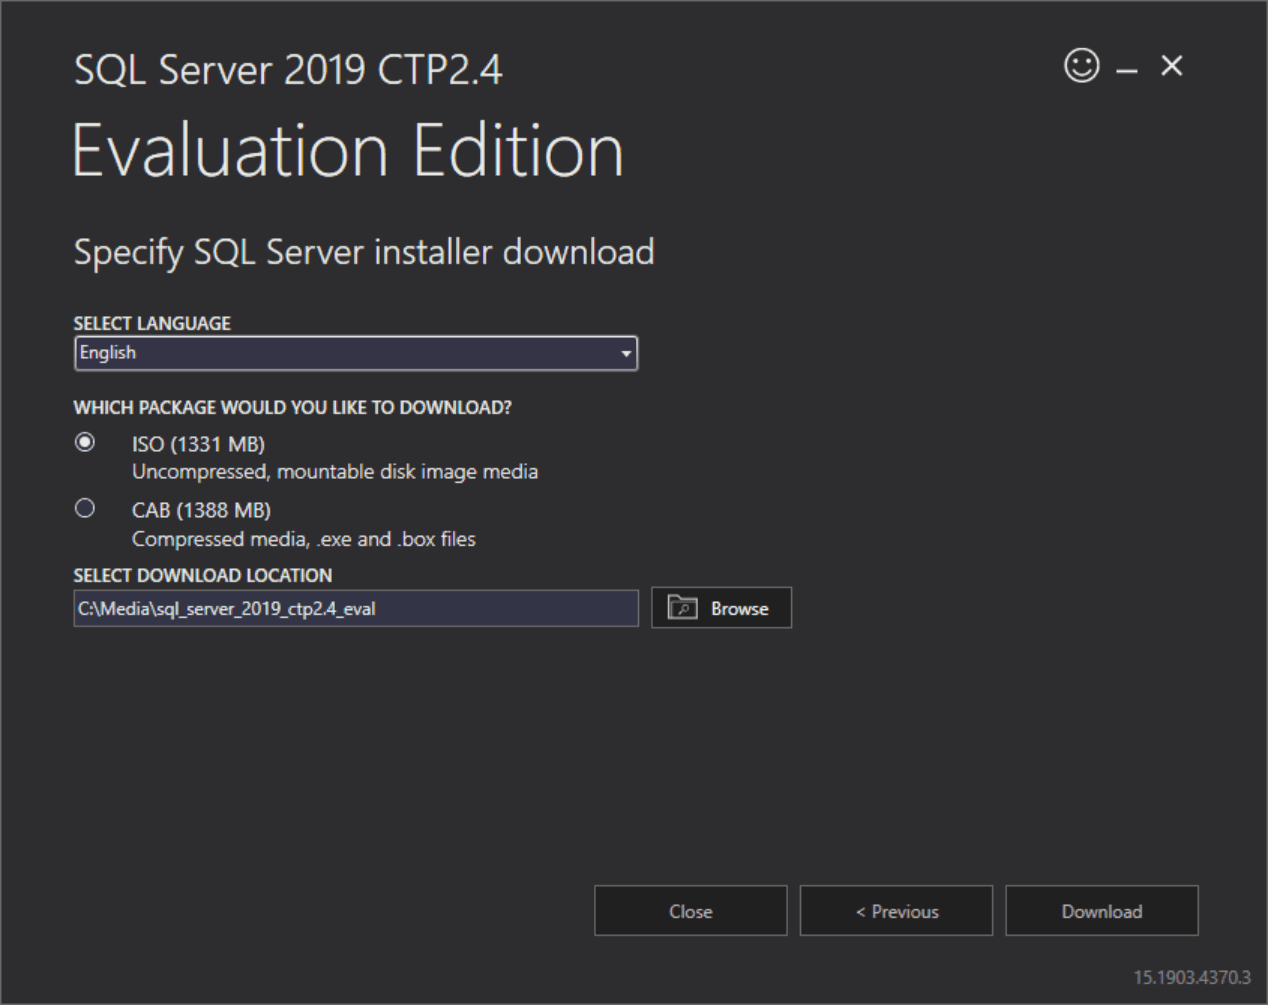
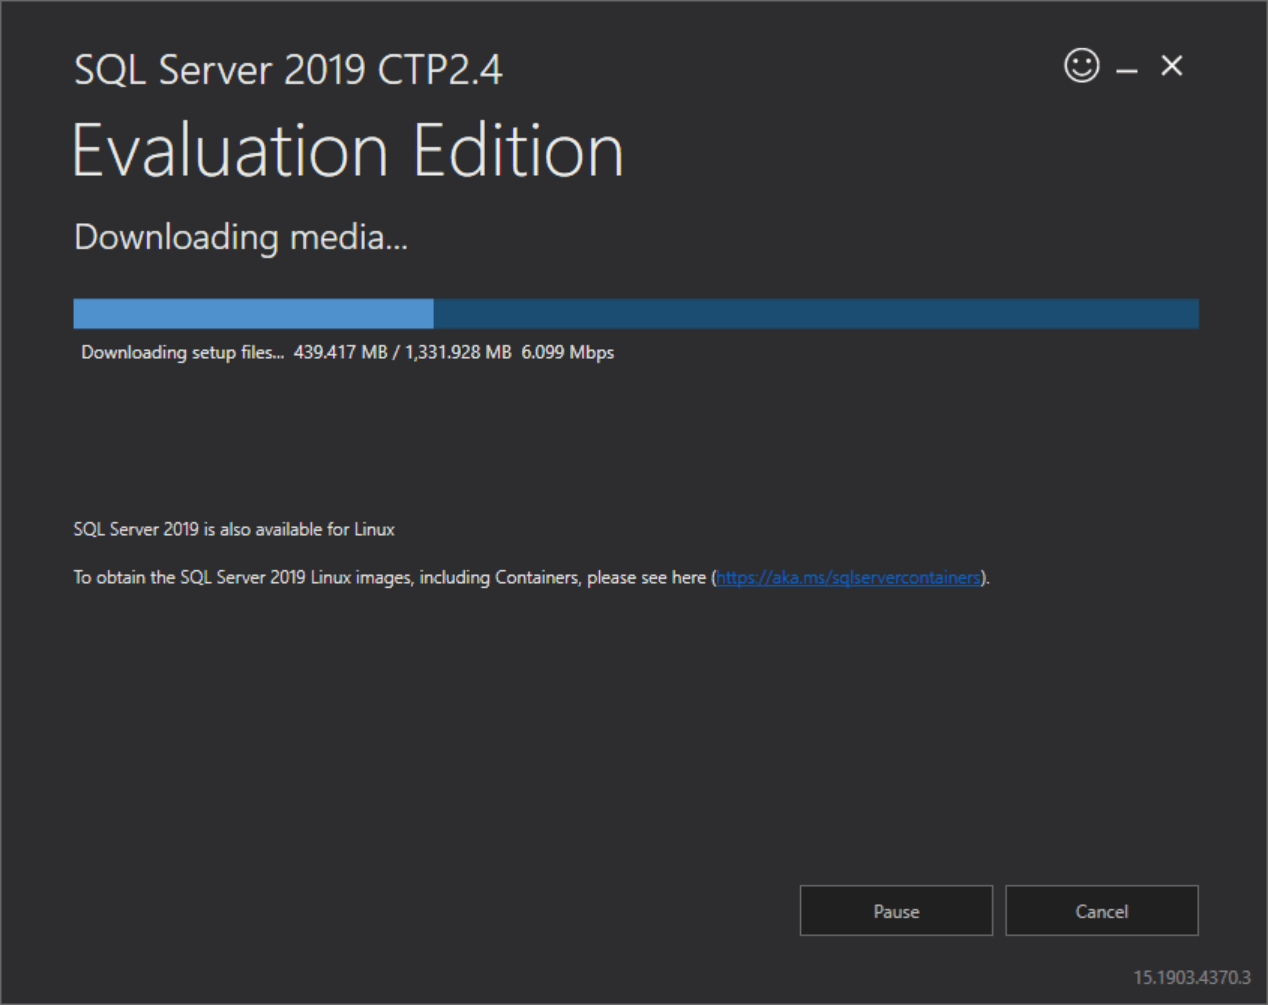
Select ISO within this setup menu, and select a download location:
2. Mount the ISO on a Hyper-V Virtual Machine
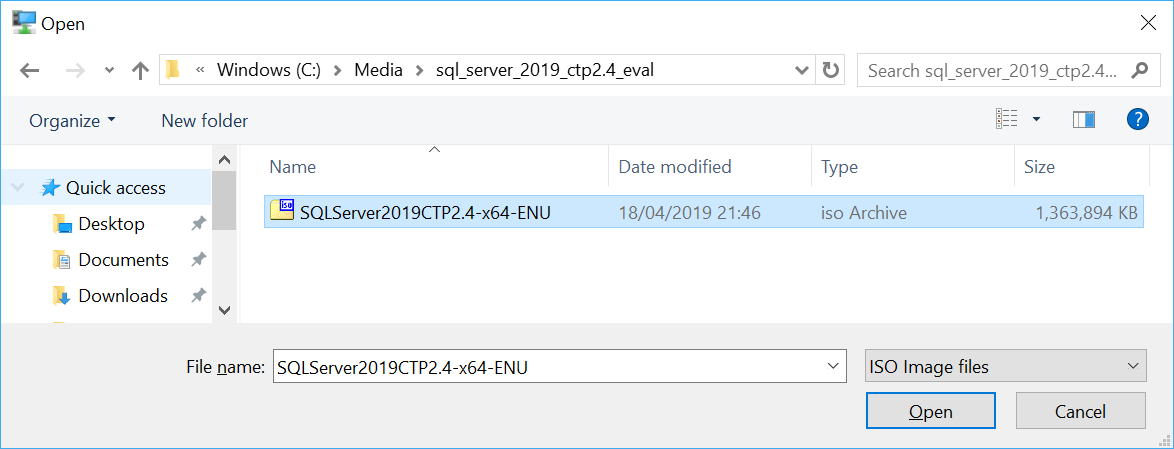
In Hyper-V, navigate to Media > Insert Disk…

Select the downloaded SQL Server ISO file.
3. Install SQL Server via Command Line
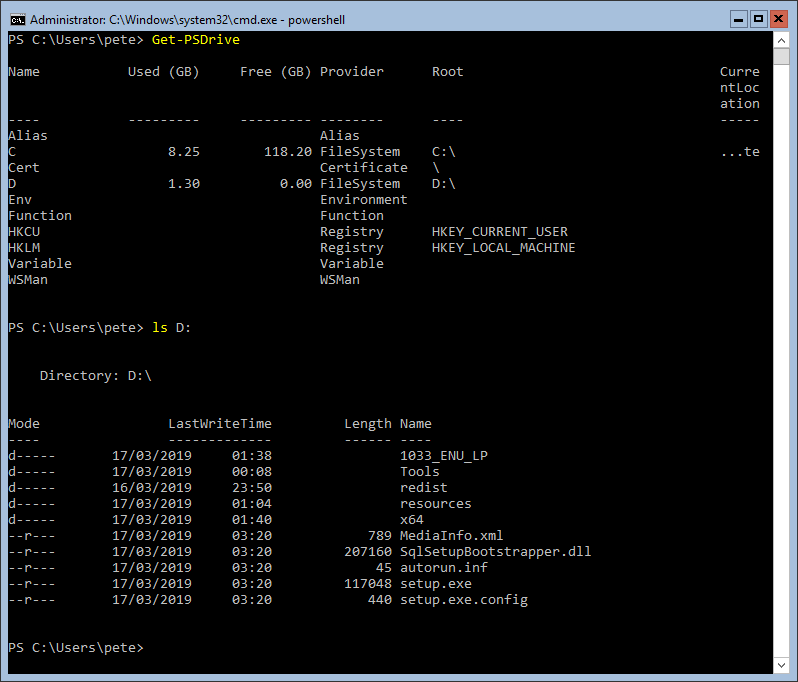
1. First, check available drives using the following PowerShell command:
# Show mounted drives (includes ISO's)
Get-PSDrive

# List contents of directory
ls
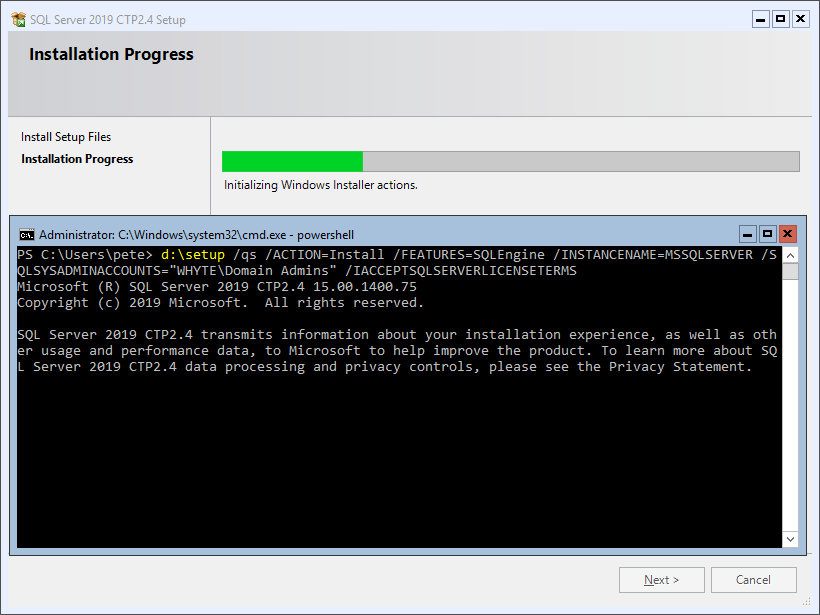
2. Install SQL Server using your preferred parameters. Here’s an example where I add the Domain Admins group as sysadmins for quick access:
# Start SQL Server install via command
d:\setup.exe /qs /ACTION=Install /FEATURES=SQLEngine /INSTANCENAME=MSSQLSERVER /SQLSYSADMINACCOUNTS="WHYTE\Domain Admins" /IACCEPTSQLSERVERLICENSETERMS
3. Verify the installation by checking the Summary.txt file:
# Check SQL installation/upgrade log file
Get-Content "C:\Program Files\Microsoft SQL Server\150\Setup Bootstrap\Log\Summary.txt"
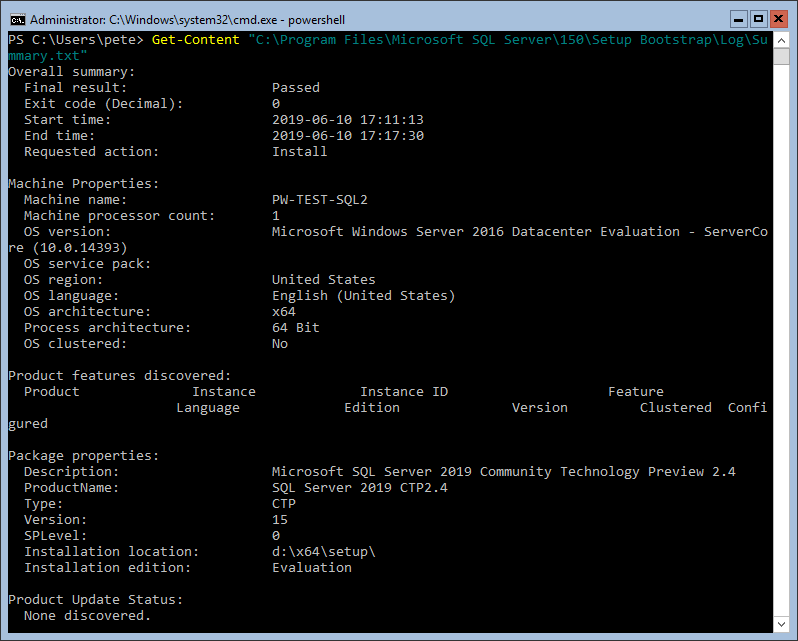
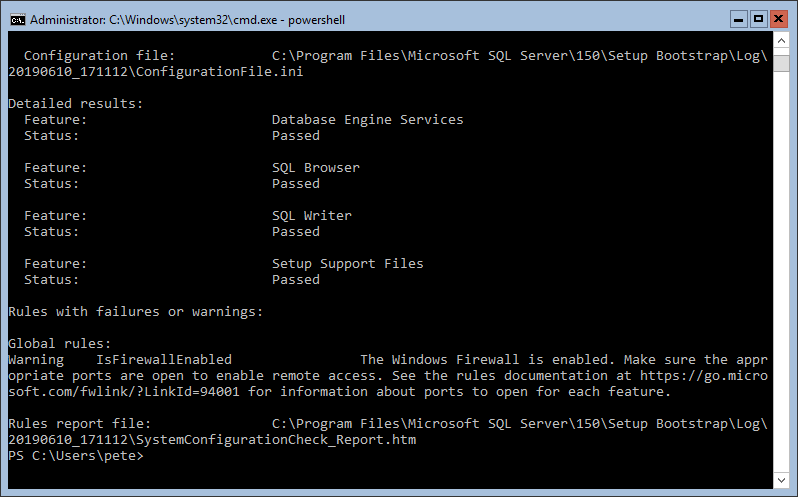
This file provides installation details, including the configuration INI file used for unattended installs.
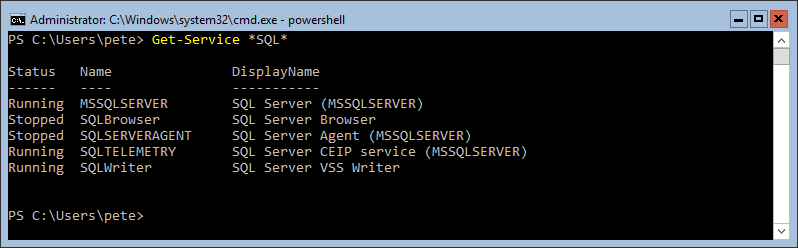
4. Finally, confirm that SQL Server services are running:
# Show running SQL Services
Get-Service | Where-Object { $_.Name -like "*SQL*" }
4. Uninstall SQL Server via Command Line
Uninstalling SQL Server via CLI is just as straightforward:
# Uninstall SQL Server via command
d:\setup.exe /qs /ACTION=Uninstall /INSTANCENAME=MSSQLSERVER
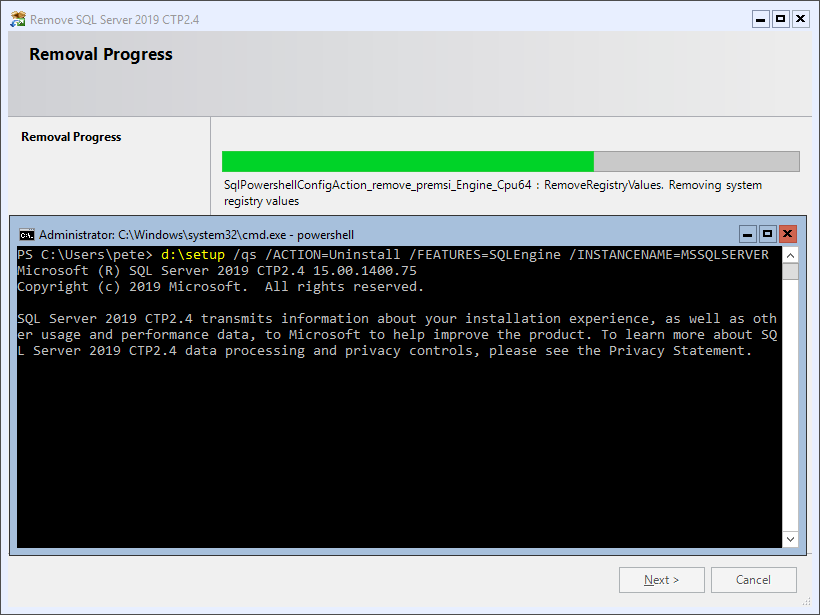
Once completed, check the Summary.txt file as we done post install, and verify that all SQL services have been removed:
# Show any running SQL Services
Get-Service | Where-Object { $_.Name -like "*SQL*" }
With these commands, you can efficiently manage SQL Server installations in a non-GUI environment. Hope this was useful for you!
Switches Worth Knowing Before You Run Setup
The example above installs a bare engine, and that is fine for a lab. On anything you intend to keep, a few extra parameters save a second visit. These are all documented setup.exe parameters, and the ones below are the ones that bite when missed:
d:\setup.exe /qs /ACTION=Install /FEATURES=SQLEngine /INSTANCENAME=MSSQLSERVER /SQLSYSADMINACCOUNTS="CORP\SQL Admins" /SECURITYMODE=SQL /SAPWD="YourStrongPasswordHere" /SQLSVCINSTANTFILEINIT=True /TCPENABLED=1 /IACCEPTSQLSERVERLICENSETERMS
/qs shows progress but takes no input, while /q is fully silent and is the one to use in automation. /SECURITYMODE=SQL with /SAPWD enables mixed authentication at install time, which is much cleaner than flipping it afterwards and restarting the service. /SQLSVCINSTANTFILEINIT=True grants the service account Perform Volume Maintenance Tasks so data file growths do not zero-fill.
/TCPENABLED=1 is the sneaky one. Developer and Evaluation edition installs leave the TCP protocol disabled by default, so the install succeeds, local queries work, and the first remote connection attempt fails. On Server Core you have no Configuration Manager GUI to flip it afterwards, so set it at install time. There is also /UpdateSource, which points setup at a folder holding the latest Cumulative Update so the instance comes up patched rather than RTM.
My current, fuller take on scripted installs lives on sqldba.blog in DBA Scripts: Install and Configure SQL Server, which is the version of this process I actually run now.
Post-Install Checks, Tested on SQL Server 2025
The version number in the Summary.txt path moves with each release. It is 150 for SQL Server 2019 as shown above, 160 for 2022, and 170 for 2025. I verified the 2025 path on a live instance, where the log sits at C:\Program Files\Microsoft SQL Server\170\Setup Bootstrap\Log\Summary.txt and reports Final result: Passed with an exit code of 0. A zero exit code in Summary.txt is the real success signal, not the setup window closing.
The Get-Service check in step 4 will typically show more than you installed. On my 2025 instance it lists the engine and Agent alongside SQL Server Browser, the VSS Writer, CEIP telemetry and Launchpad, so do not panic at unfamiliar service names. Once the engine is up, I prefer asking SQL Server itself:
-- Confirm services and their state from T-SQL
SELECT servicename, status_desc
FROM sys.dm_server_services;
On my test instance that returns the engine, Agent and Launchpad, all Running. The wider checklist I now work through on both sides of an install is on sqldba.blog in DBA Scripts: Pre-Install and Post-Install Checks, and it covers the settings this quick version skips, like max server memory and tempdb layout.
What Uninstall Leaves Behind
The uninstall command in section 4 removes the instance services, but it is not a full cleanup. User database files stay on disk, the instance folder tree under Program Files remains, and shared components stick around if any other instance or tool might use them. That is by design, and it is why a machine can show SQL Server folders long after the last uninstall.
Check Summary.txt after the uninstall exactly as you did after the install. The Requested action line at the top should read Uninstall and the final result should be Passed. If you are decommissioning properly, delete the leftover data and log files yourself once you have confirmed backups exist somewhere safe. I keep a scripted version of the removal process, including those checks, on sqldba.blog in DBA Scripts: Uninstall SQL Server.
Leave a Reply