
This guide will walk you through the steps to install and configure AWS CLI version 1 on Ubuntu (20.04).
Topics Covered:
1. Updating Local Packages
2. Installing AWS CLI on Ubuntu
3. Checking Installed AWS CLI Version
4. Configuring AWS Profile
5. Running AWS CLI Commands
1. Updating Local Packages
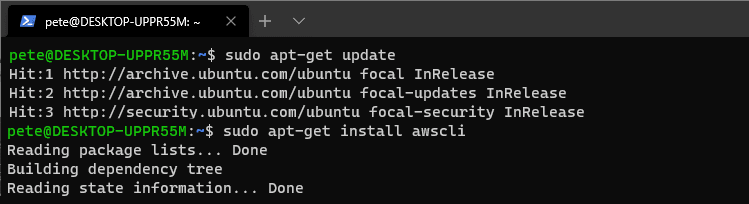
To start, update your local packages by running the following command:
# update local packages ubuntu
sudo apt-get update
2. Installing AWS CLI on Ubuntu
To install AWS CLI on your Ubuntu machine, run the following command:
# install awscli ubuntu
sudo apt-get install awscli
3. Checking Installed AWS CLI Version
After the installation is complete, check the version of AWS CLI installed by running:
# check version of awscli installed
aws --version

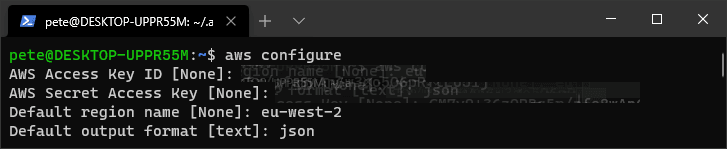
4. Configuring Your AWS Profile
Once the installation is confirmed, set up your AWS profile by running the aws configure command as shown below.
You will need your AWS Access Key ID and Secret Access Key, which you can retrieve or create in the AWS IAM Console.
# configure aws profile
aws configure
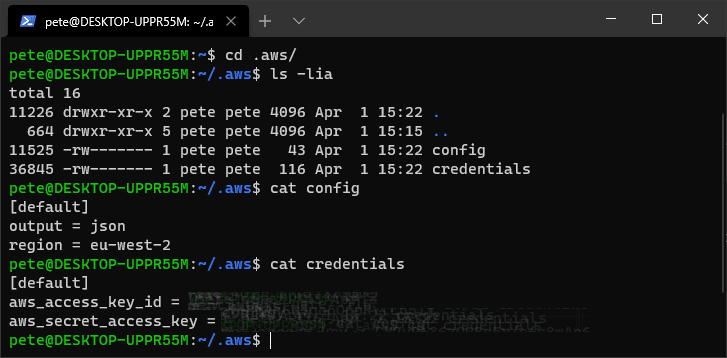
For reference, here are the output config files:
5. Running AWS CLI Commands
Once your profile is set up, you can run AWS CLI commands. For example, the following command lists all S3 buckets in your AWS account that begin with the “pw-” prefix:

Hope this was useful for you!
Leave a Reply