How To Copy A WordPress Website Onto MAMP
How To Copy A WordPress Website Onto MAMP
This is a follow-on post from Configuring MAMP (with WordPress) and is a guide on how to copy a website onto MAMP. Or I can phrase this by saying, copying your own live WordPress website and have it run locally on your laptop or PC. MAMP is a small app that allows your computer to easily run a local web server environment for WordPress.
The above can be used as a test environment for upcoming changes to your website if you don’t already have a Child Theme. This might also be used to have an isolated play-around area to see how your website looks in various forms.
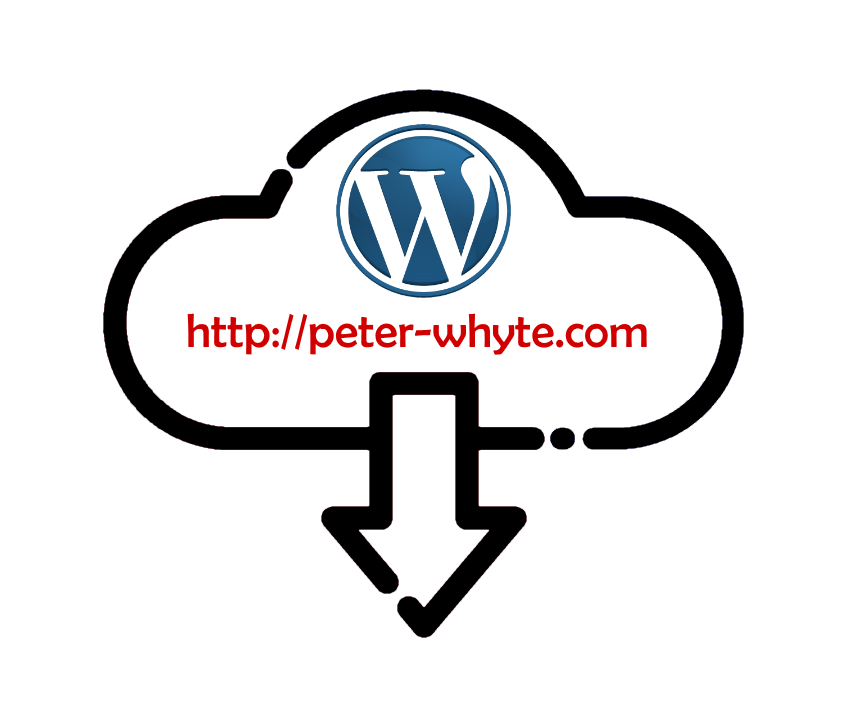
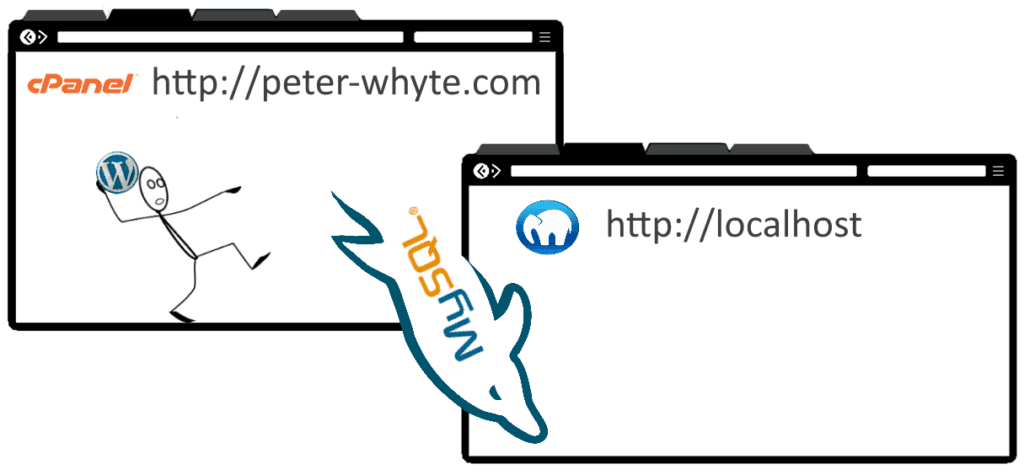
I’ve attempted to illustrate the high-level move below. We’re downloading the MySQL database and WordPress files and throwing them into MAMP.
Assuming MAMP is already installed, we need to run through the following list to achieve a local copy of your WordPress website:
1. Get a copy of your WordPress database.
2. Download a capture of your WordPress files.
3. Import a WordPress database using myPHPAdmin.
4. Configure index.php to allow connectivity to your database.
5. Update the WordPress database for WP-Admin access.
Download Your WordPress Database
1. Open your hosting provider cPanel.
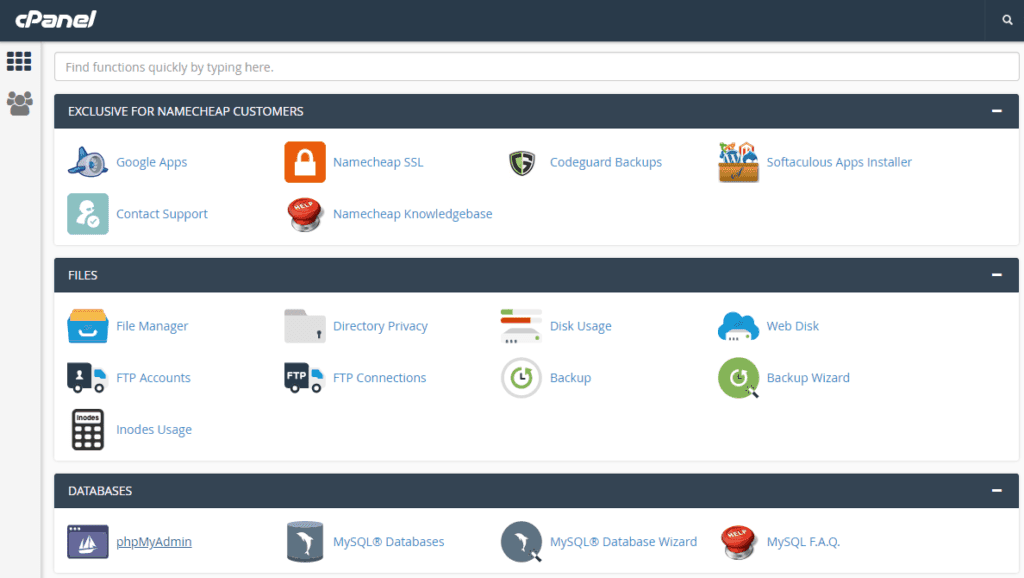
2. Open phpMyAdmin and select Export at the top menu bar.

3. A quick export in the SQL format is fine.
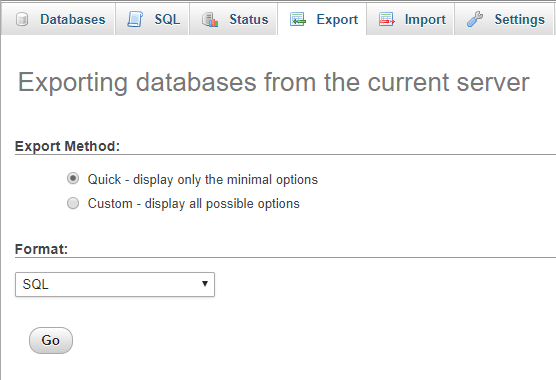
4. When you hit go you’ll begin the download of your MySQL database.
Download Your WordPress Files
There are many ways your website files can be downloaded, a few of which will be shown on your control panel.
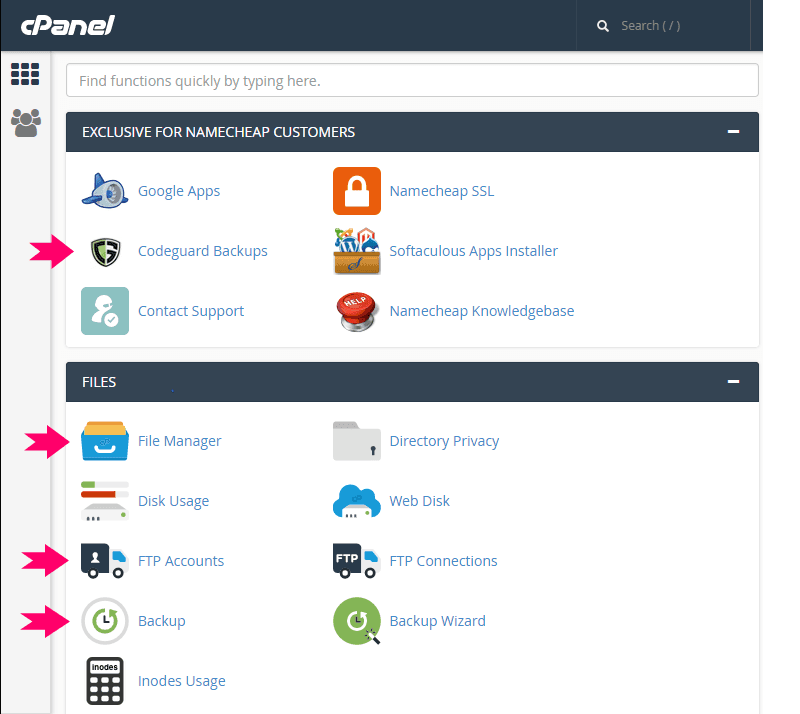
Today, let’s choose Backup.
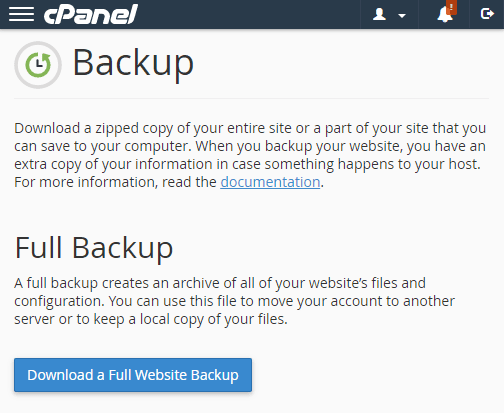
Go ahead for the download.
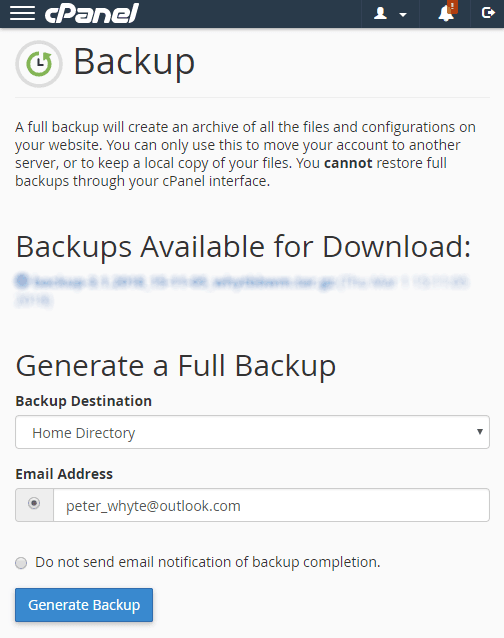
You’ll receive an email to where the backup has been saved to – grab it using File Manager or FTP. Also, the MySQL log file will be included as an attachment. Perhaps an idea for another blog to restore this one day.
Importing The Database
Before we start, the default maximum import size in phpMyAdmin is 2MB. My whytepete.com hosted version of phpMyAdmin came with a value of 50MB though.
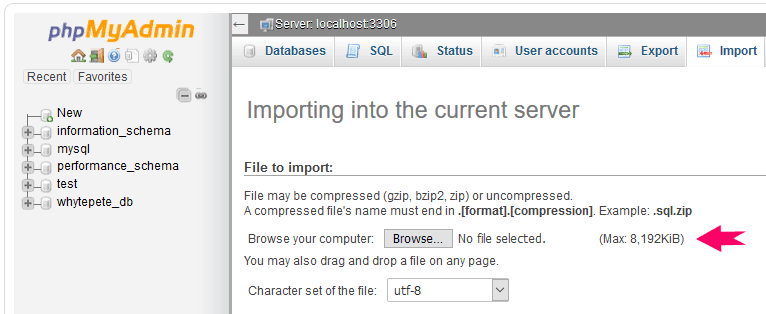
My WordPress database size is only 5MB – this’ll of course vary depending on content volumes. I had to amend the php.ini file to allow the import.
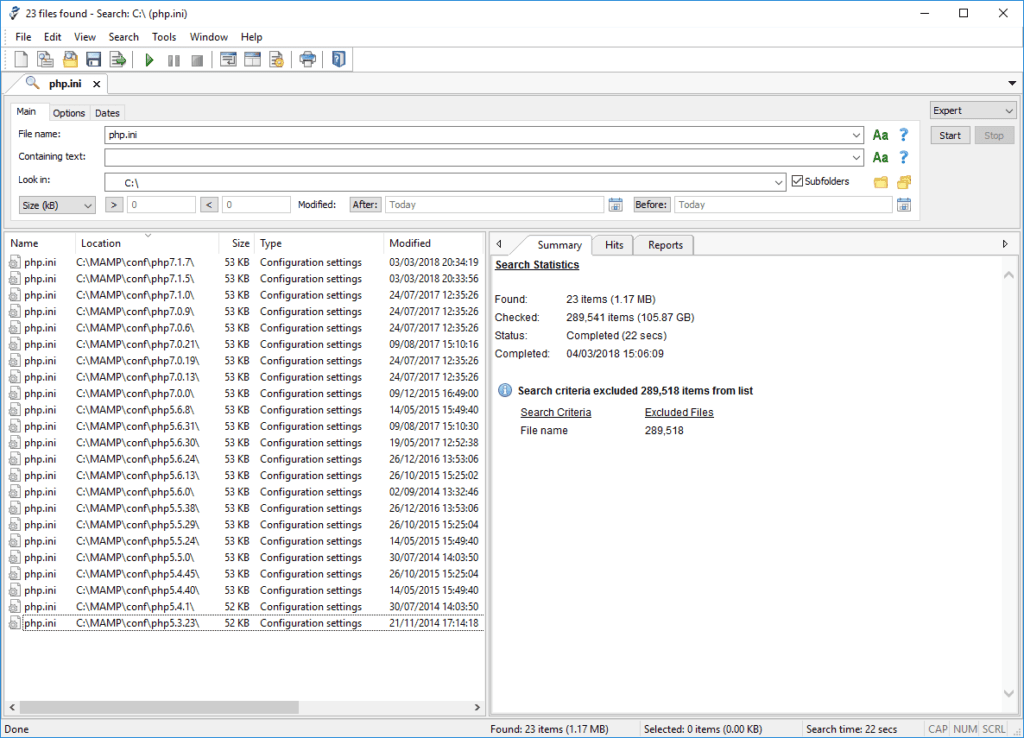
1. Find the php.ini file(s).
This is where a tool like Agent Ransack is useful for me.
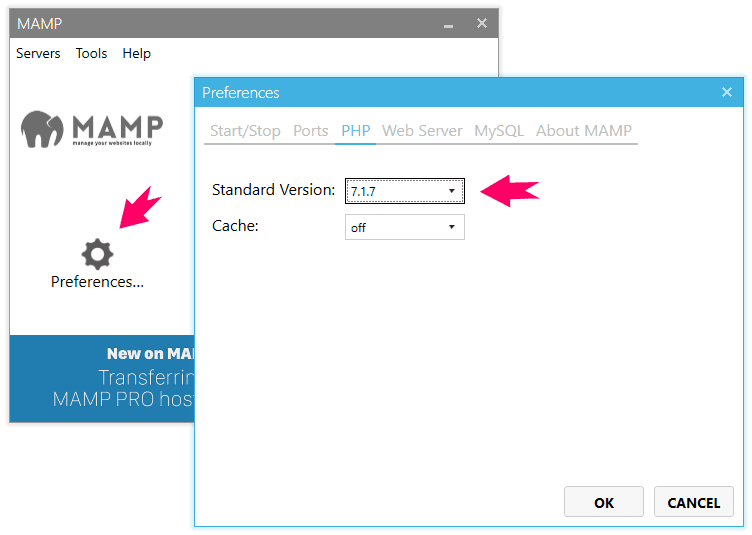
2. Check MAMP to confirm running version.
It’s likely the most recent version MAMP will be running as default anyway.
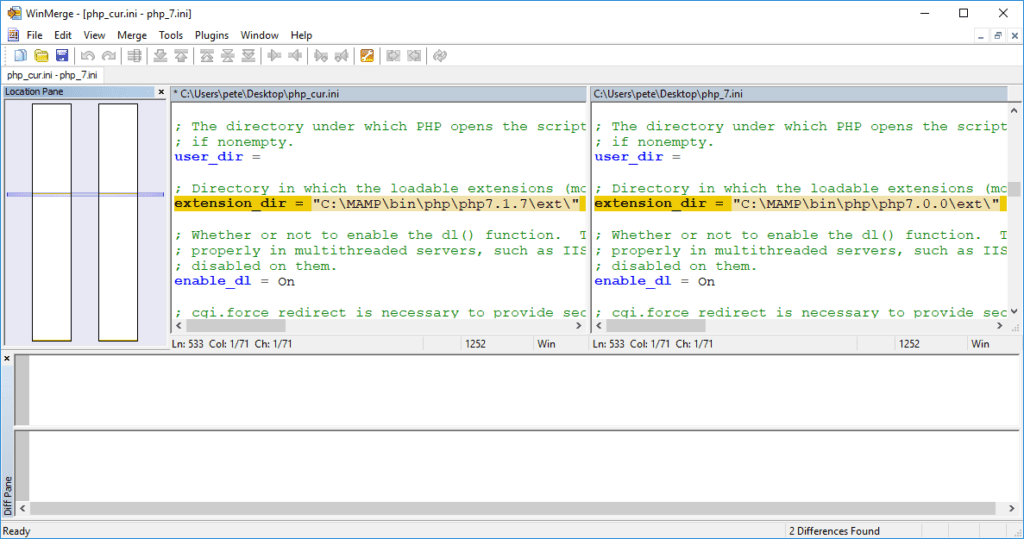
3. Before continuing, lets confirm the differences within each of those php.ini files.
WinMerge does the trick, there’s only one difference as shown below between version 7.17 and 7.0.0. There are a few additions and changes to default values per major version by the looks of it.
4. Stop MAMP’s Apache & MySQL services and edit the relevant php.ini file.
It’s 100% worthwhile reading through the comment section at the top.

5. Edit the following where required.
memory_limit
Maximum amount of memory a script may consume (Default – 128M)
post_max_size
Maximum size of POST data that PHP will accept (Default – 8M).
upload_max_filesize
Maximum allowed size for uploaded files (Default – 2M).
The above should be set from biggest to smallest as reflected by their default values. If we amend the upload_max_filesize value to 25M, it’ll still be bound by the post_max_size value. This is what I done as my database fits within the 8M limit.
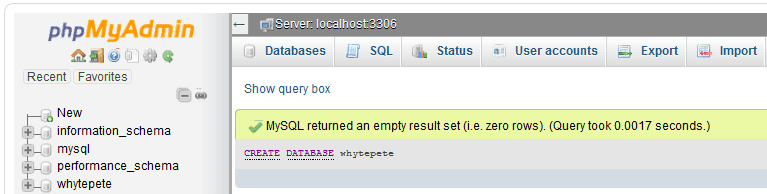
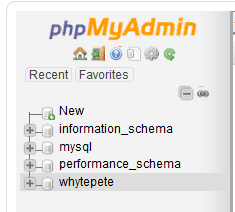
6. Open phpMyAdmin & create a new database.
7. Select your new database on the left-hand toolbar.
The ‘selection’ of a database is a bit quirky, we just need to make sure it’s highlighted before importing.
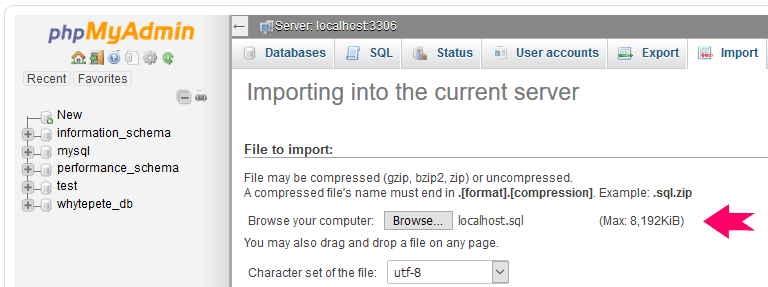
8. Click on the Import tab and browse for your downloaded WordPress database.
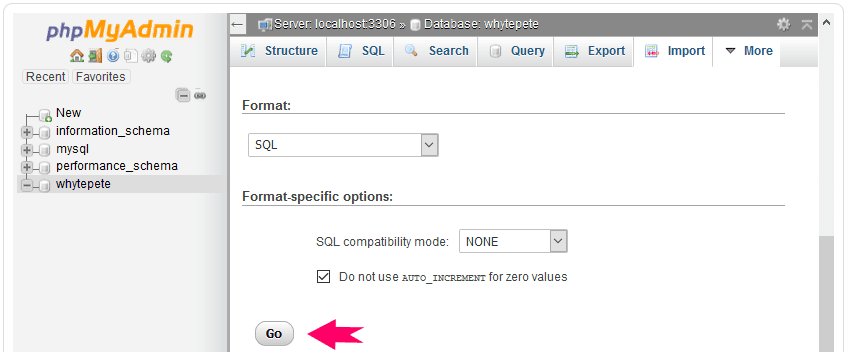
9. Hit Go!
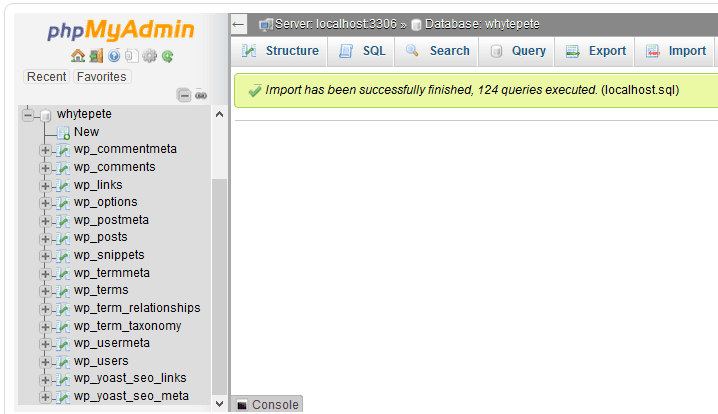
10. Success!
Configuring PHP & WordPress
Now that we have our database imported to MySQL Server, we need to configure PHP & WordPress.
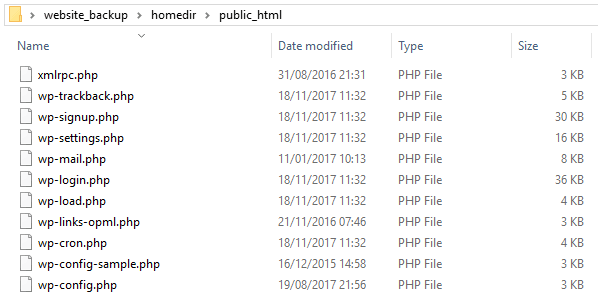
1. First, lets look at the WordPress files you need from your download.
If you have a full backup of your website directories, you’ll need to look in homedir > public_html.
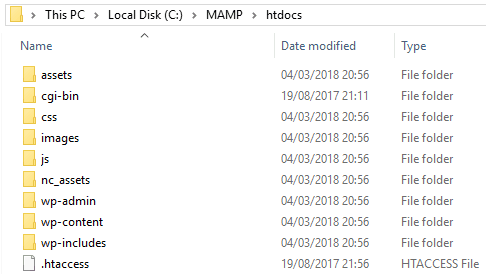
2. All those files should be copied into MAMP > htdocs.
Replacing existing files such as index.php.
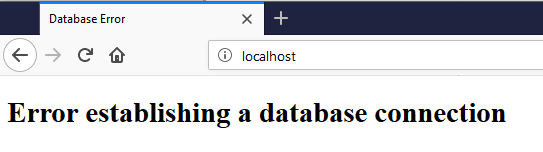
3. Now, navigate to the website to see what’s happening.
A popular error message this is.
4. Amend the wp_config.php file as shown.
Taking note of the file path within the Notepad++ header.
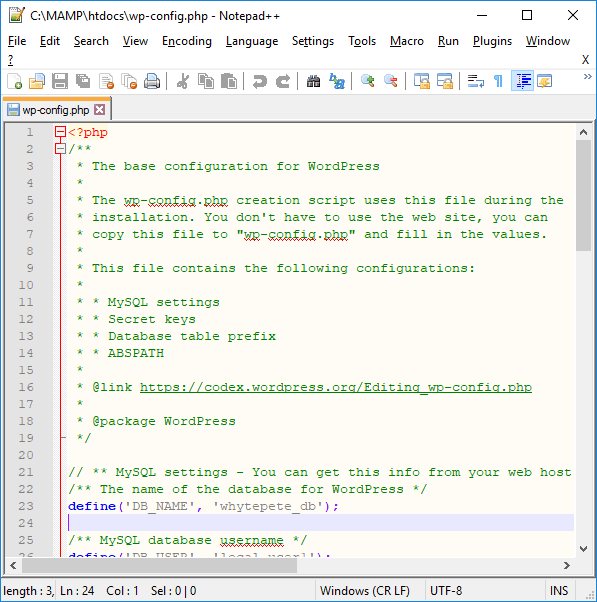
The changes of note are:
define(‘DB_NAME’, ‘whytepete’);
The WordPress database name.
define(‘DB_USER’, ‘local_user1’);
MySQL username with permissions over the WordPress database.
define(‘DB_PASSWORD’, ‘unsafe123’);
The associated password for the above user.
define(‘DB_HOST’, ‘localhost’);
The address of your server hosting MySQL.
$table_prefix = ‘wp_’;
You can find your table prefix by looking at all your tables within the WordPress database.
5. Refresh your browser and… HURRAY!
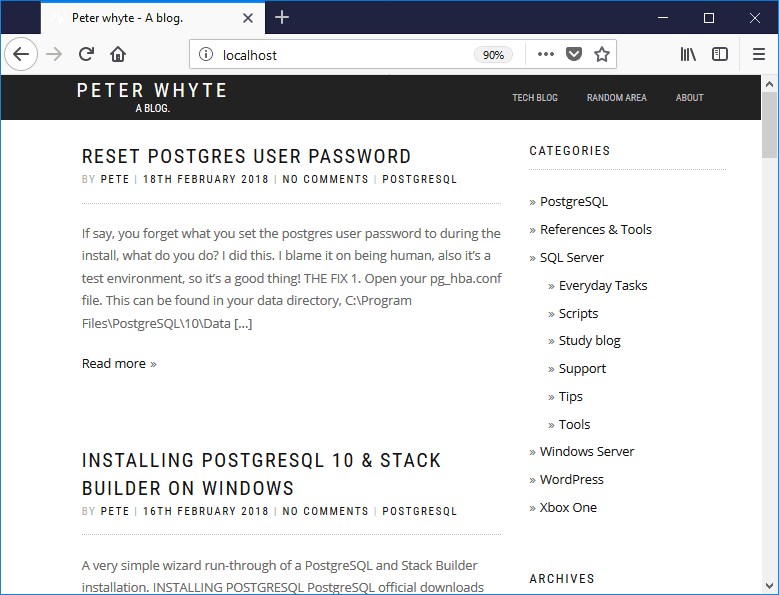
Navigation & WP-Admin Access
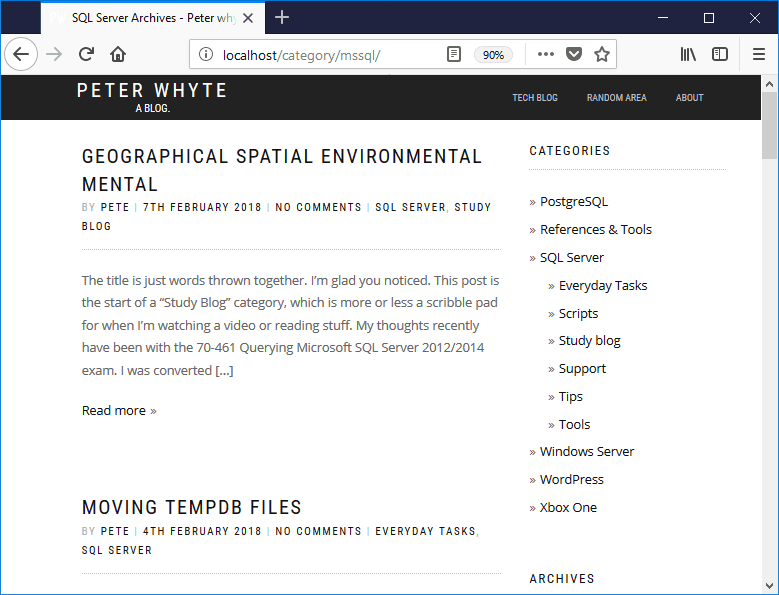
After getting your local website up and running, you’ll quickly realise links navigate to your website rather than the appropriate localhost/subdir. Typing URLs manually works fine though.
Also, if we navigate to localhost/wp-admin you’ll be redirected to your actual webpage WP-Admin login page. If you’re not redirected straight away it’ll at least happen when you try login.
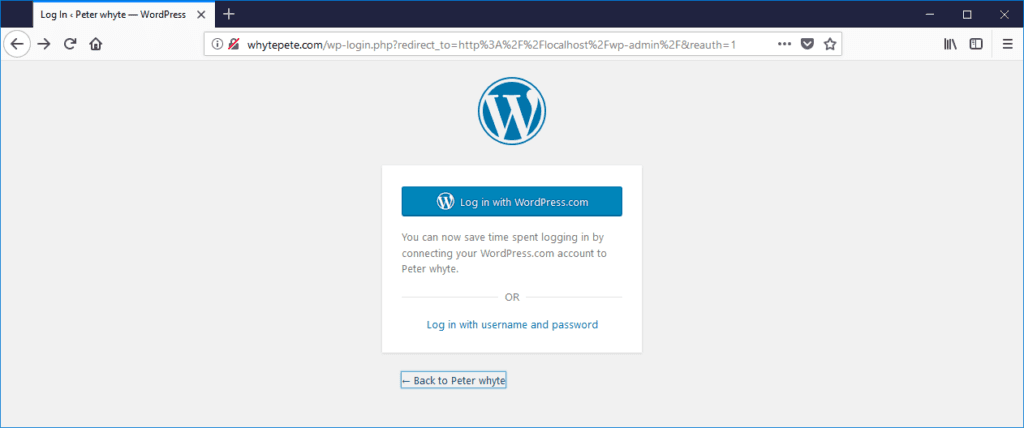
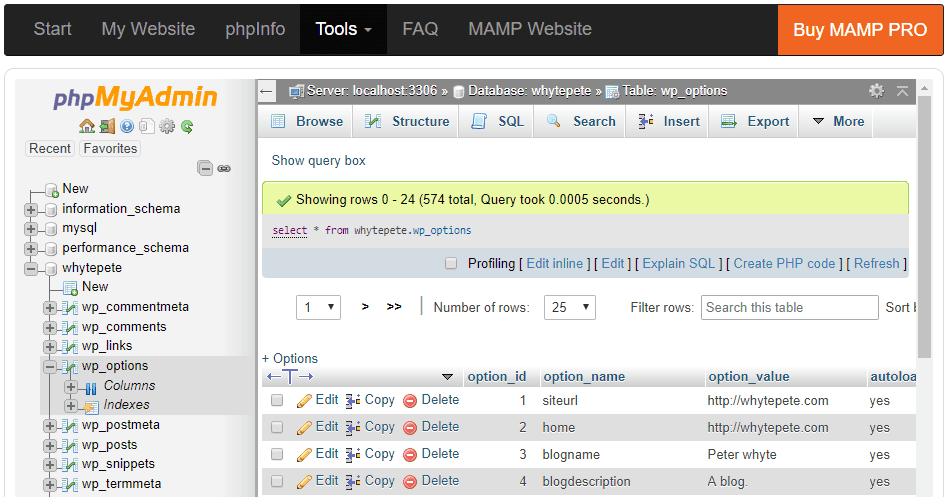
The fix is to update the Options table within the WordPress database as shown.
And the last step is to fix the login!

0 Comments