Enable Windows Subsystem for Linux (with Ubuntu 18.04)
Enable Windows Subsystem for Linux (with Ubuntu 18.04)
WSL allows Windows users to develop and run applications within a GNU/Linux environment. Previous to this feature release we needed VM’s or a dual boot setup.
For more information, as always have a look at the Microsoft Docs. There’s a huge amount of tutorials and documentation on this area.
This post is a simple guide and includes:
# Enabling Windows Subsystem for Linux (WSL)
# Downloading a Linux Distro
# Installing a Linux Distro
Enabling Windows Subsystem for Linux (WSL)
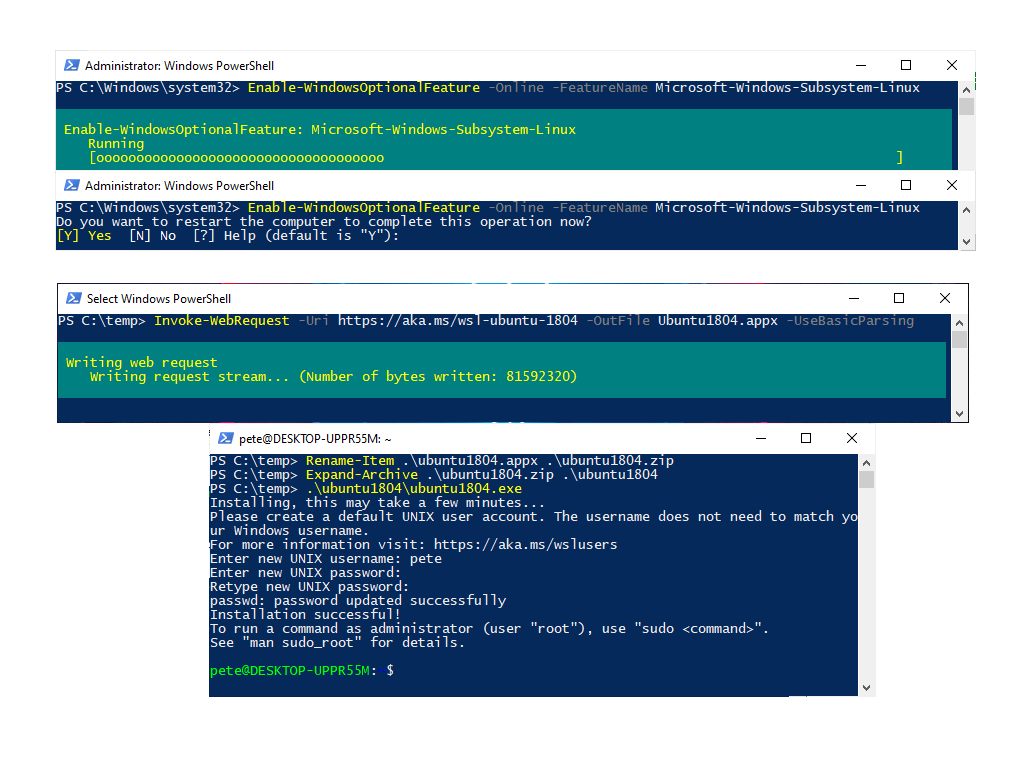
Open PowerShell as Administrator and run the following to enable WSL:
Enable-WindowsOptionalFeature -Online -FeatureName Microsoft-Windows-Subsystem-Linux

You’ll then be prompted to restart your local computer.

Downloading a Linux Distro
You can find all the Linux Distributions on the Microsoft Store and download from there. This may be restricted by Group Policy if you’re on a Domain, so you can download manually from this list on the documentation page.
For this guide I’m downloading using Invoke-WebRequest:
cd c:\your_download_folder
Invoke-WebRequest -Uri https://aka.ms/wsl-ubuntu-1804 -OutFile Ubuntu1804.appx -UseBasicParsing

Installing a Linux Distro
We have to rename the .appx file I downloaded above to .zip, decompress and then run the .exe file to install Ubuntu.
Rename-Item .\ubuntu1804.appx .\ubuntu1804.zip
Expand-Archive .\ubuntu1804.zip .\ubuntu1804
.\ubuntu1804\ubuntu1804.exe
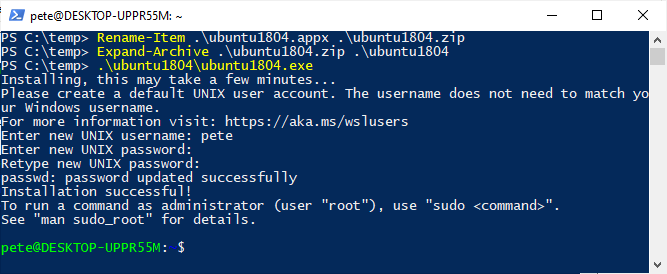
The terminal should scope into the Linux instance. Type ‘exit’ to get back to PowerShell.

1 Comment
[…] the .exe file from command and enter the username/password details when prompted. See my previous post on this for more […]